Wax Molding and Sand Casting Reconstruction
Day by Day Entries
NAME: Jef PalframanDATE AND TIME: 170900-1300 Oct 14
LOCATION: Columbia University, Chandler Hall Rm. 260 - Manhattan, NY
SUBJECT: Finishing the Medals
- Conditions:
- Lab conditions, approx. 72°, no air movement, average humidity.
- Materials:
- Finished Molds with Medals inside: Self-explanatory.
- Equipment:
- Wire Cutters: Standard wire cutters from a hardware store. No anticipated effect on authenticity.
- Metal file: Steel metal file. No anticipated effect on authenticity.
- Discussion on Procedure:
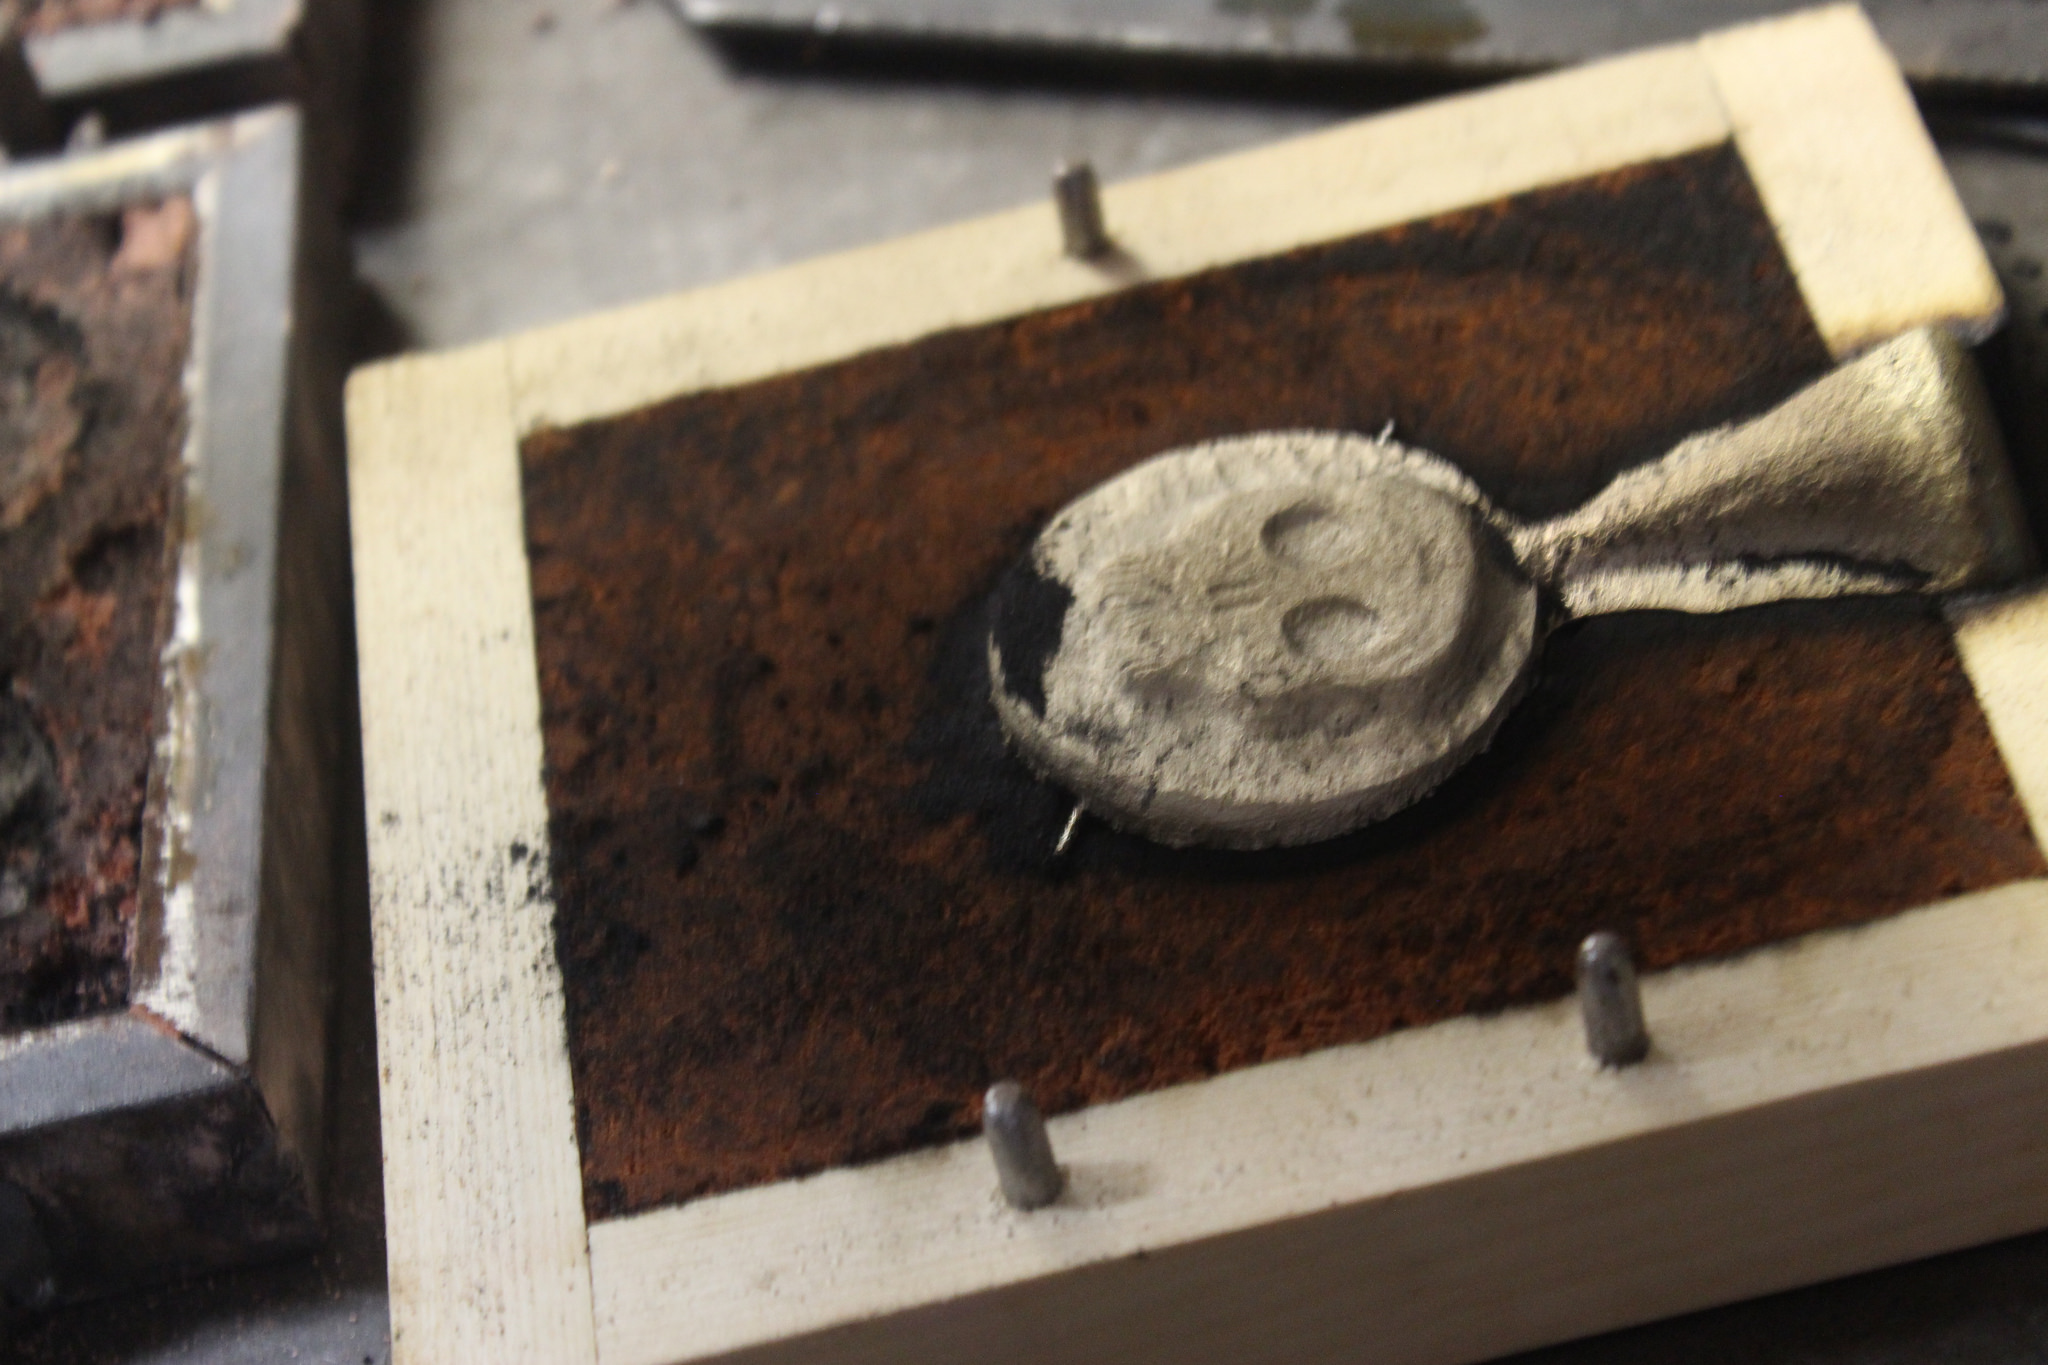
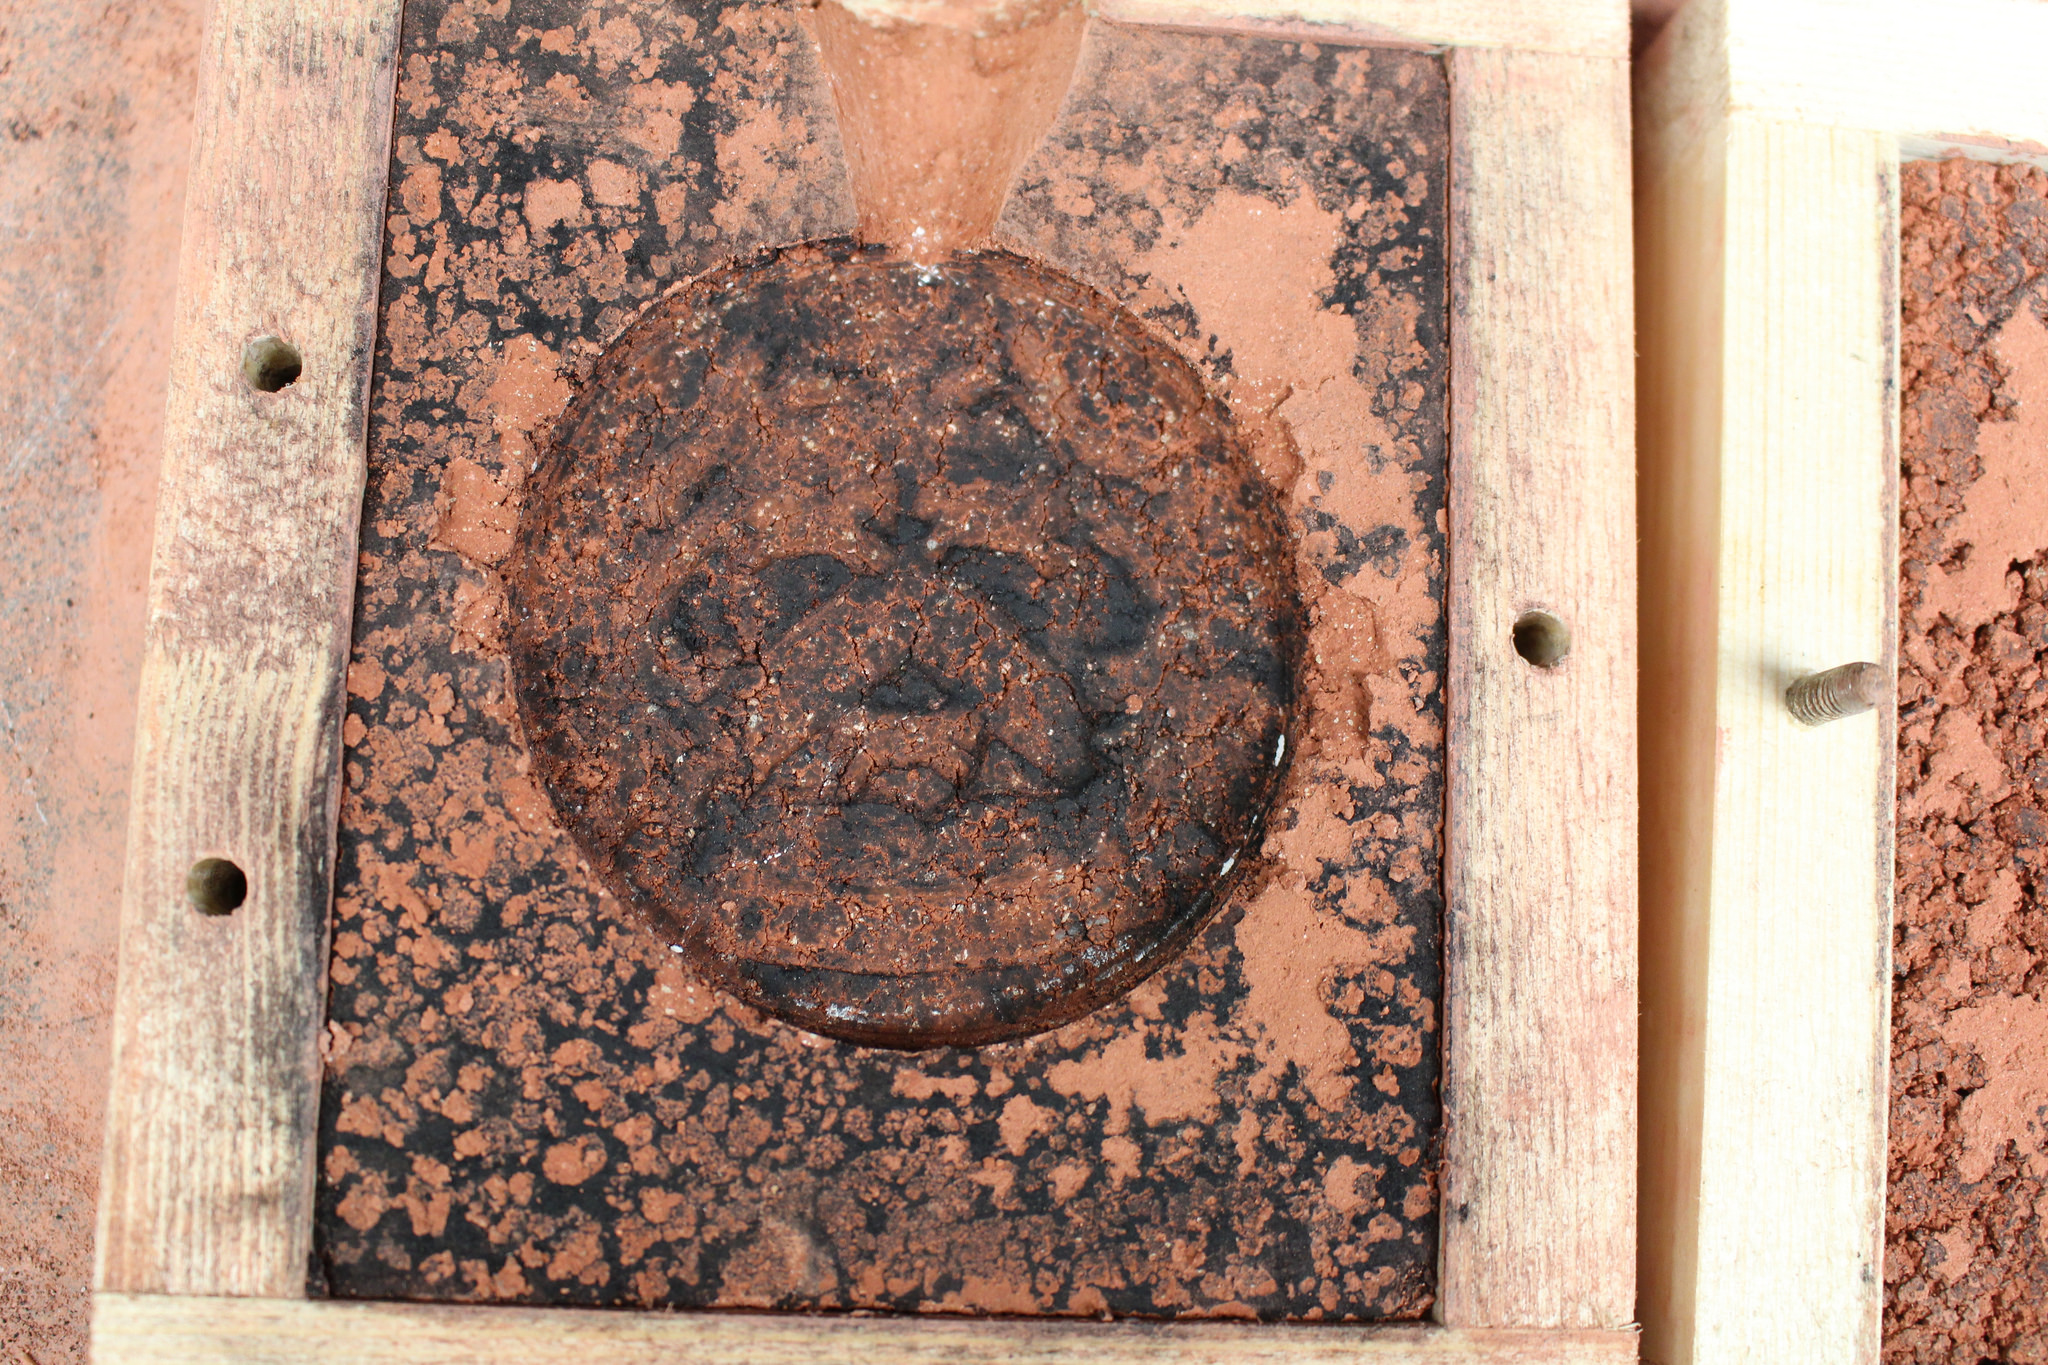
- The finished medal was removed from the mold and the dirt removed. The results were disappointing in terms of detail and texture. The front of the medal failed to capture the detail of the wax model.
- The face of the medal looked blunted and messy. Some of the medal looked globular, like it had cooled to quickly and did not seep into the detail of the sand.
- The back of the medal was pockmarked by spurs and valleys. Besides the general shape of the back of the wax original, very little of the detail survived.
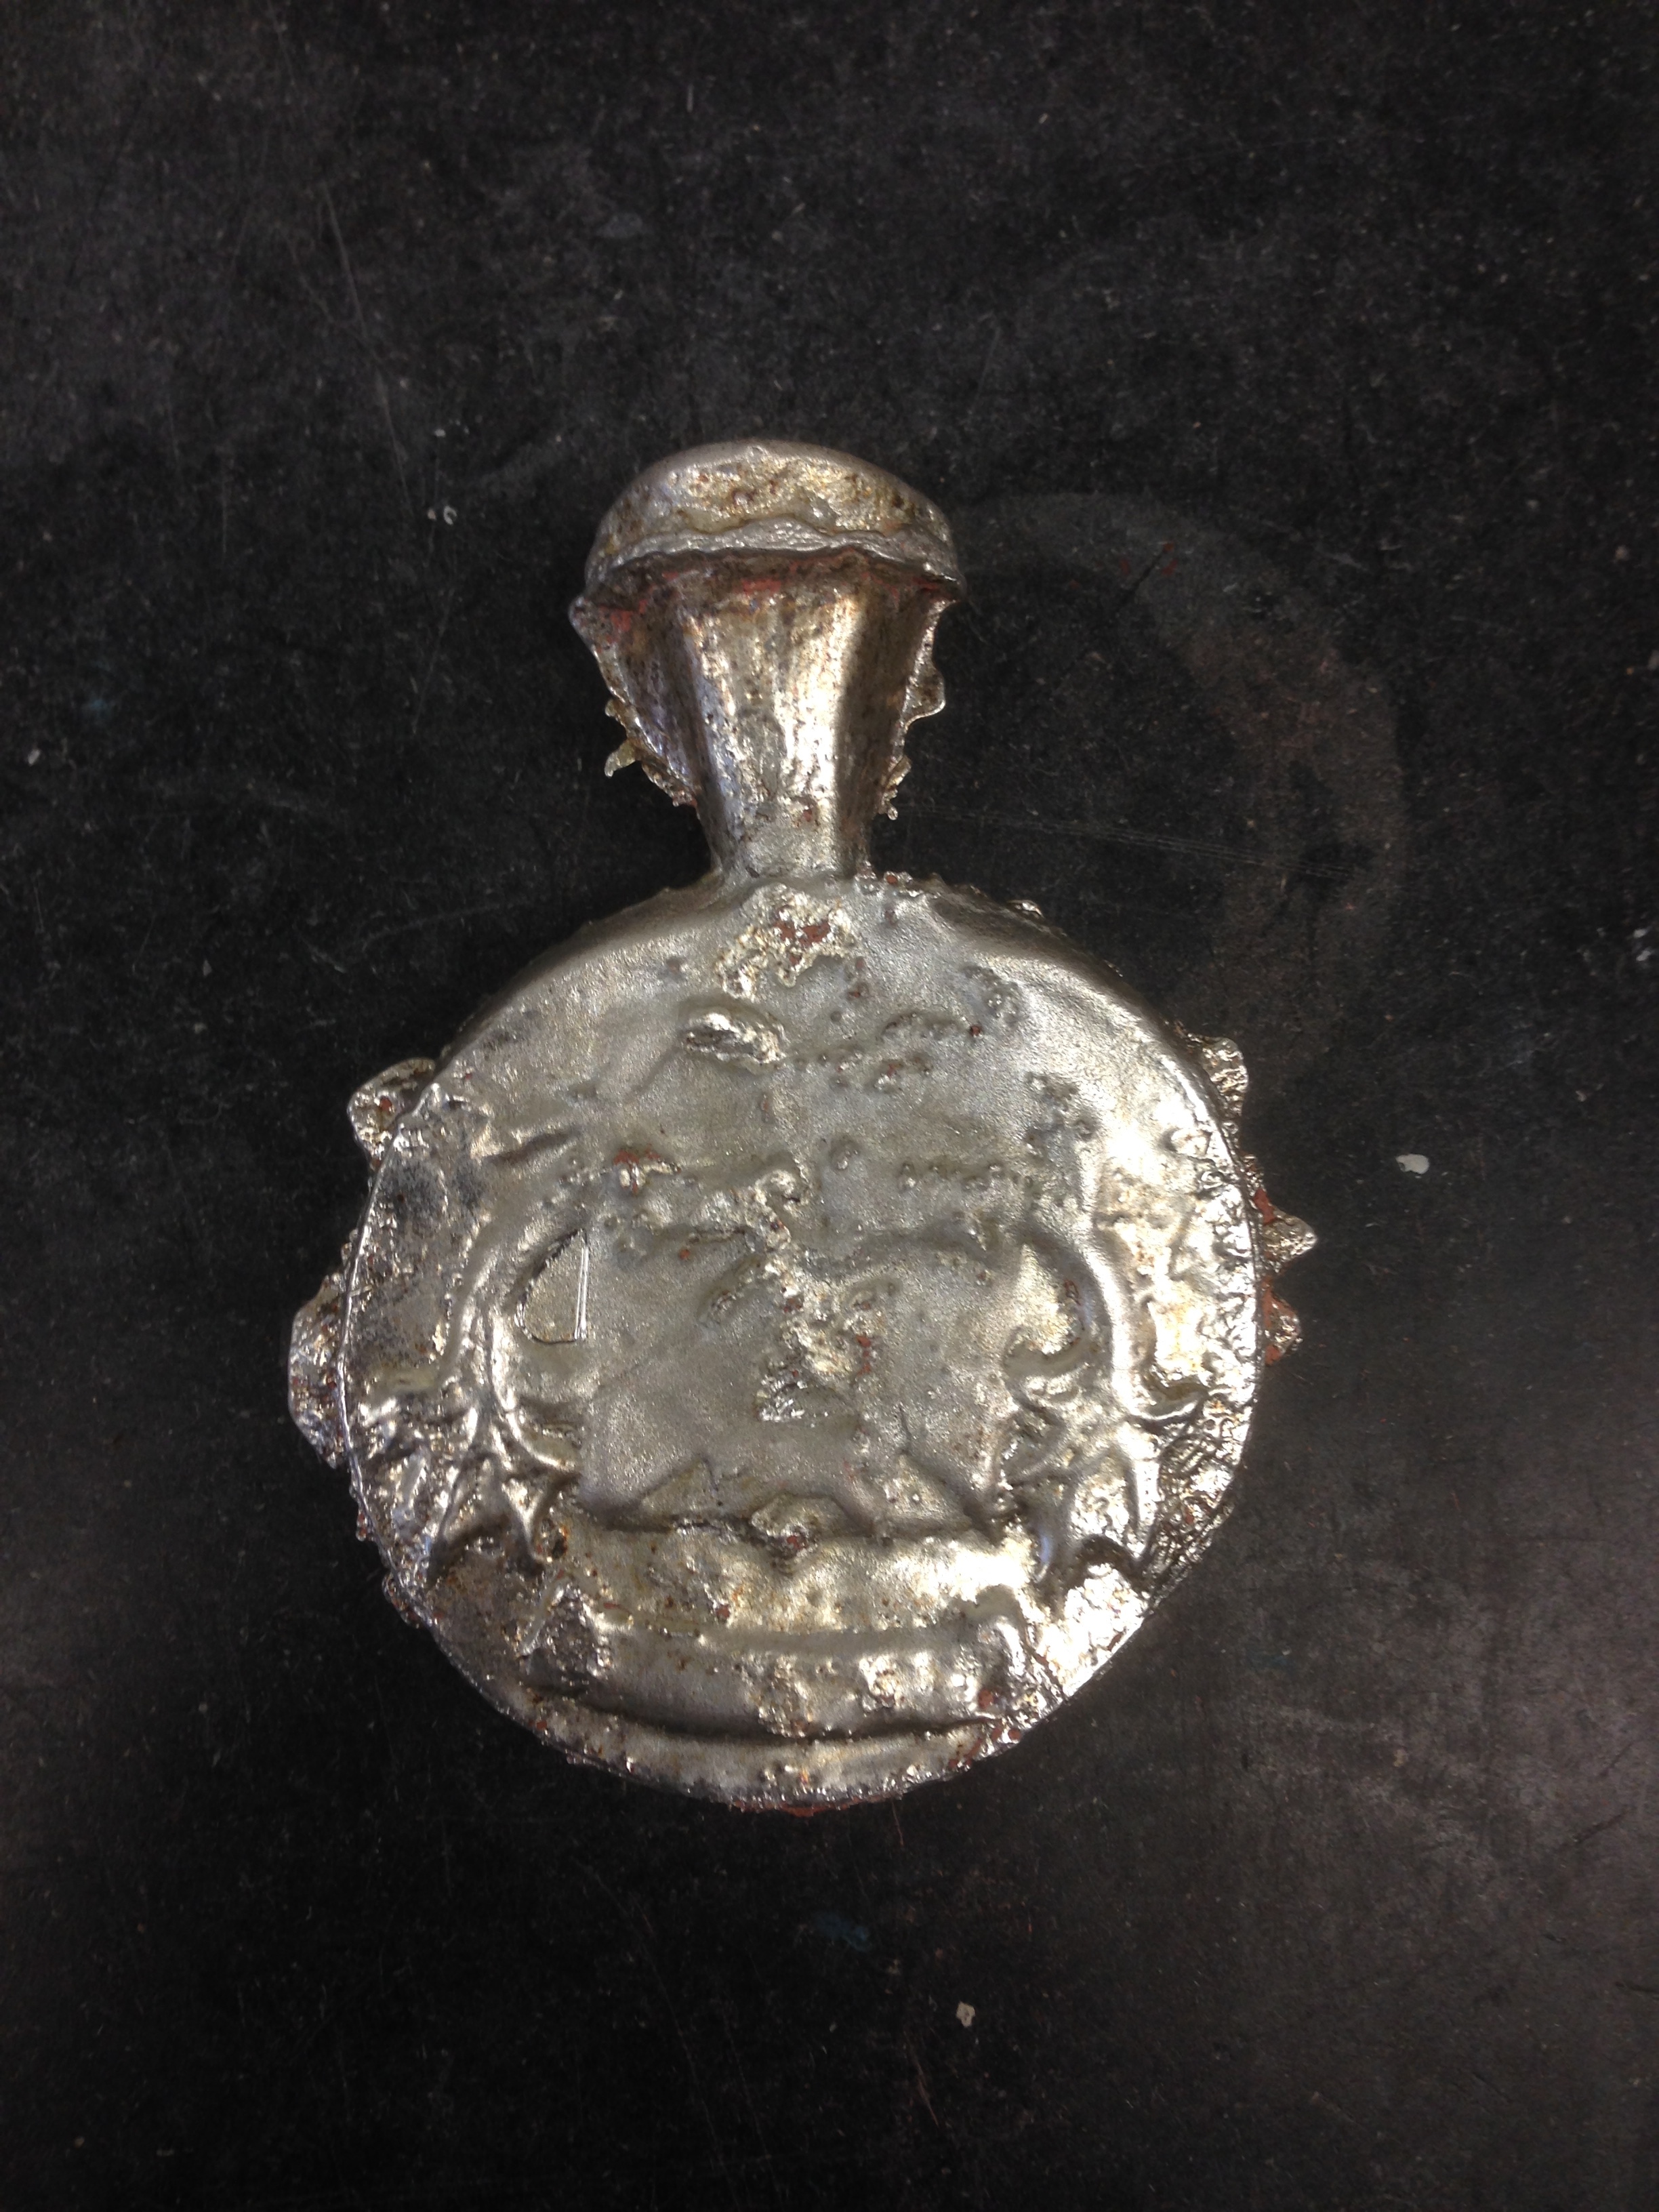
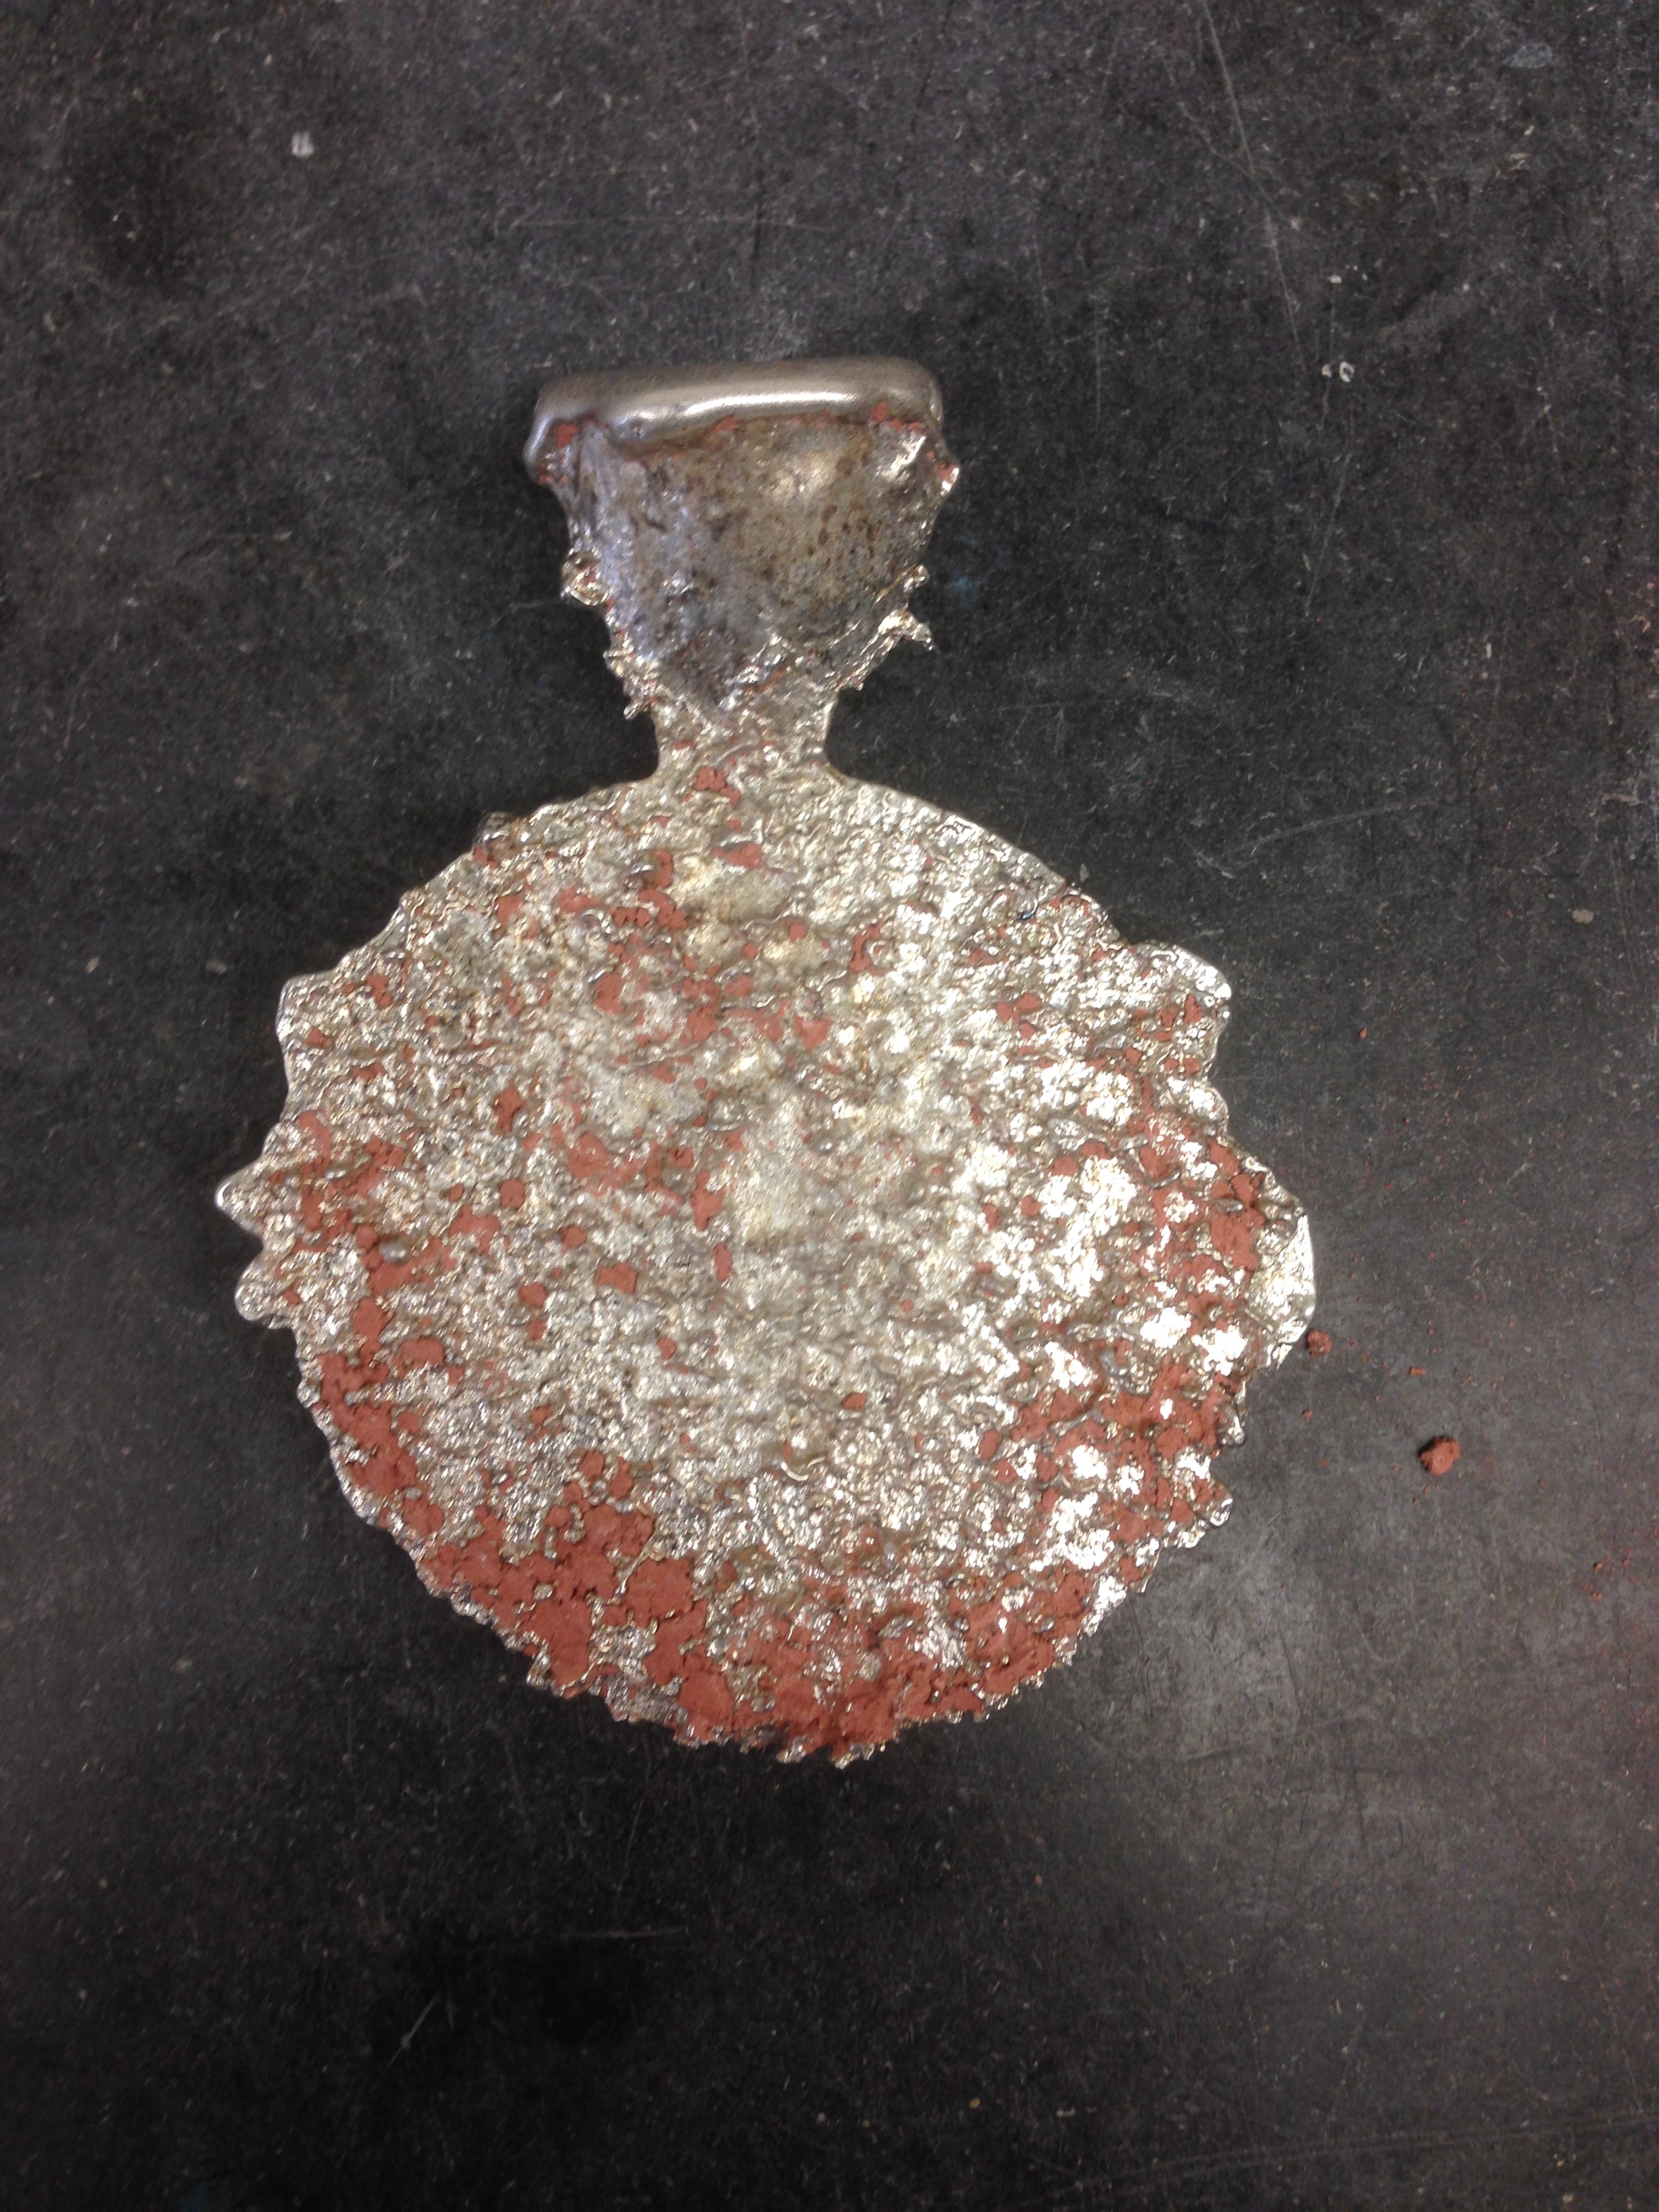
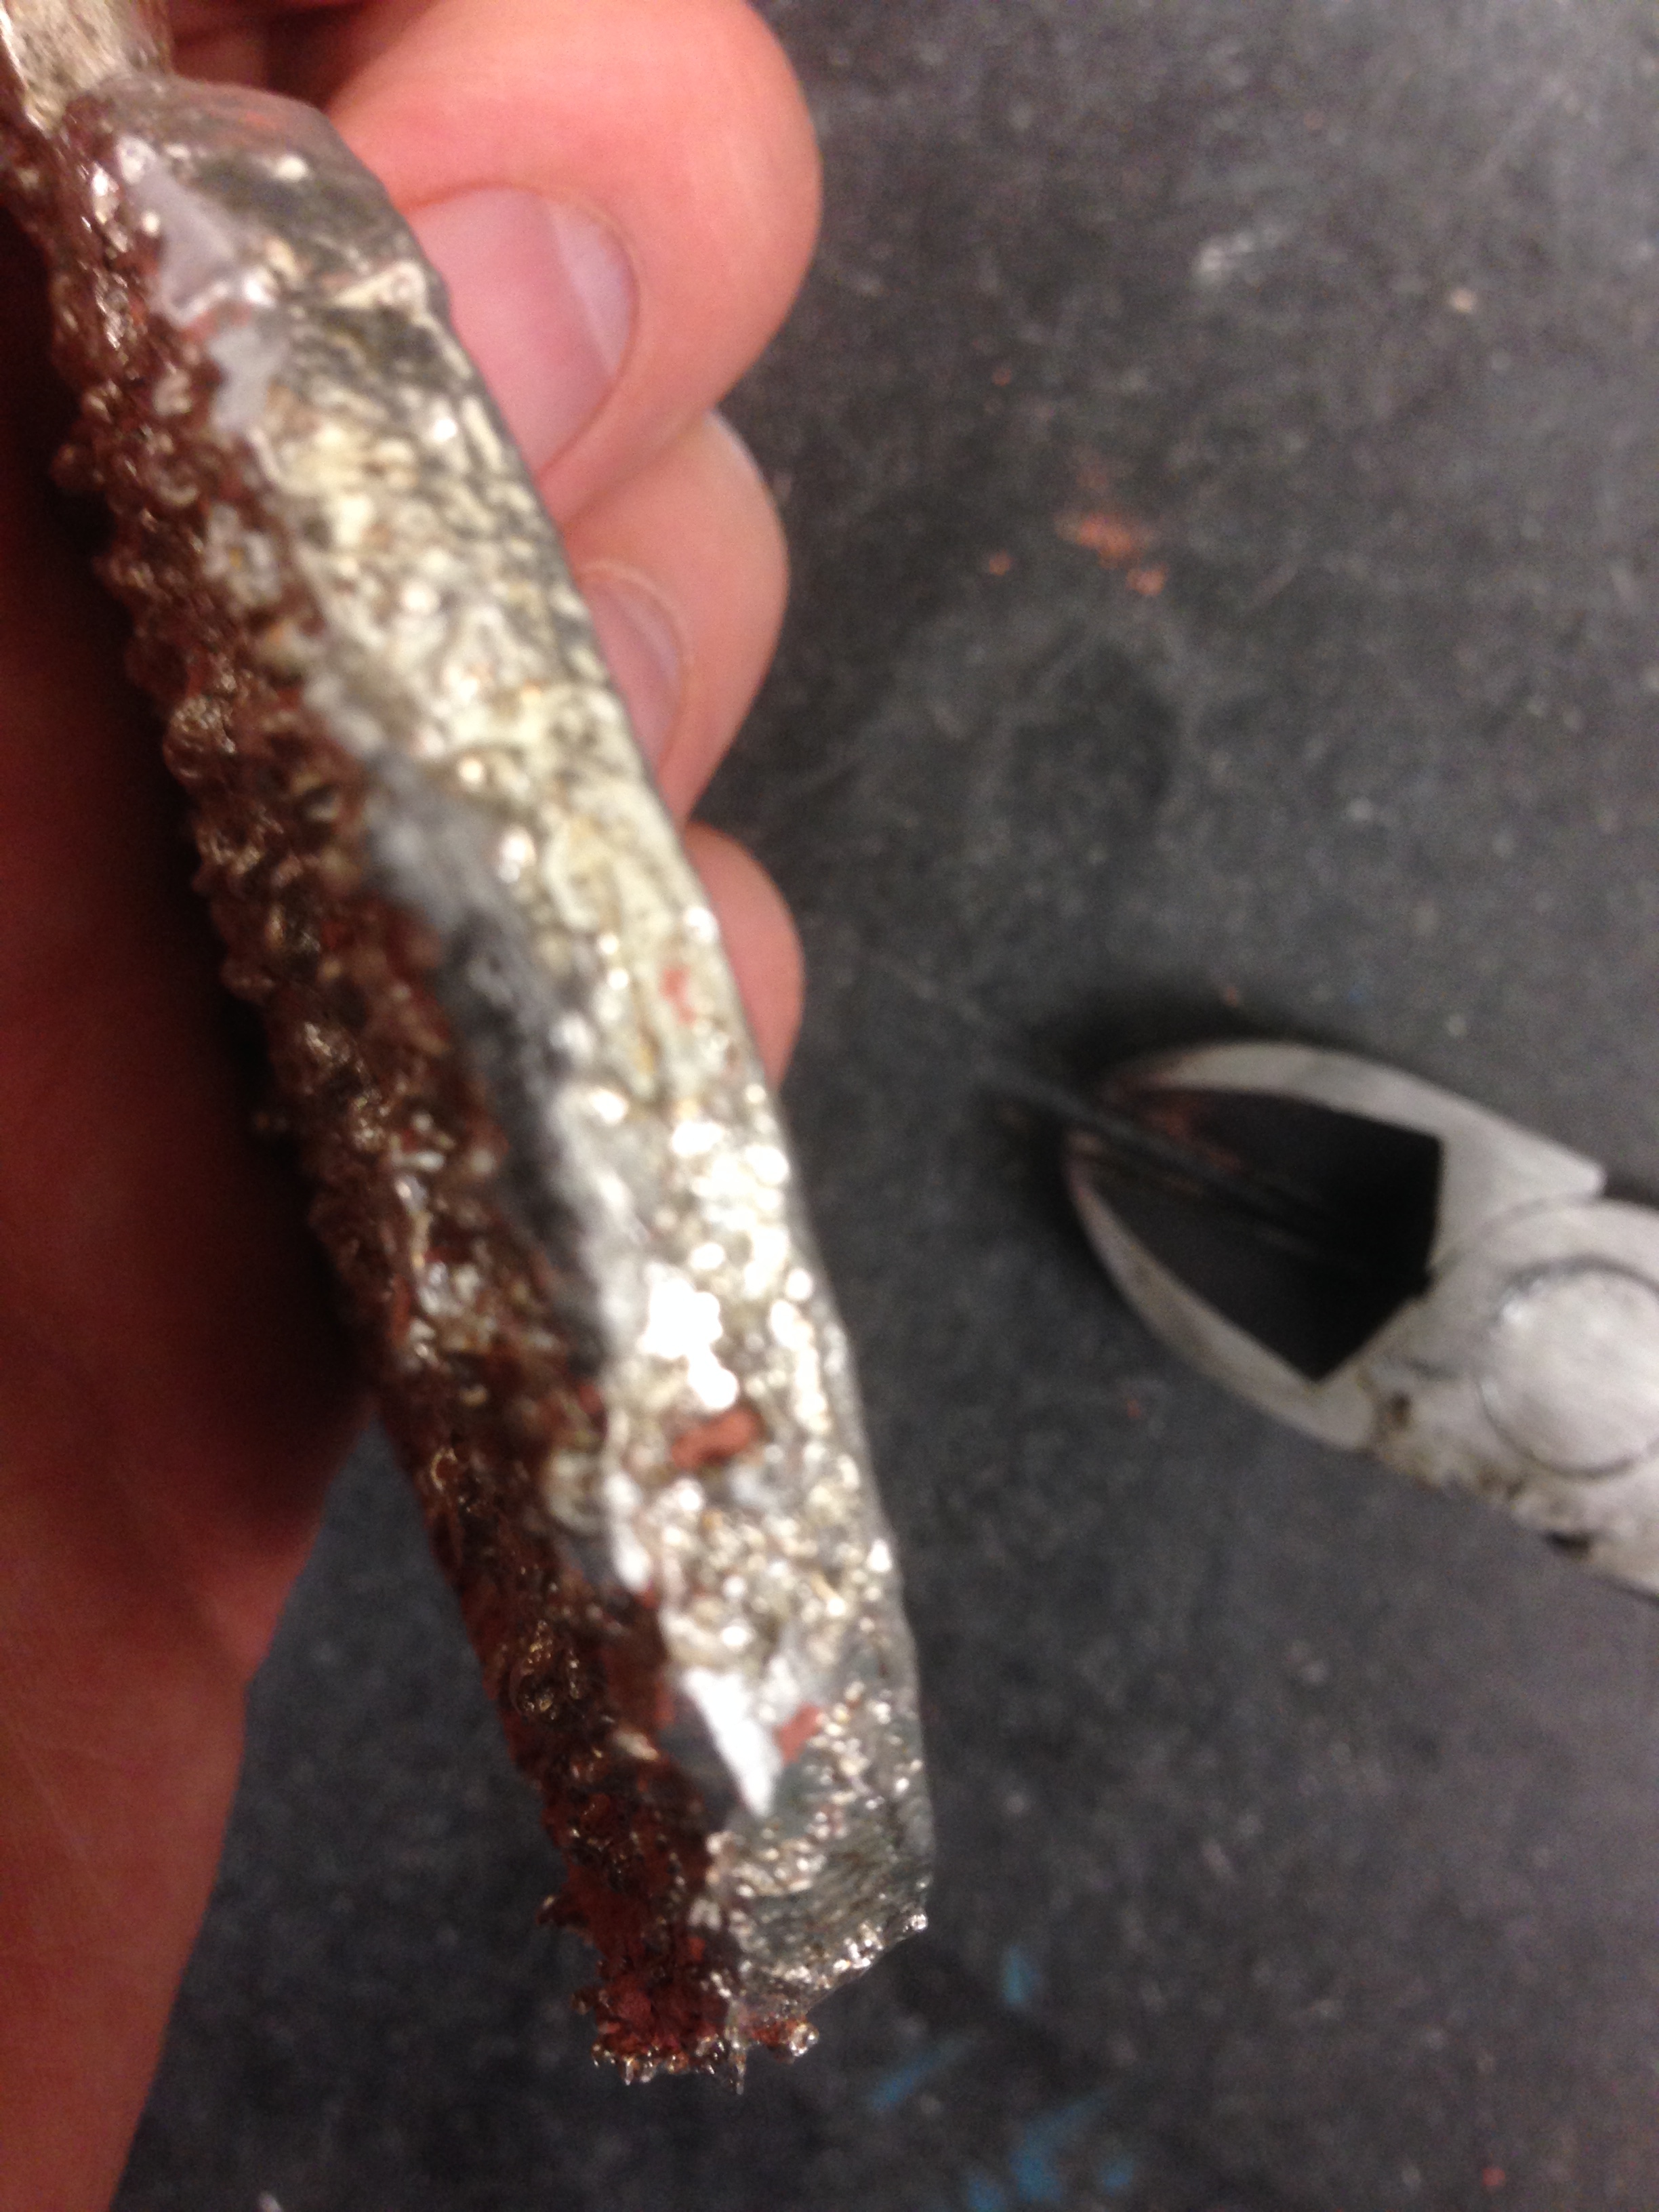
- The spout and some flashing was removed with the wire cutters and the file was used to smooth some of the edges. Very little progress was made in reshaping the medal by hand with these tools. From these results it is quite easy to see that successive mistakes in individual steps have a cumulative effect on the end product. This is much like the phenomena of generation loss with modern copying procedures.
- Some final observations:
- The sand used during this experiment was simply to rough to capture much detail. The variation in grain size had a deleterious effect on the final texture of the medal. The sand should have been ground more or an suitable alternative found.
- Despite the lack of detail in the final product, the entire process was a rewarding experience. There is something very satisfying about conceiving and making real an object that originated within one's self.
NAME: Jef Palframan
DATE AND TIME: 160900-1300 Oct 14
LOCATION: Ubaldo Vitali's Workshop, 188-190 Hilton Avenue, Maplewood, NJ 07040
SUBJECT: Pouring the Molds
- Conditions:
- Temperature 65°, no precipitation. Indoor shop environment with climate control and air systems.
- Materials:
- Tin: Self-explanatory. Melting point of 232°C
- Silver: Self-explanatory. Melting point of 1761°C
- Preprepared sand castings: See earlier entries.
- Pine Resine: Used to... [?], [Source].
- Equipment:
- Acetylene Torch: Provided and operated by Mr. Vitali.
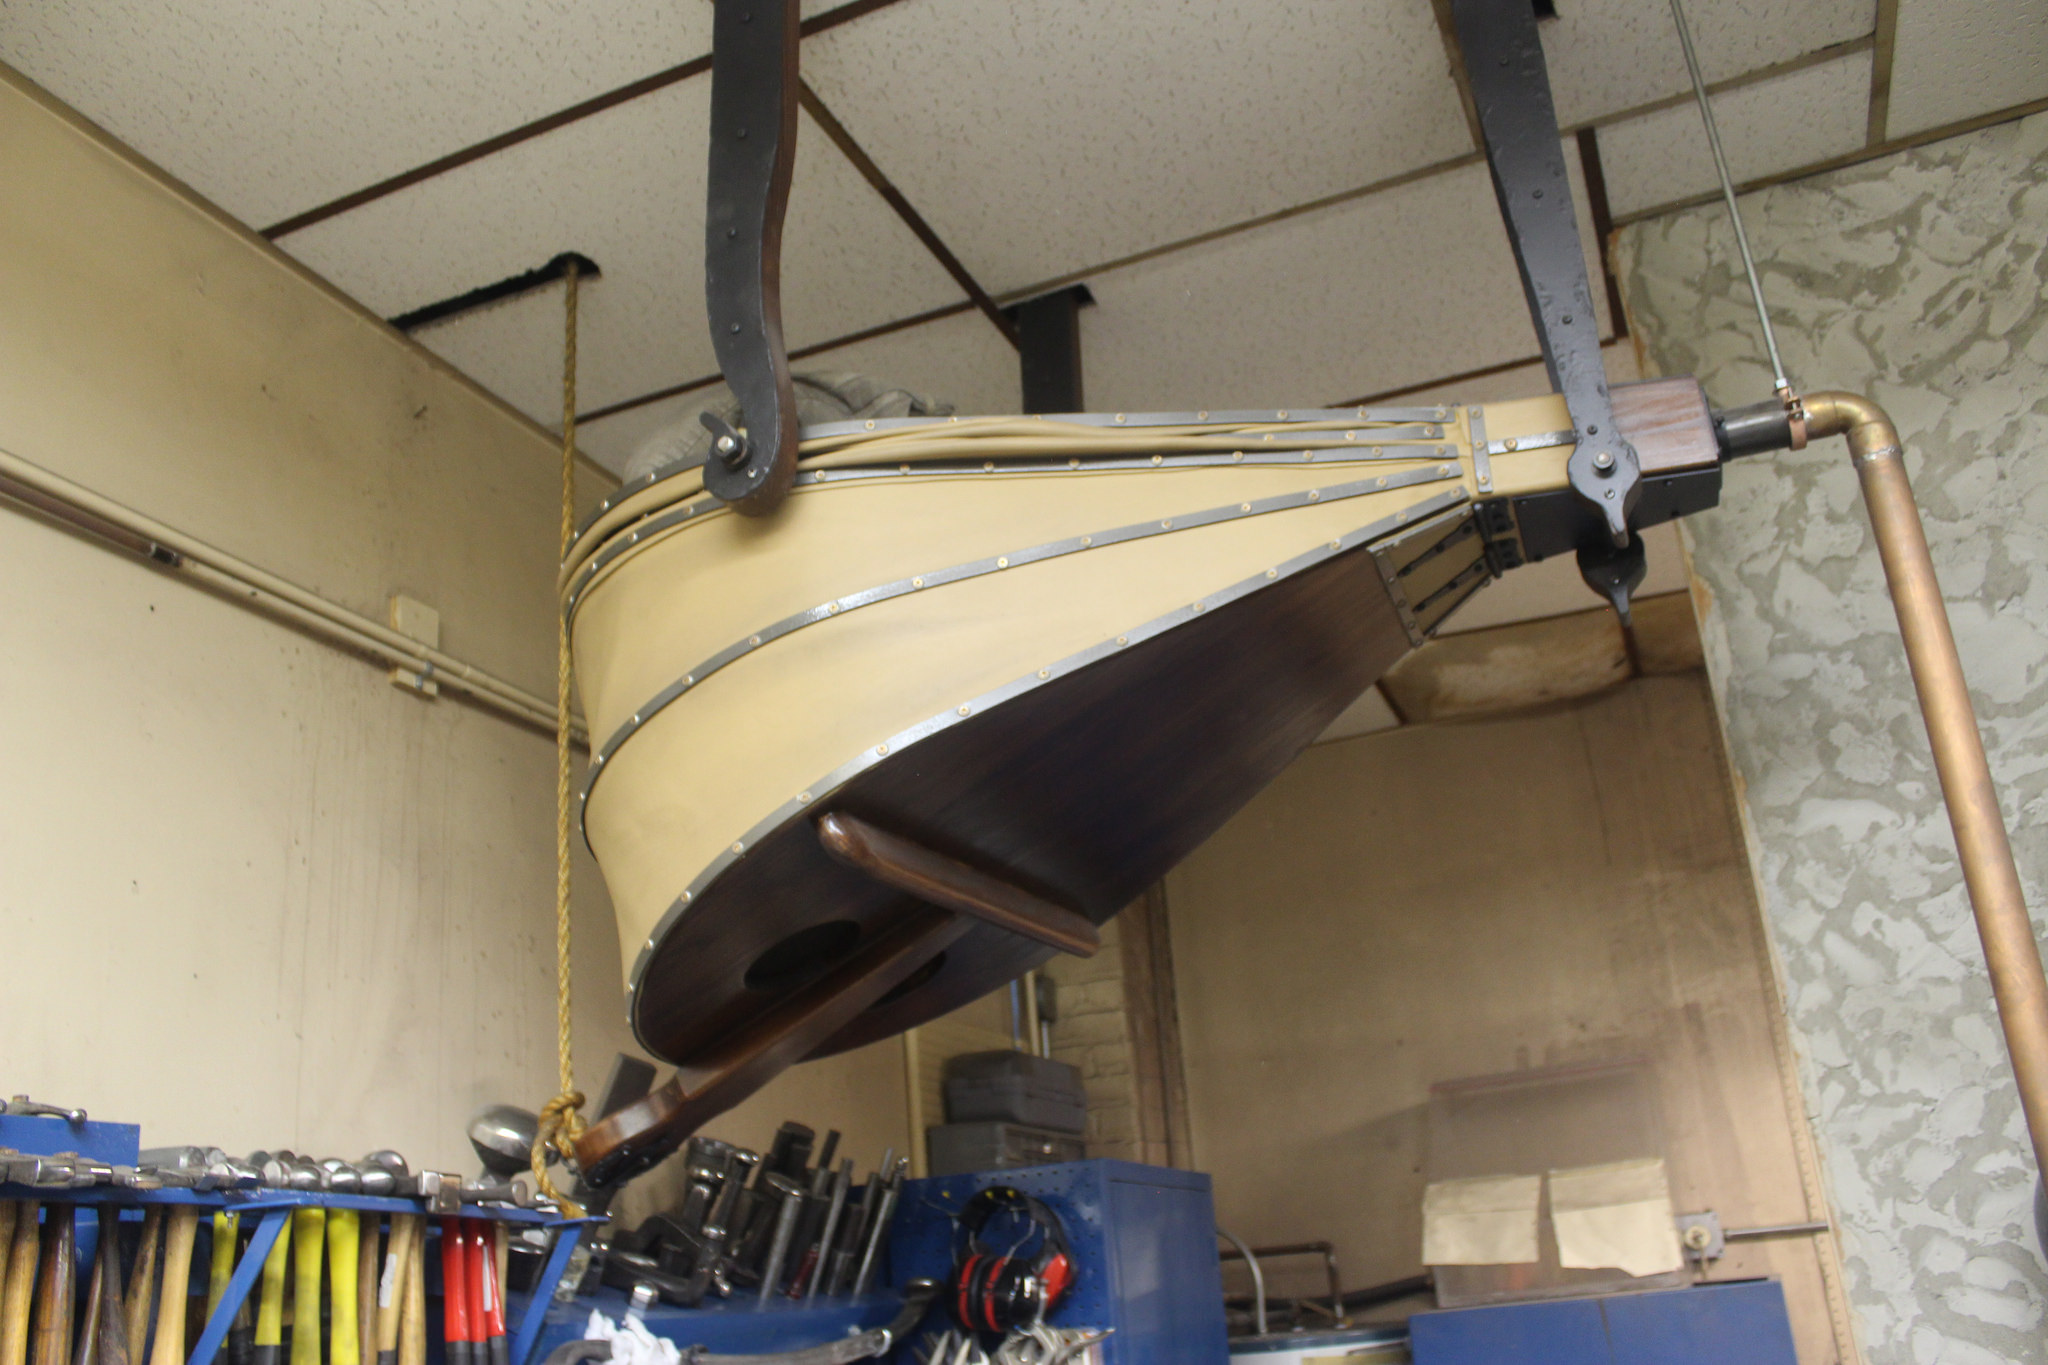
- Kiln: Appropriately as a 'time machine' by Mr. Vitali. Coal powered kiln with hand operated bellows. Very authentic.
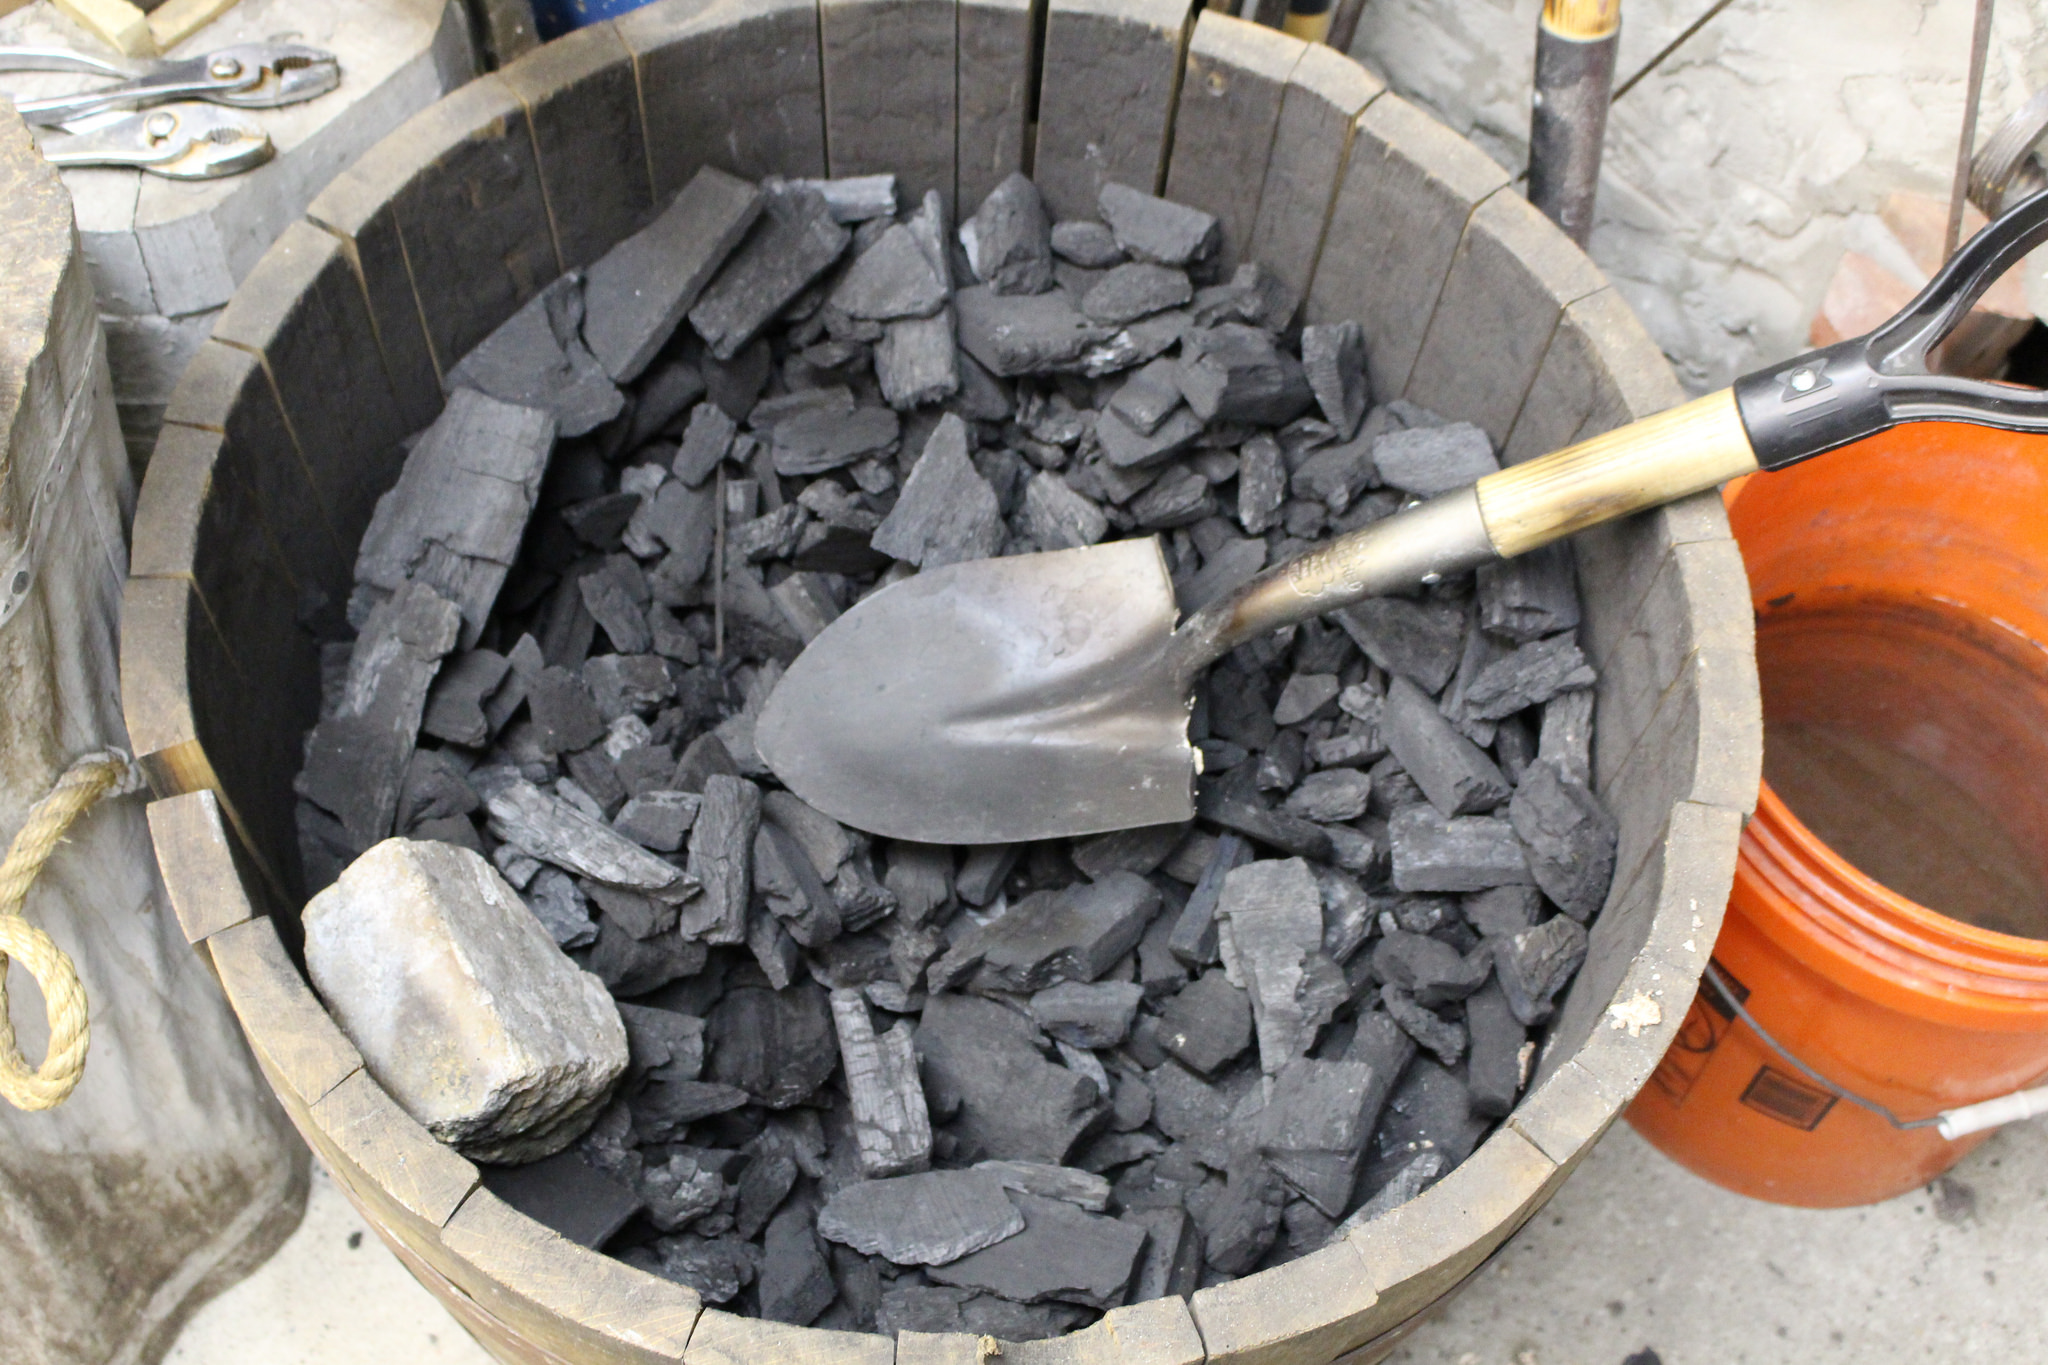
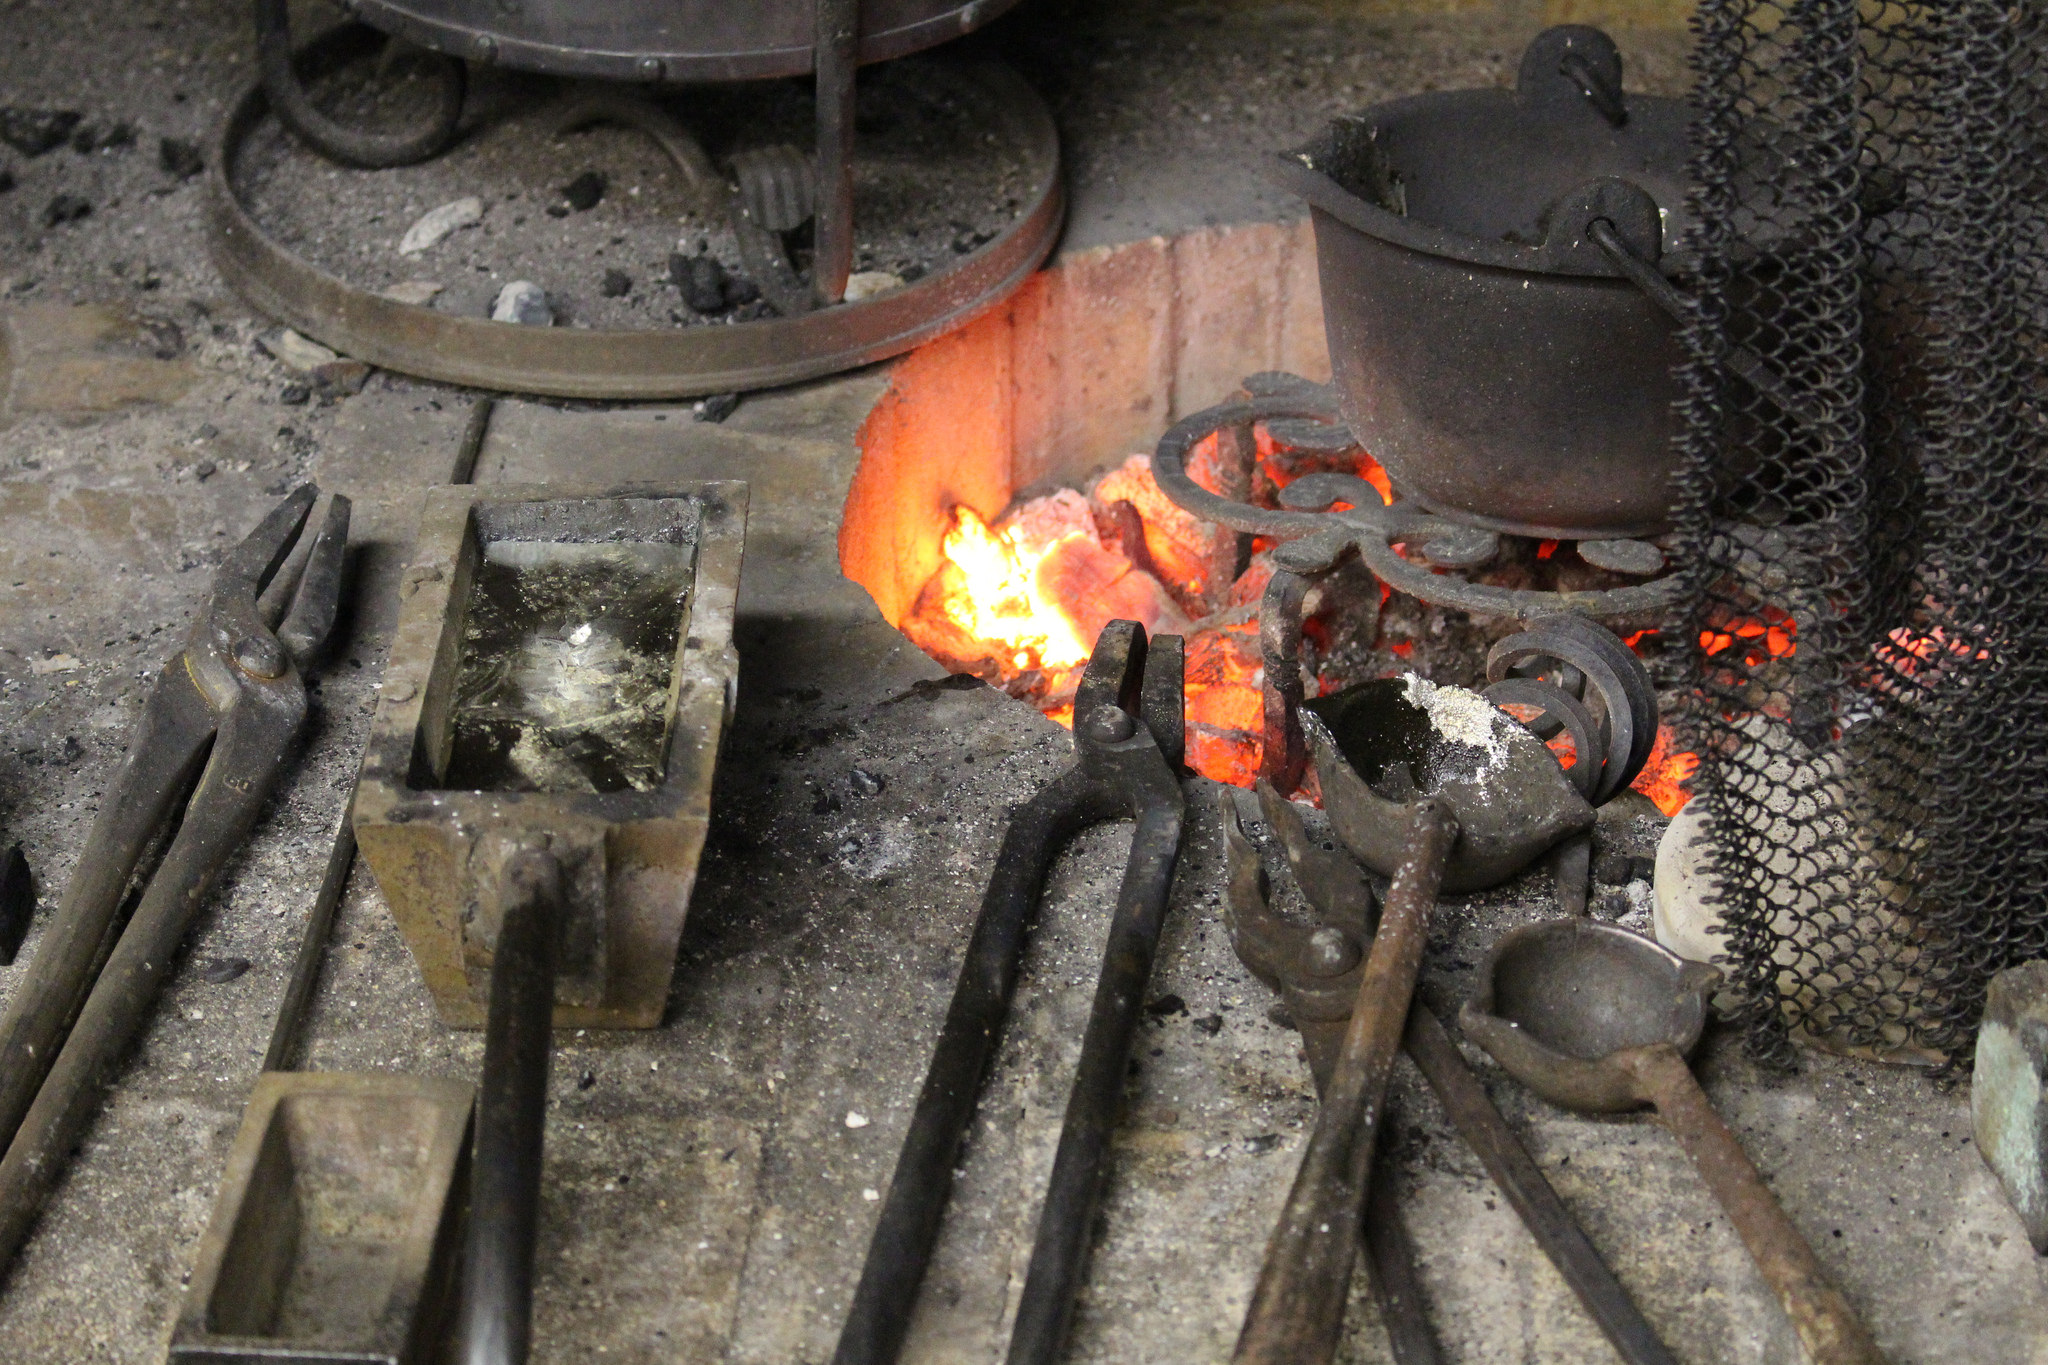
- Iron tools: Various authentic tools used to pour and mix the tin and silver.
- Primary Recipe:
- 118v - Casting in a box mold.
- Discussion on Procedure:
- Due to the various safety hazards and the inexperience of the students in the class most of the steps were completed by Dr. Benntjes and Mr. Vitali.
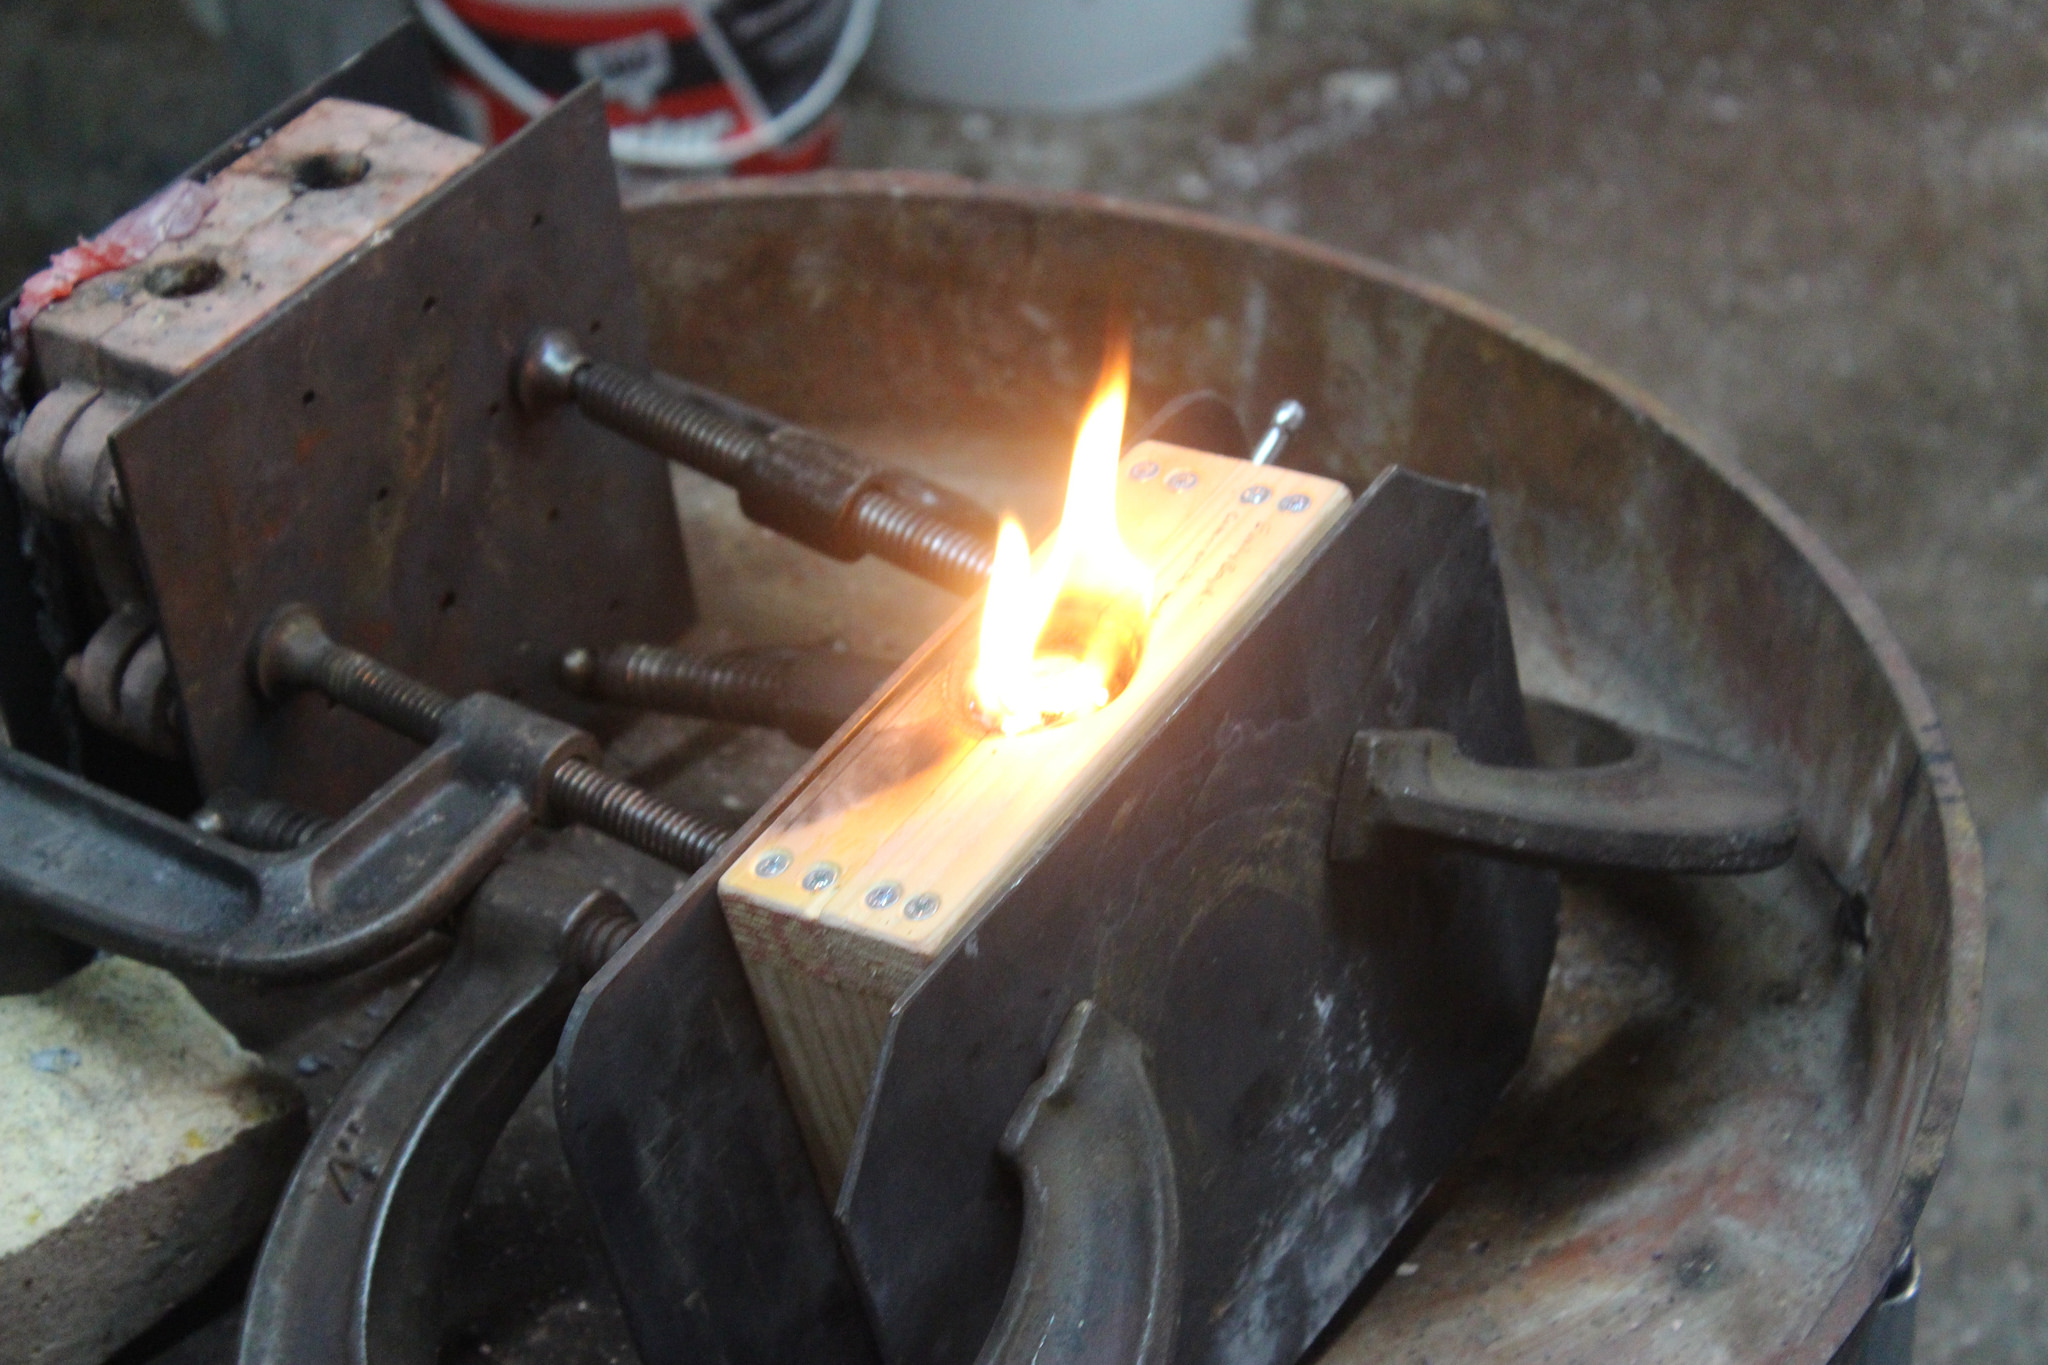
- Dr. Beentjes heated for a short time in an oven on site. This was done to drive off the and then clamped and tilted in preparation for pouring.
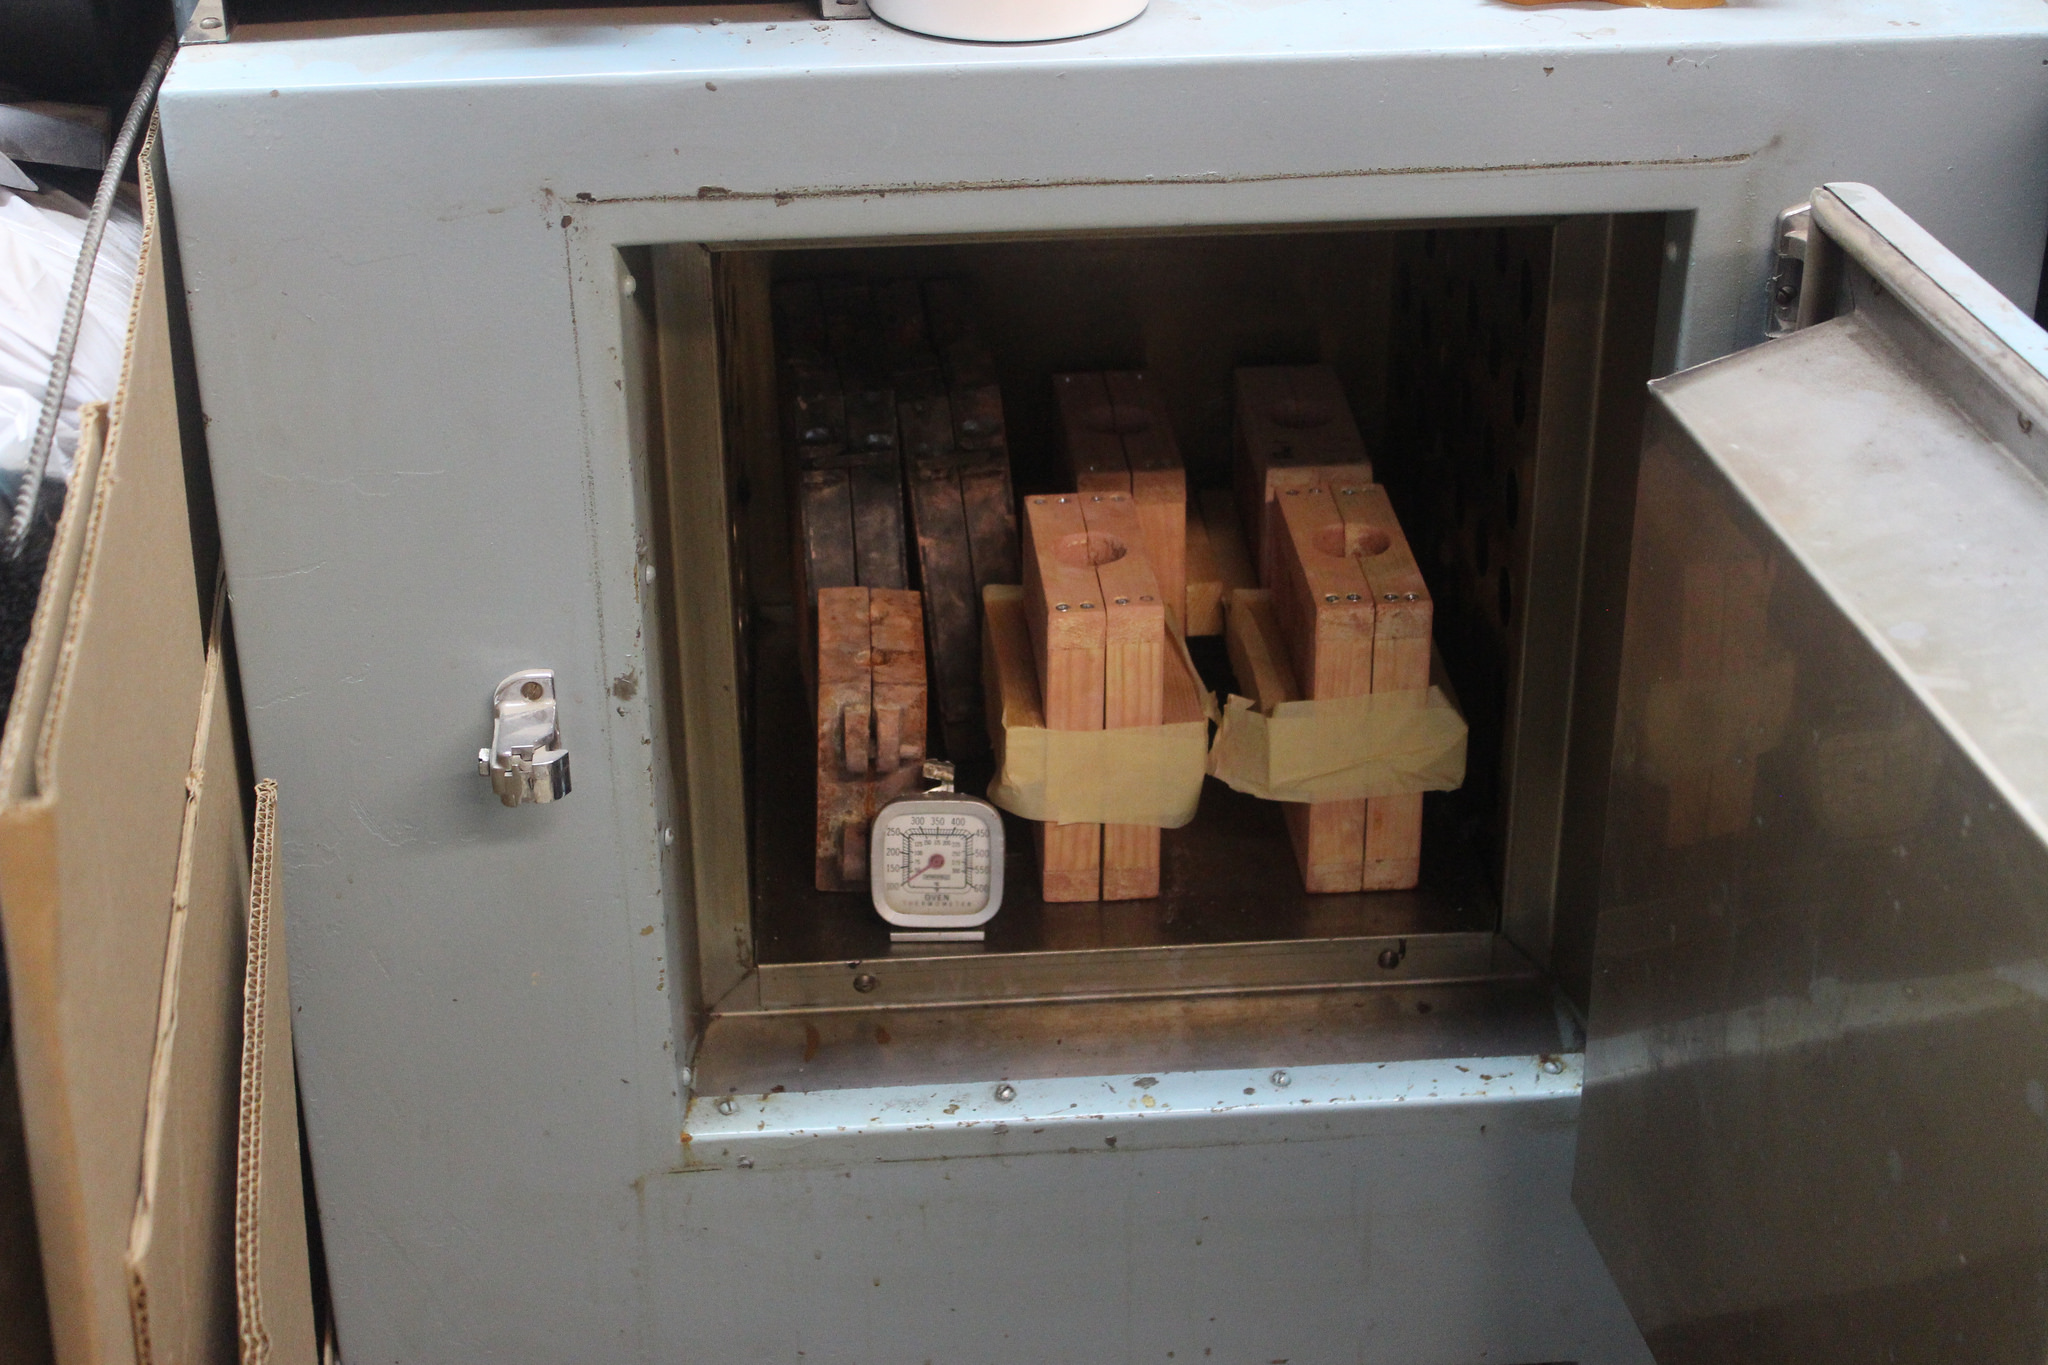 |
| Drying the Molds in an oven. |
- Only a few of the molds were selected for pouring in tin. Dr. Beentjes did the pouring himself, but he did give each of us an opportunity to feel the weight of the metal liquid in the iron ladle. The tin was heated to its melting point in preparation to pour.
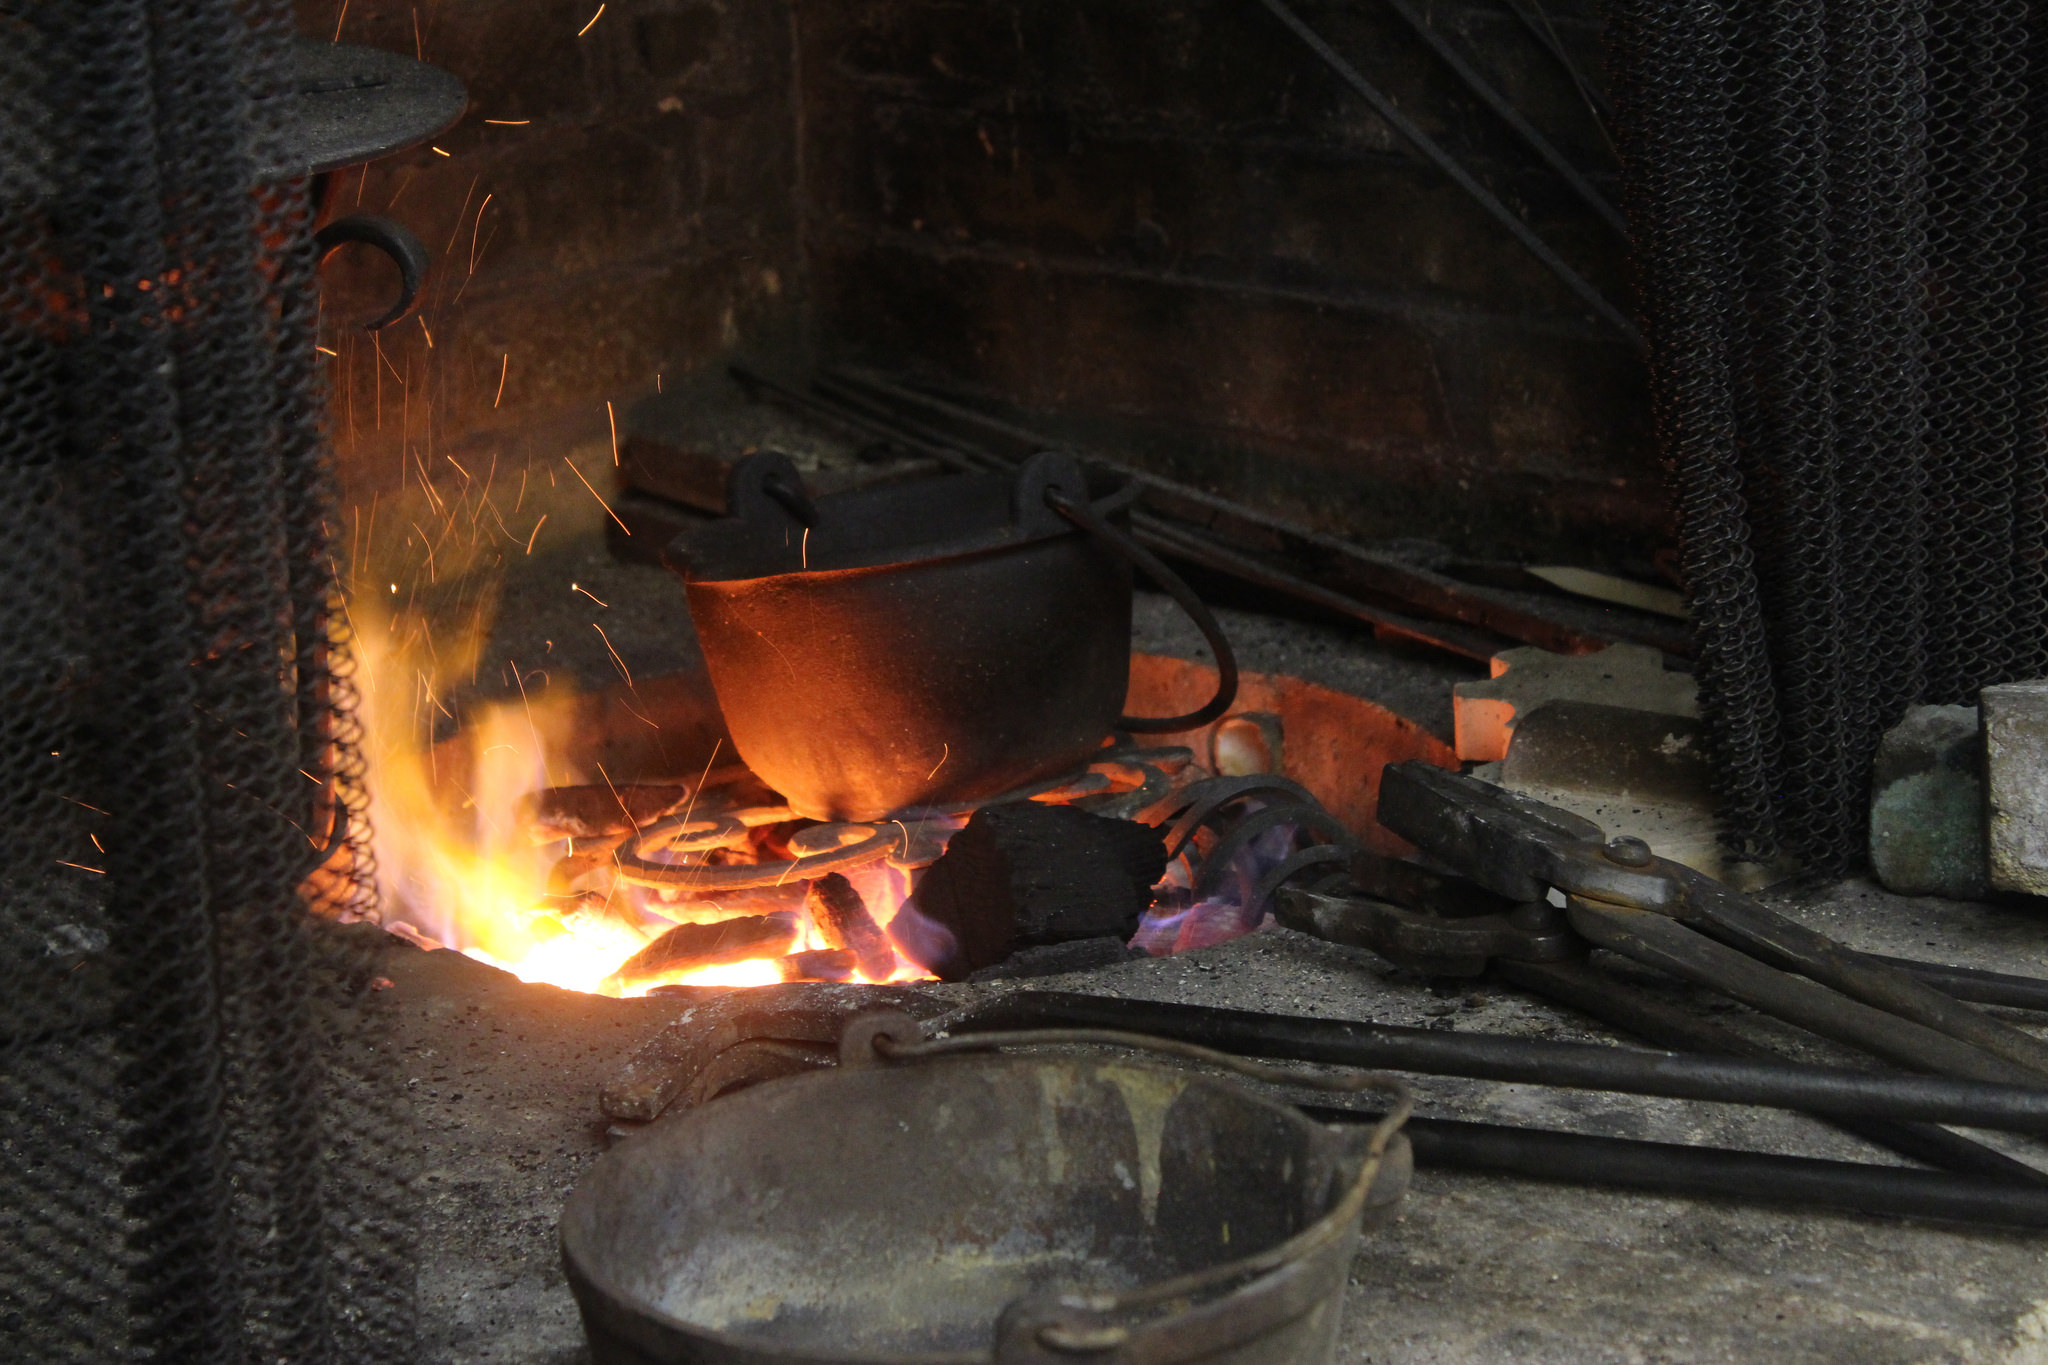
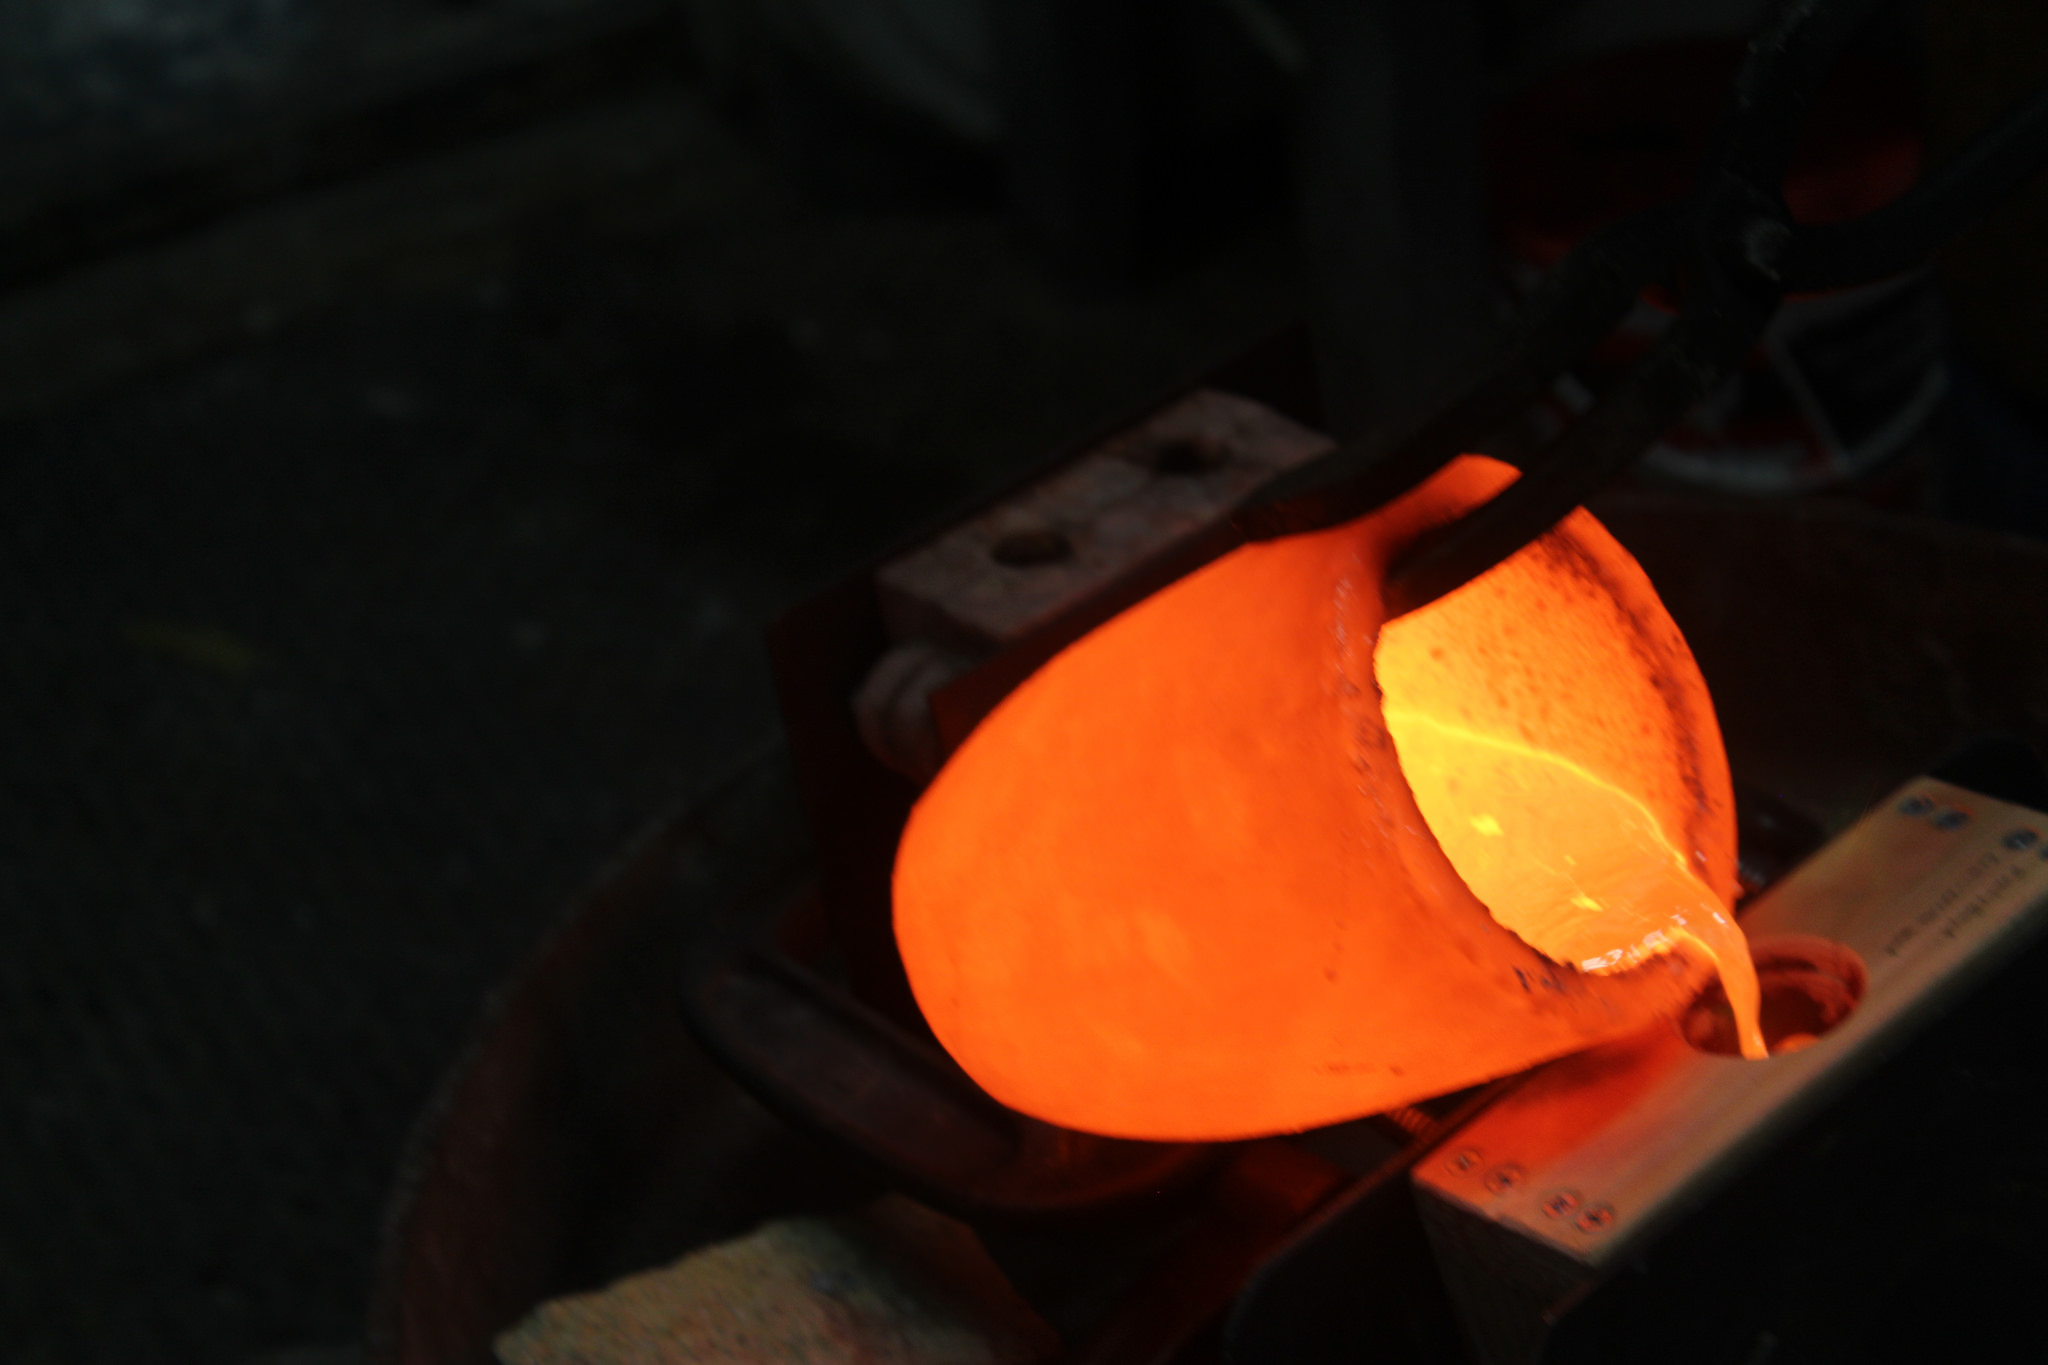
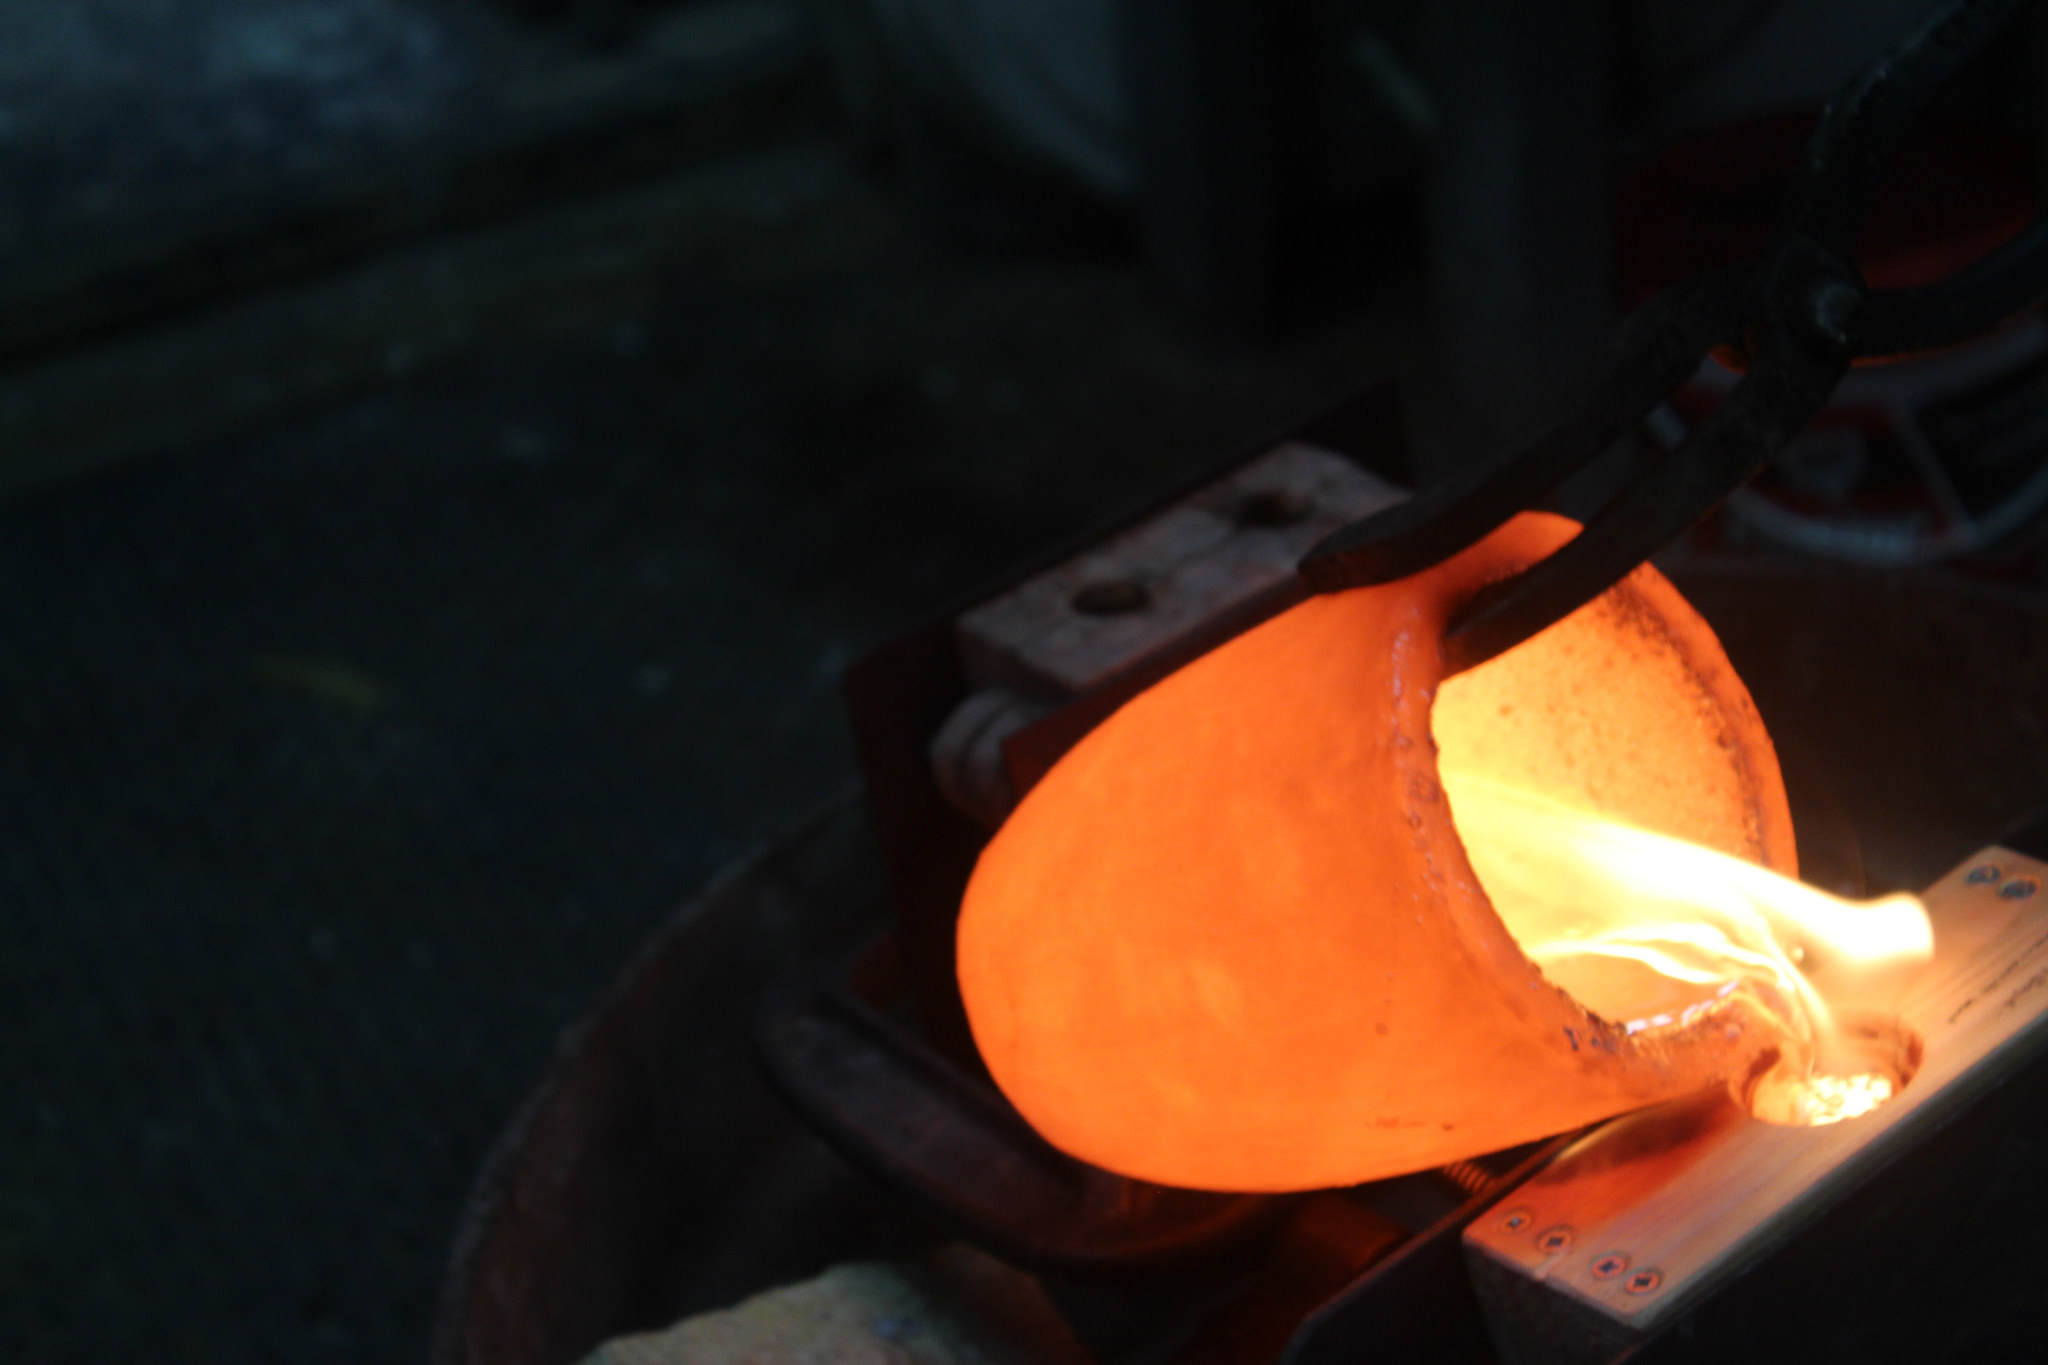
- After about ten minutes the molds were removed from the oven and prepared for pouring. The molds were held over a candle or heated with an acetylene torch. Resin was added to the tin as a deoxidizer and then using an iron ladle the tin was poured into the mold. The molds were clamped and tilted at a slight angle so that when the metal flowed it would not obstruct the escaping air.
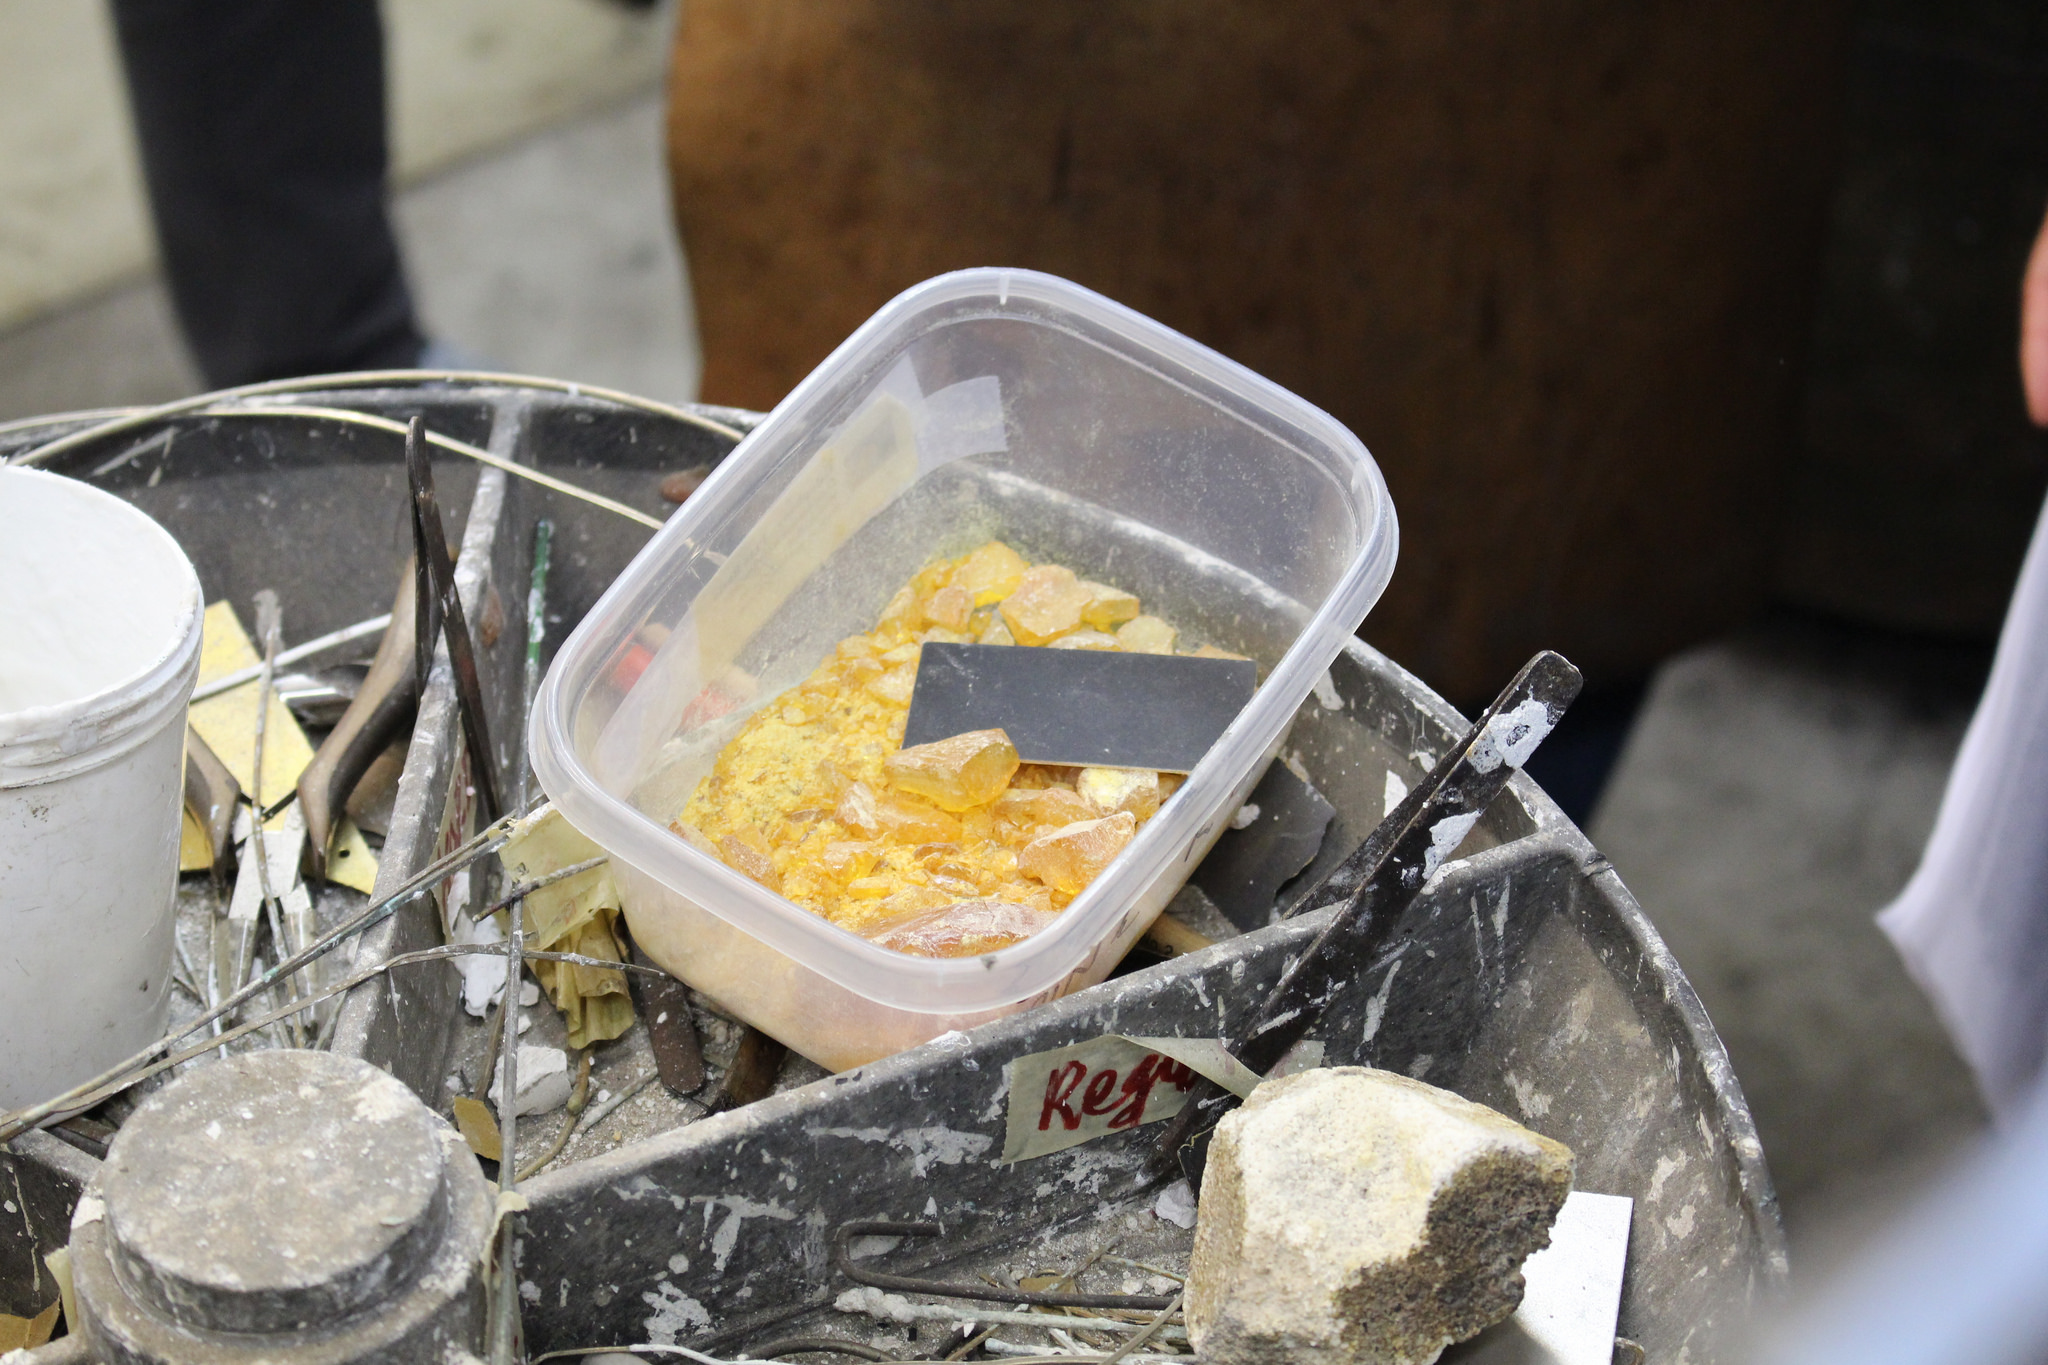
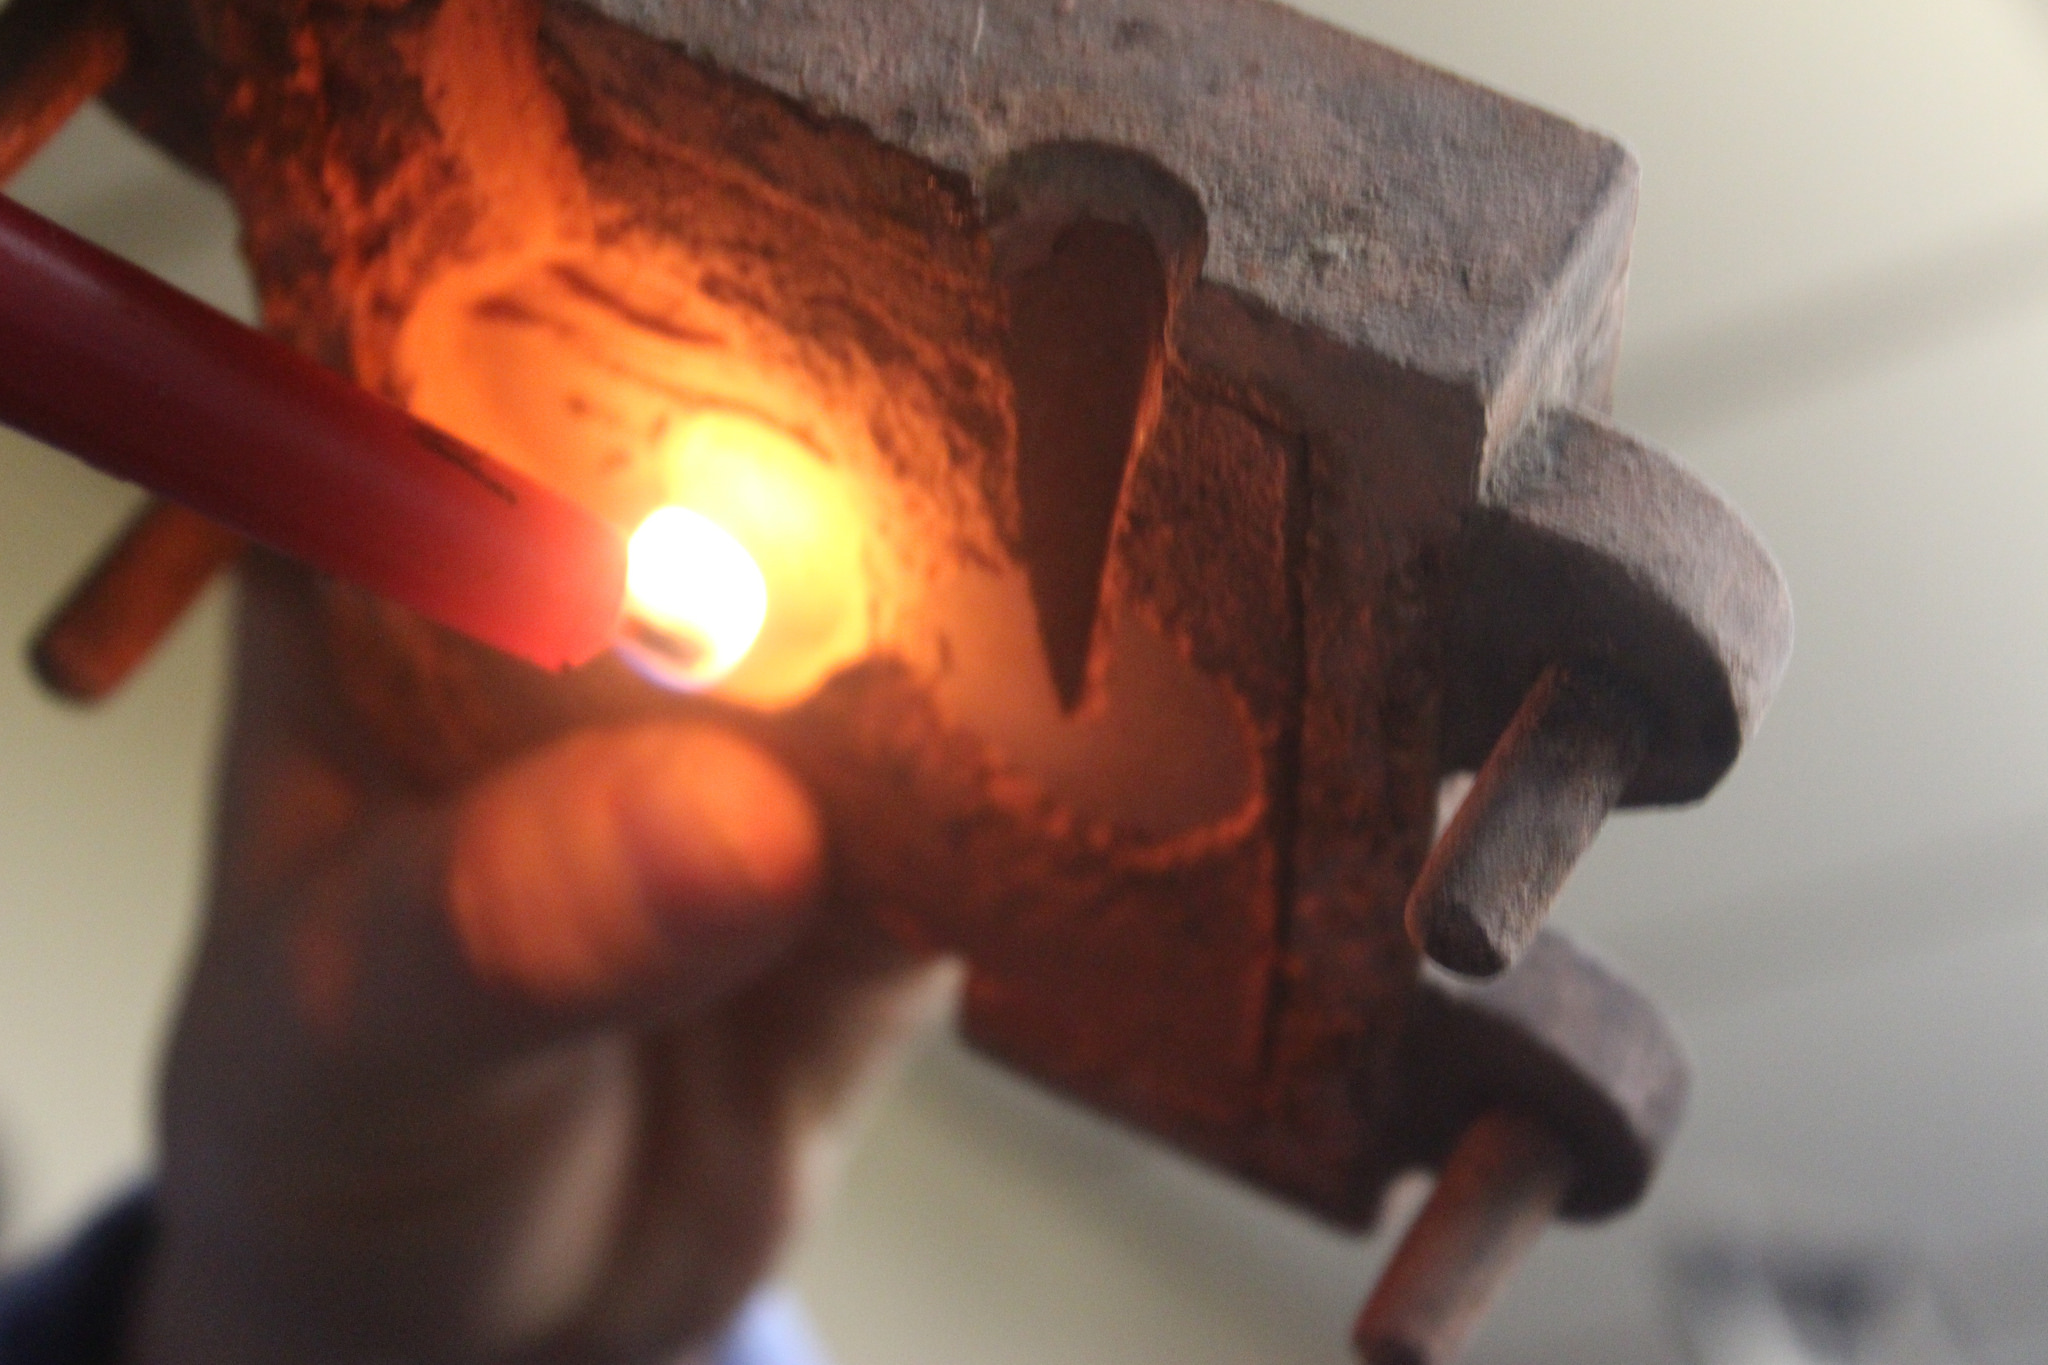
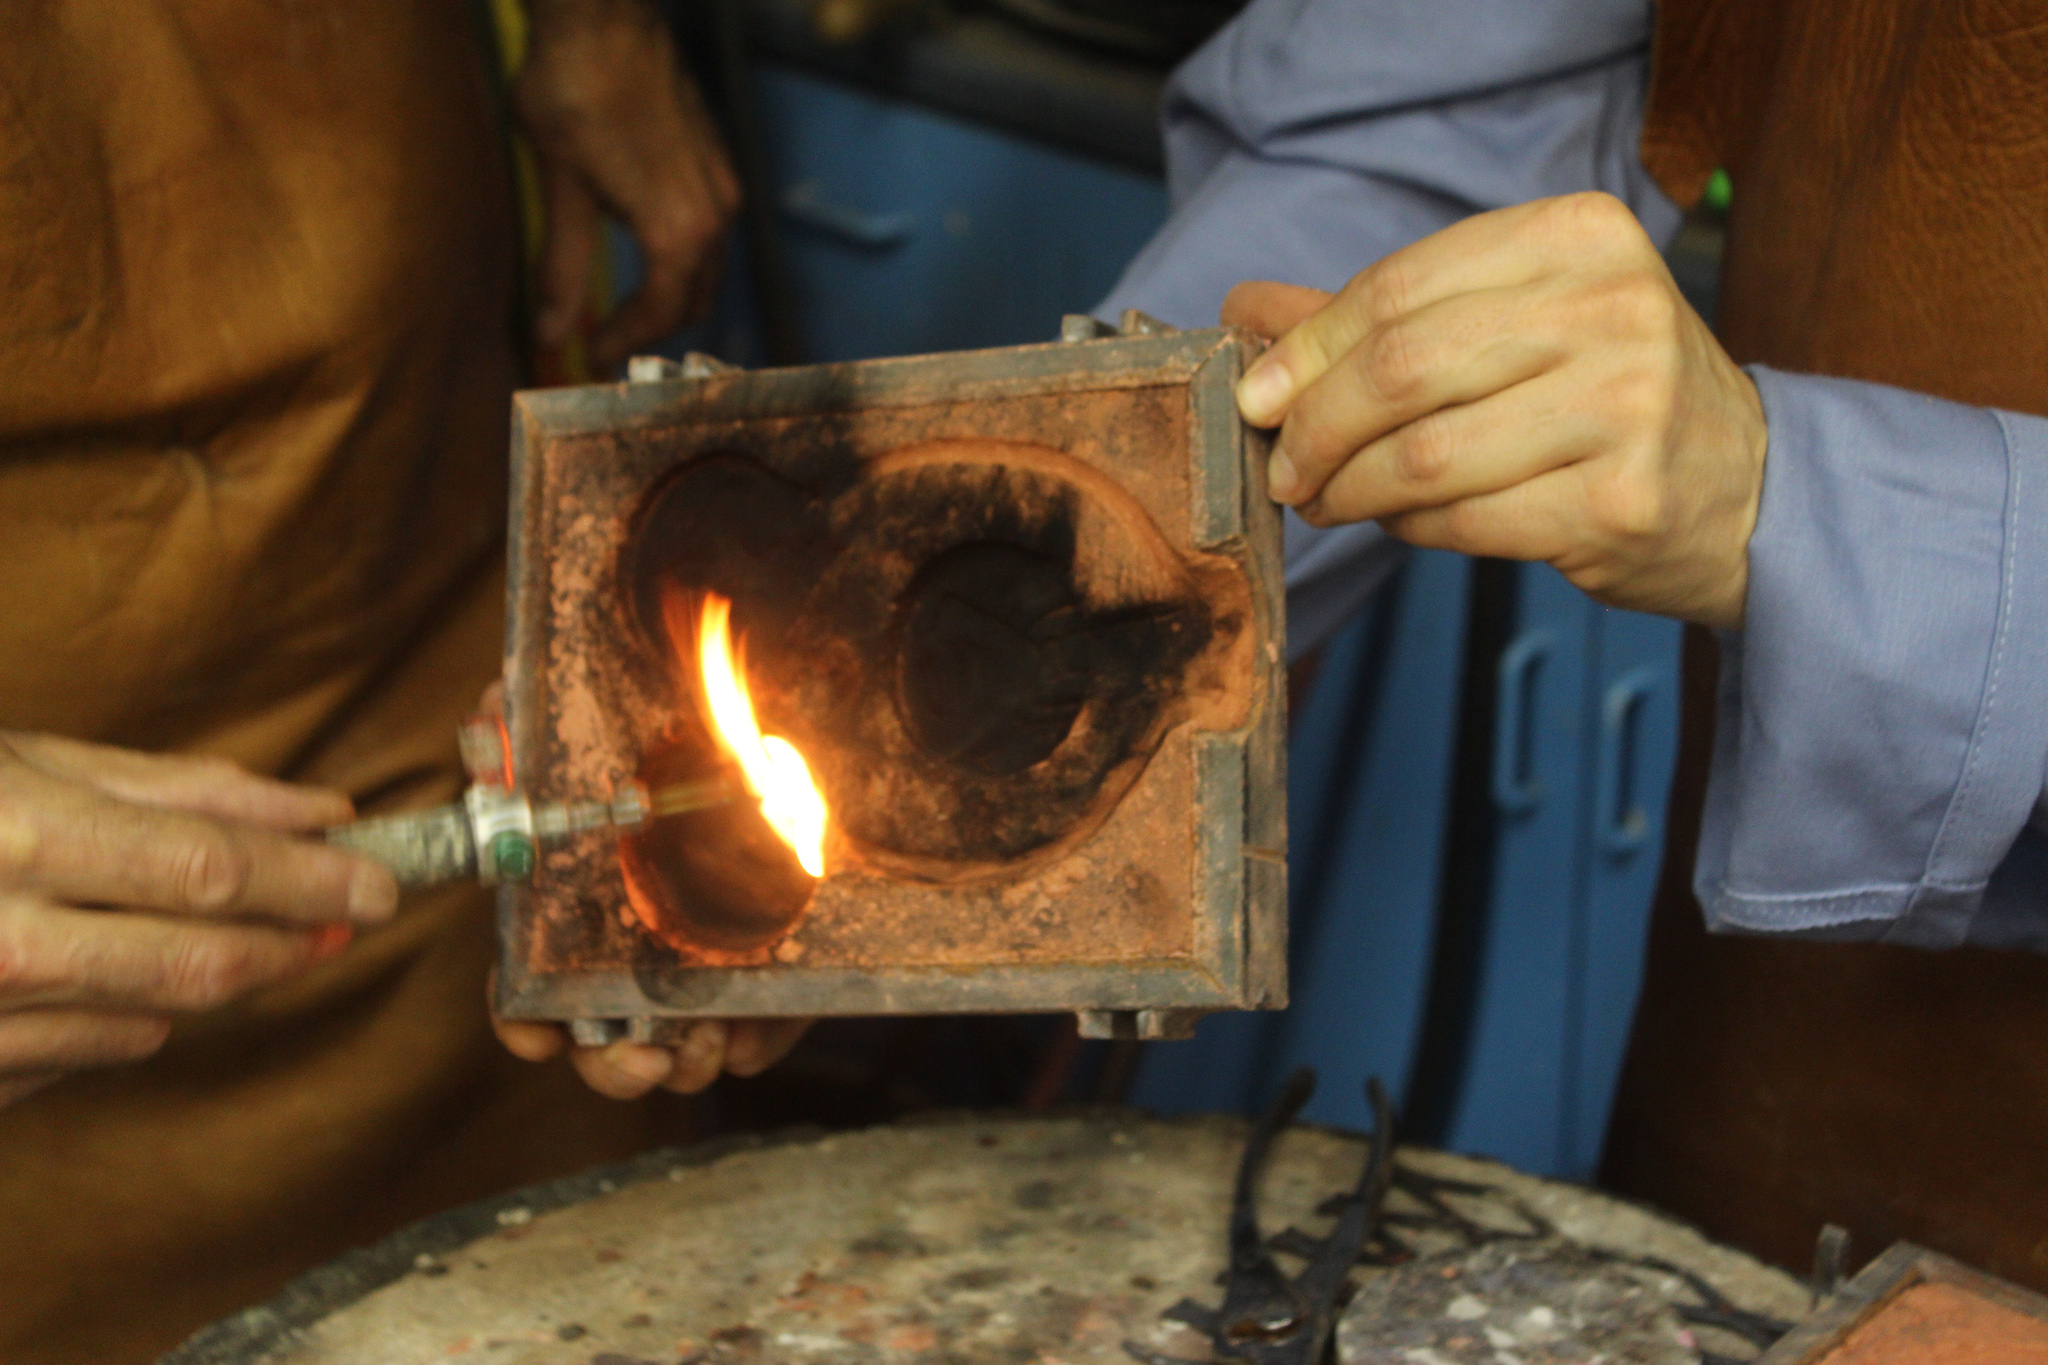
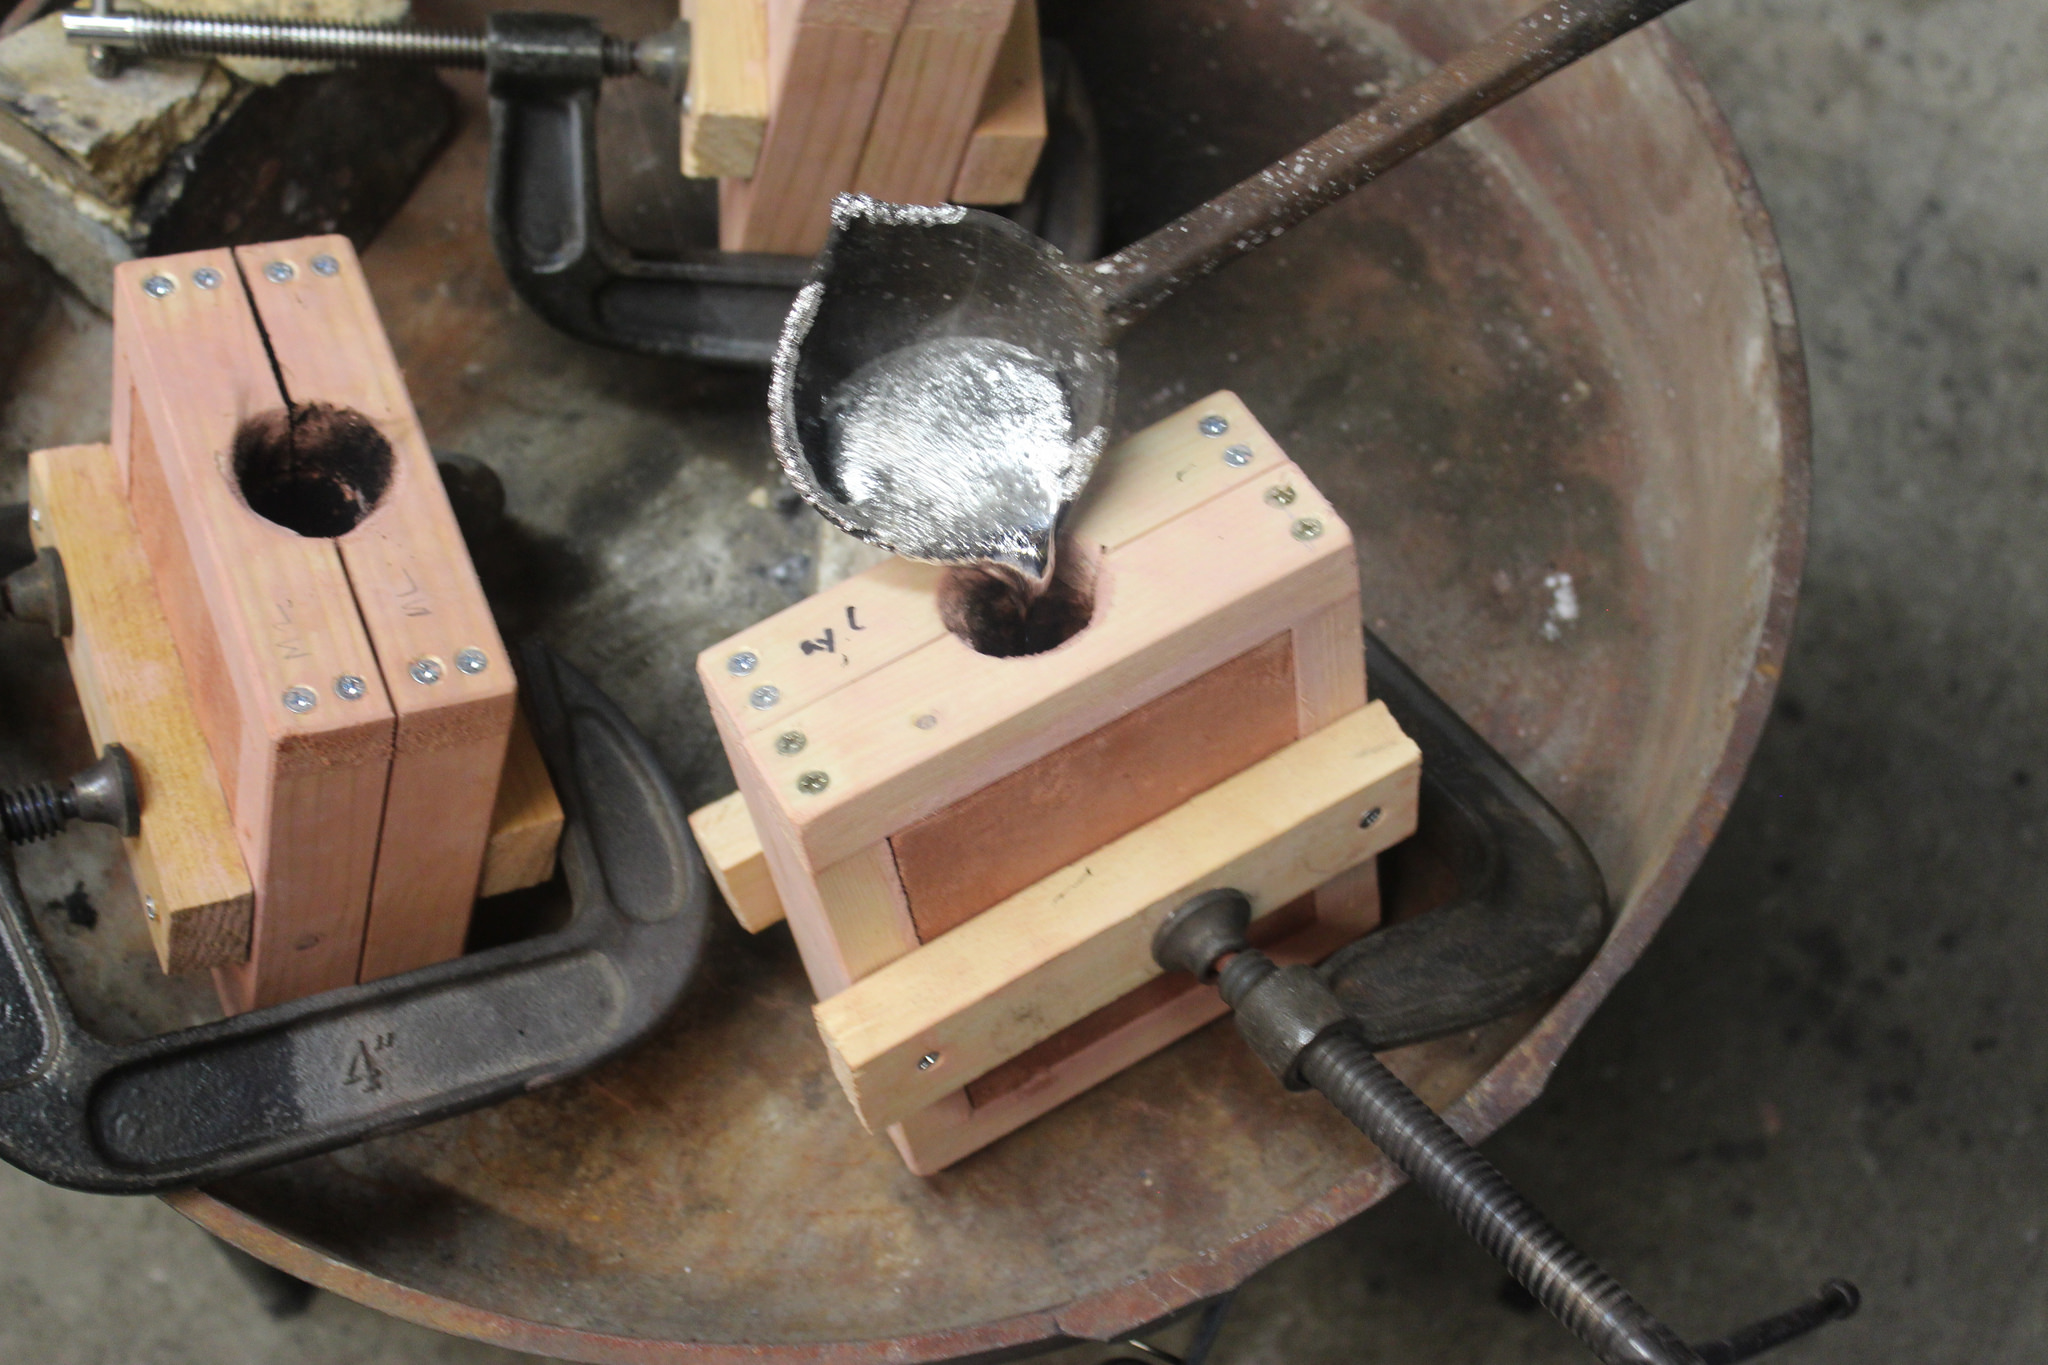
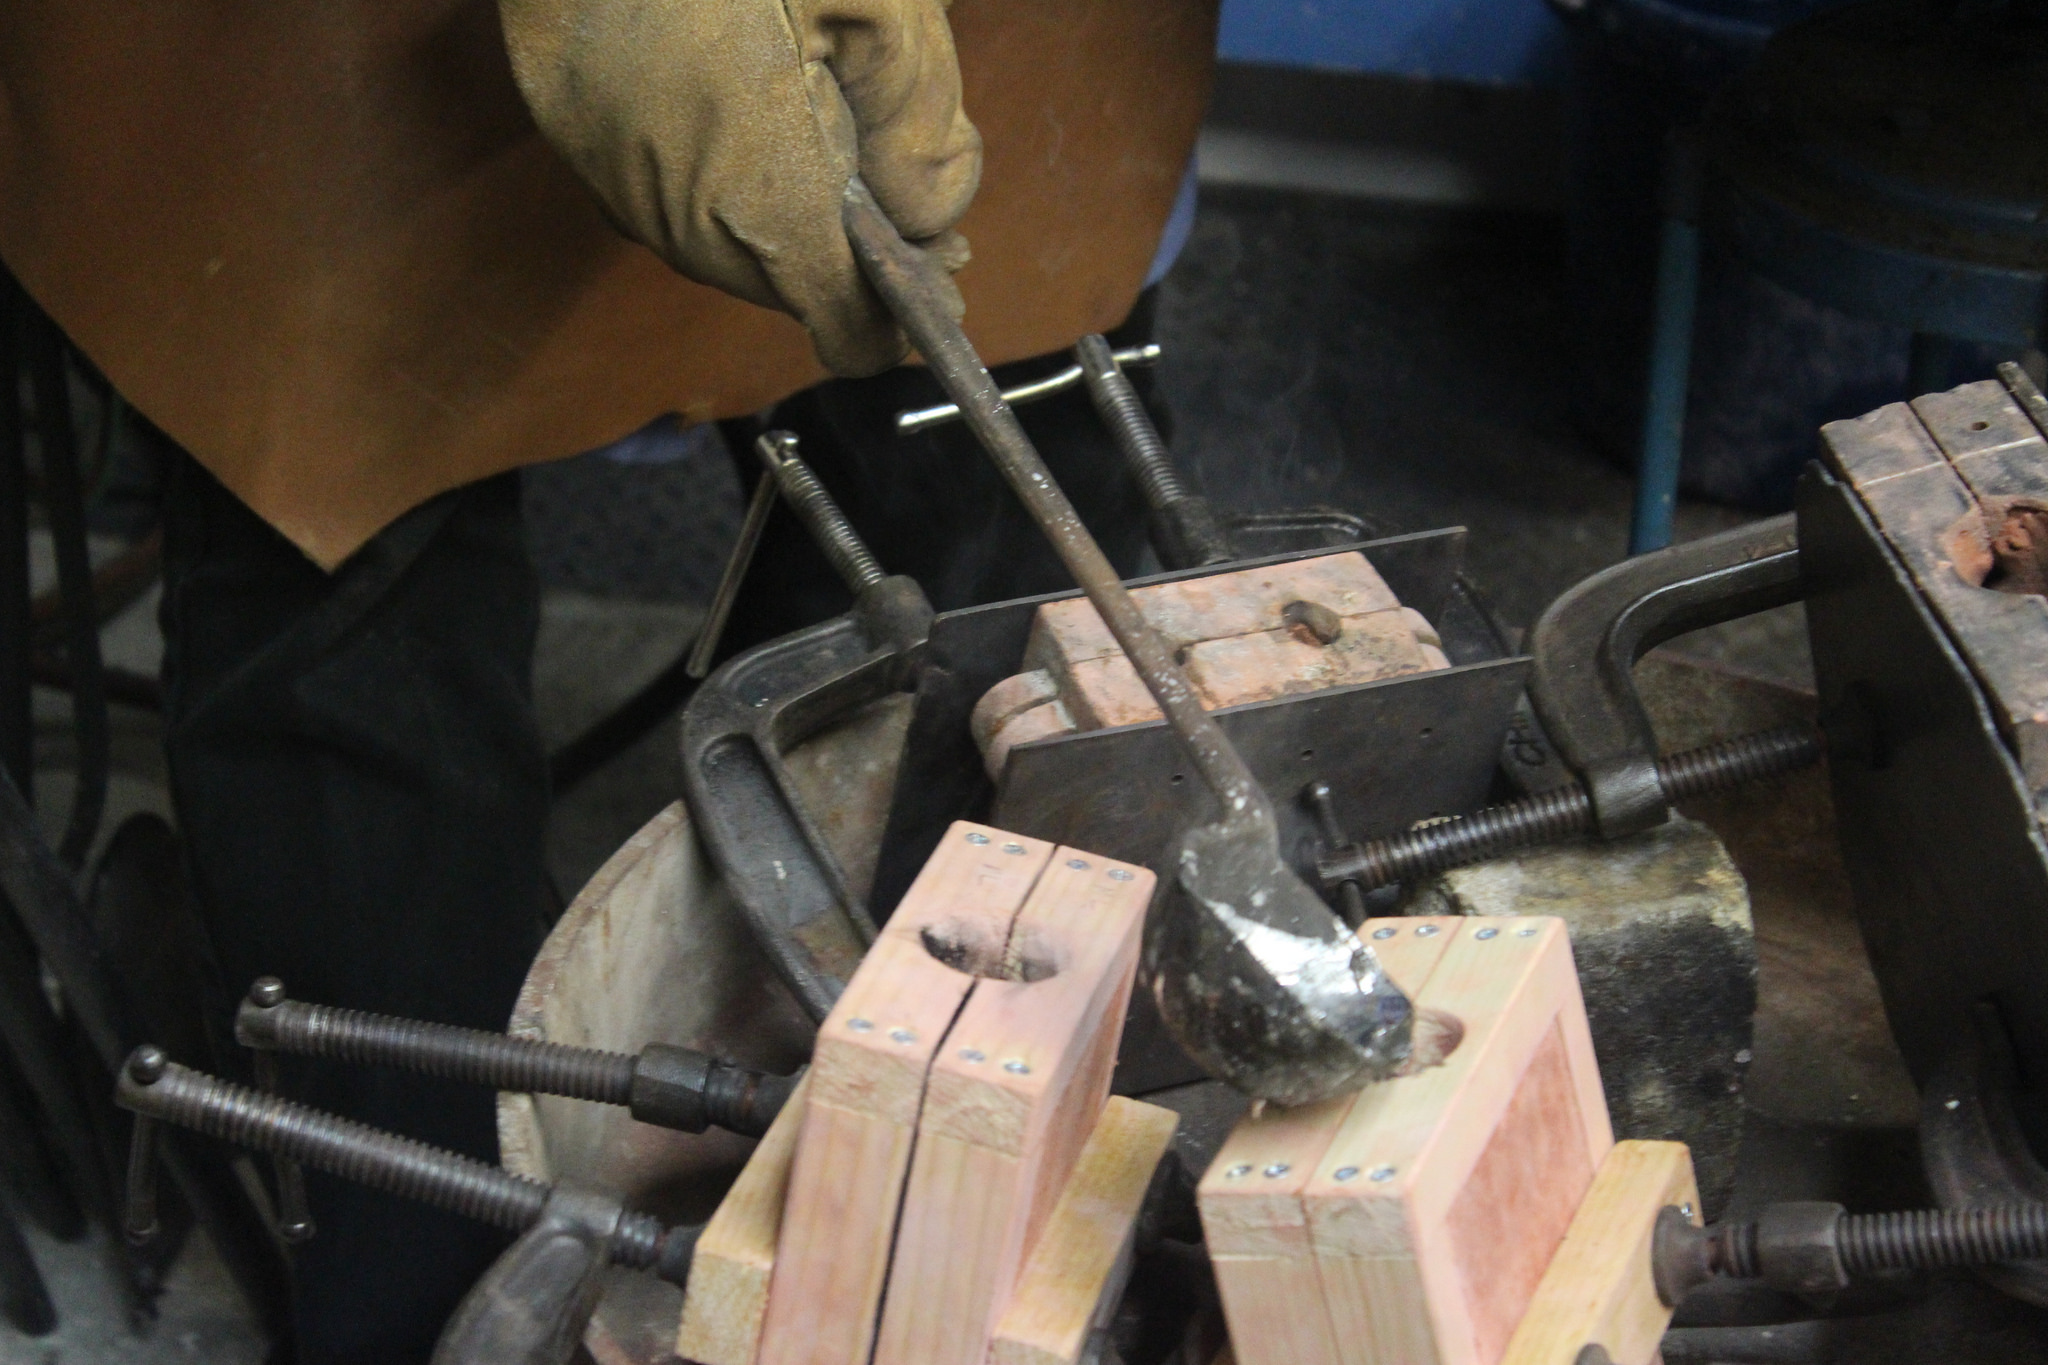
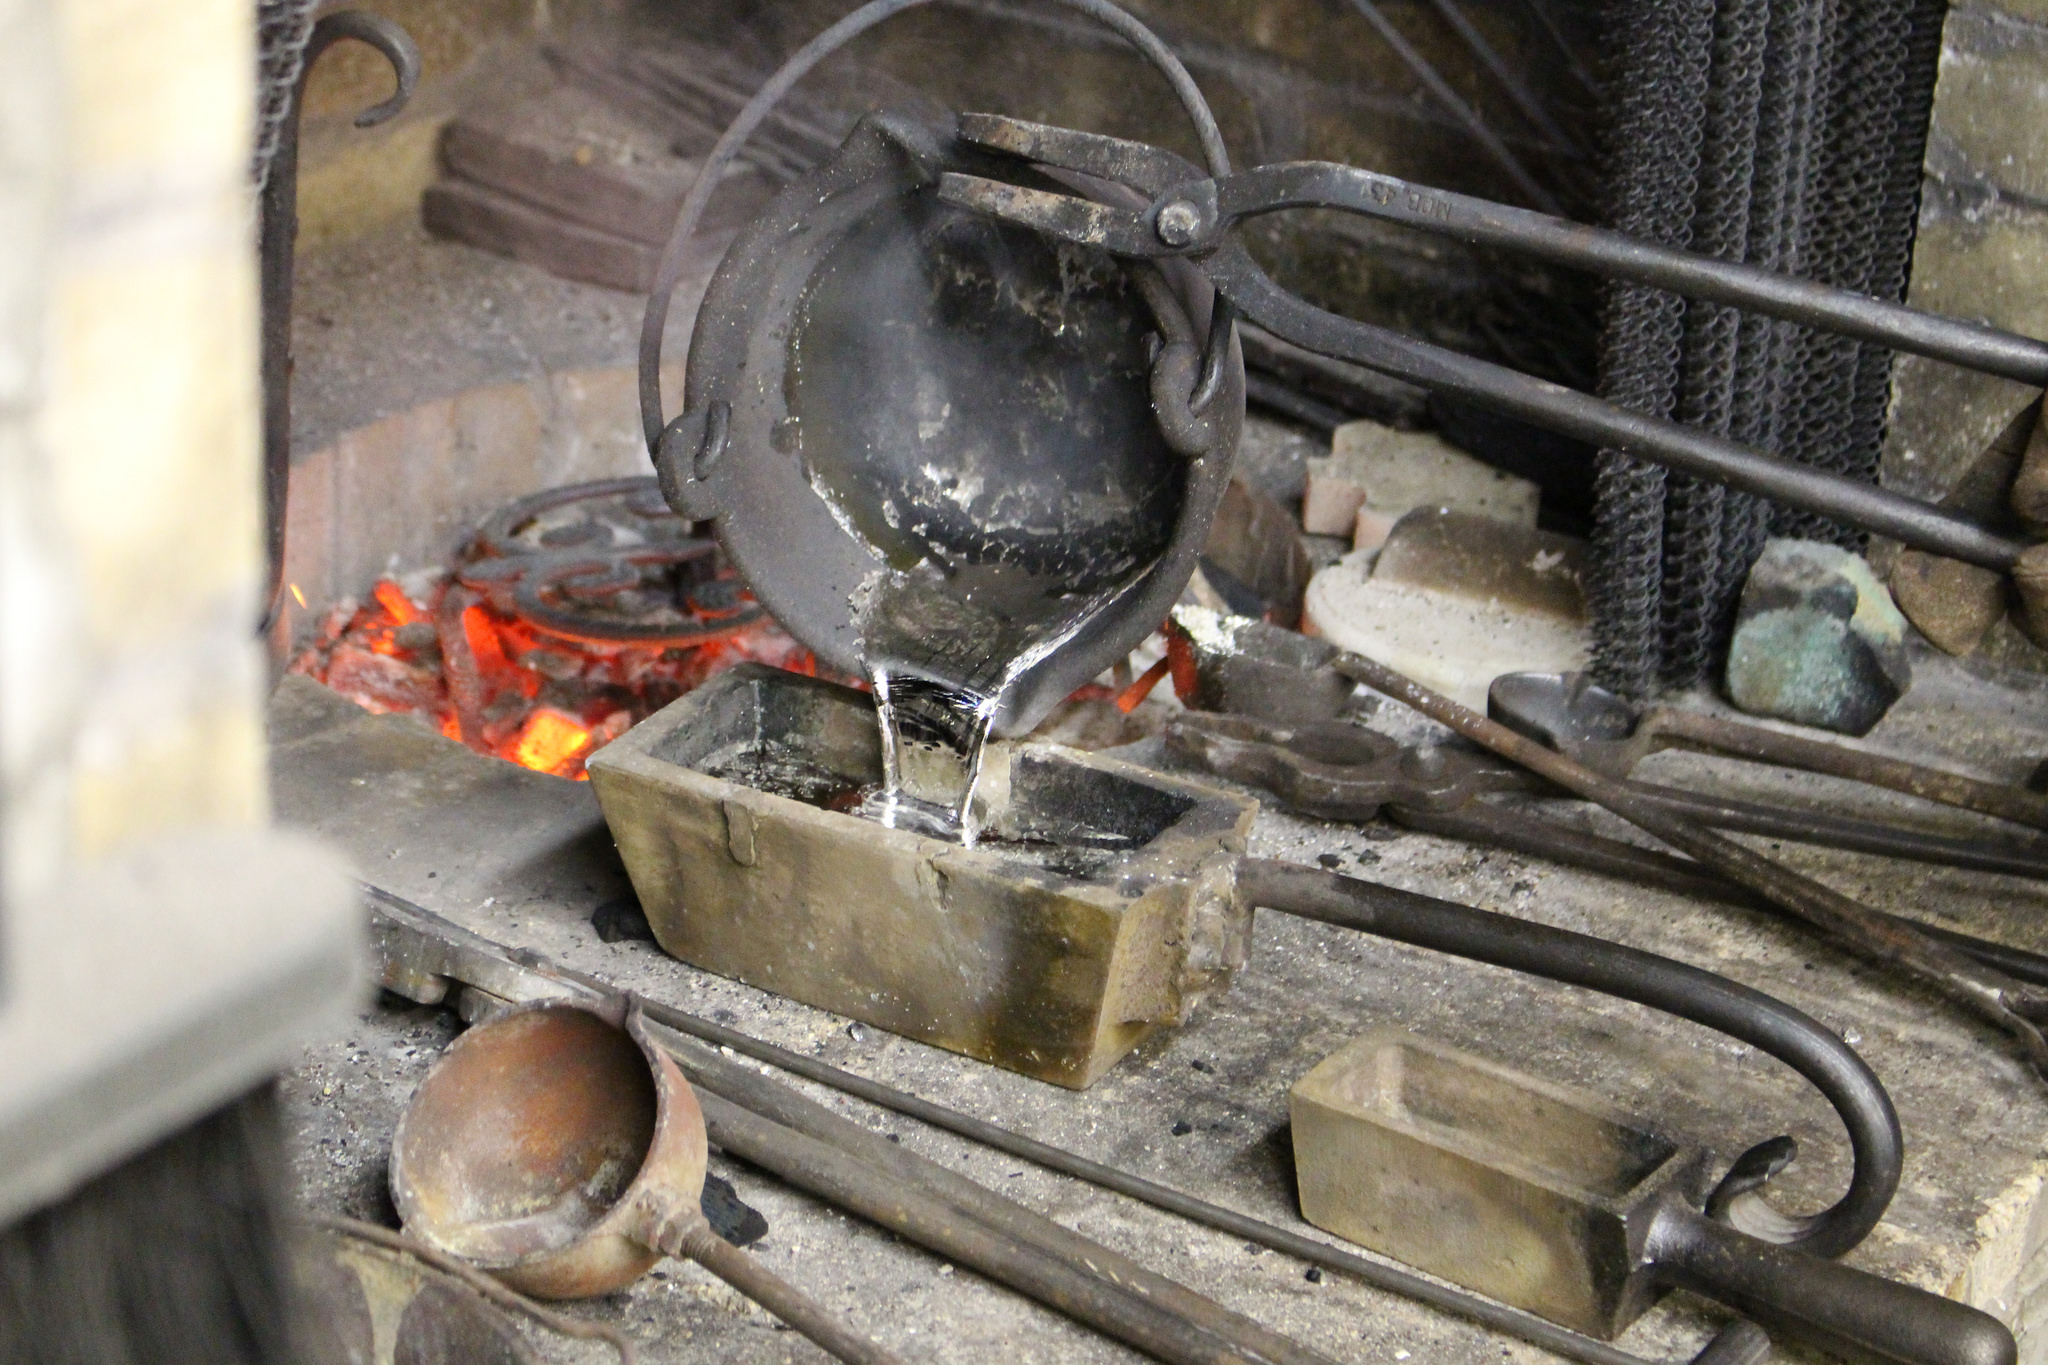
- The excess tin was preserved in an ingot mold.
- Some of the molds were selected for pouring of silver. Several of the molds were clamped and tilted. Mr. Vitali poured the silver himself. Unfortunately, before the silver was poured Mr. Vitali had an assistant put a board over the crucible to stop impurities collecting on the top of the silver from flowing into the molds.
- The biggest disappointment occurred next. The mold were too wet to be poured with silver. The molten sliver caused the moisture in the molds to vaporize and created a violent steam explosion. This reaction proved to be a fatal to the experiment, however we learned the vital importance of dryness in sand casting. We should have baked the molds for a longer period of time of constructed them weeks prior. Even though the molds appeared to be dry, and they were baked for a short amount of time, and they were burned with an acetylene torch, the silver was able to find the moisture.
- We also learned that this is a dangerous trade. If the mold was larger and a similar reaction happened, serious injury could have occurred.
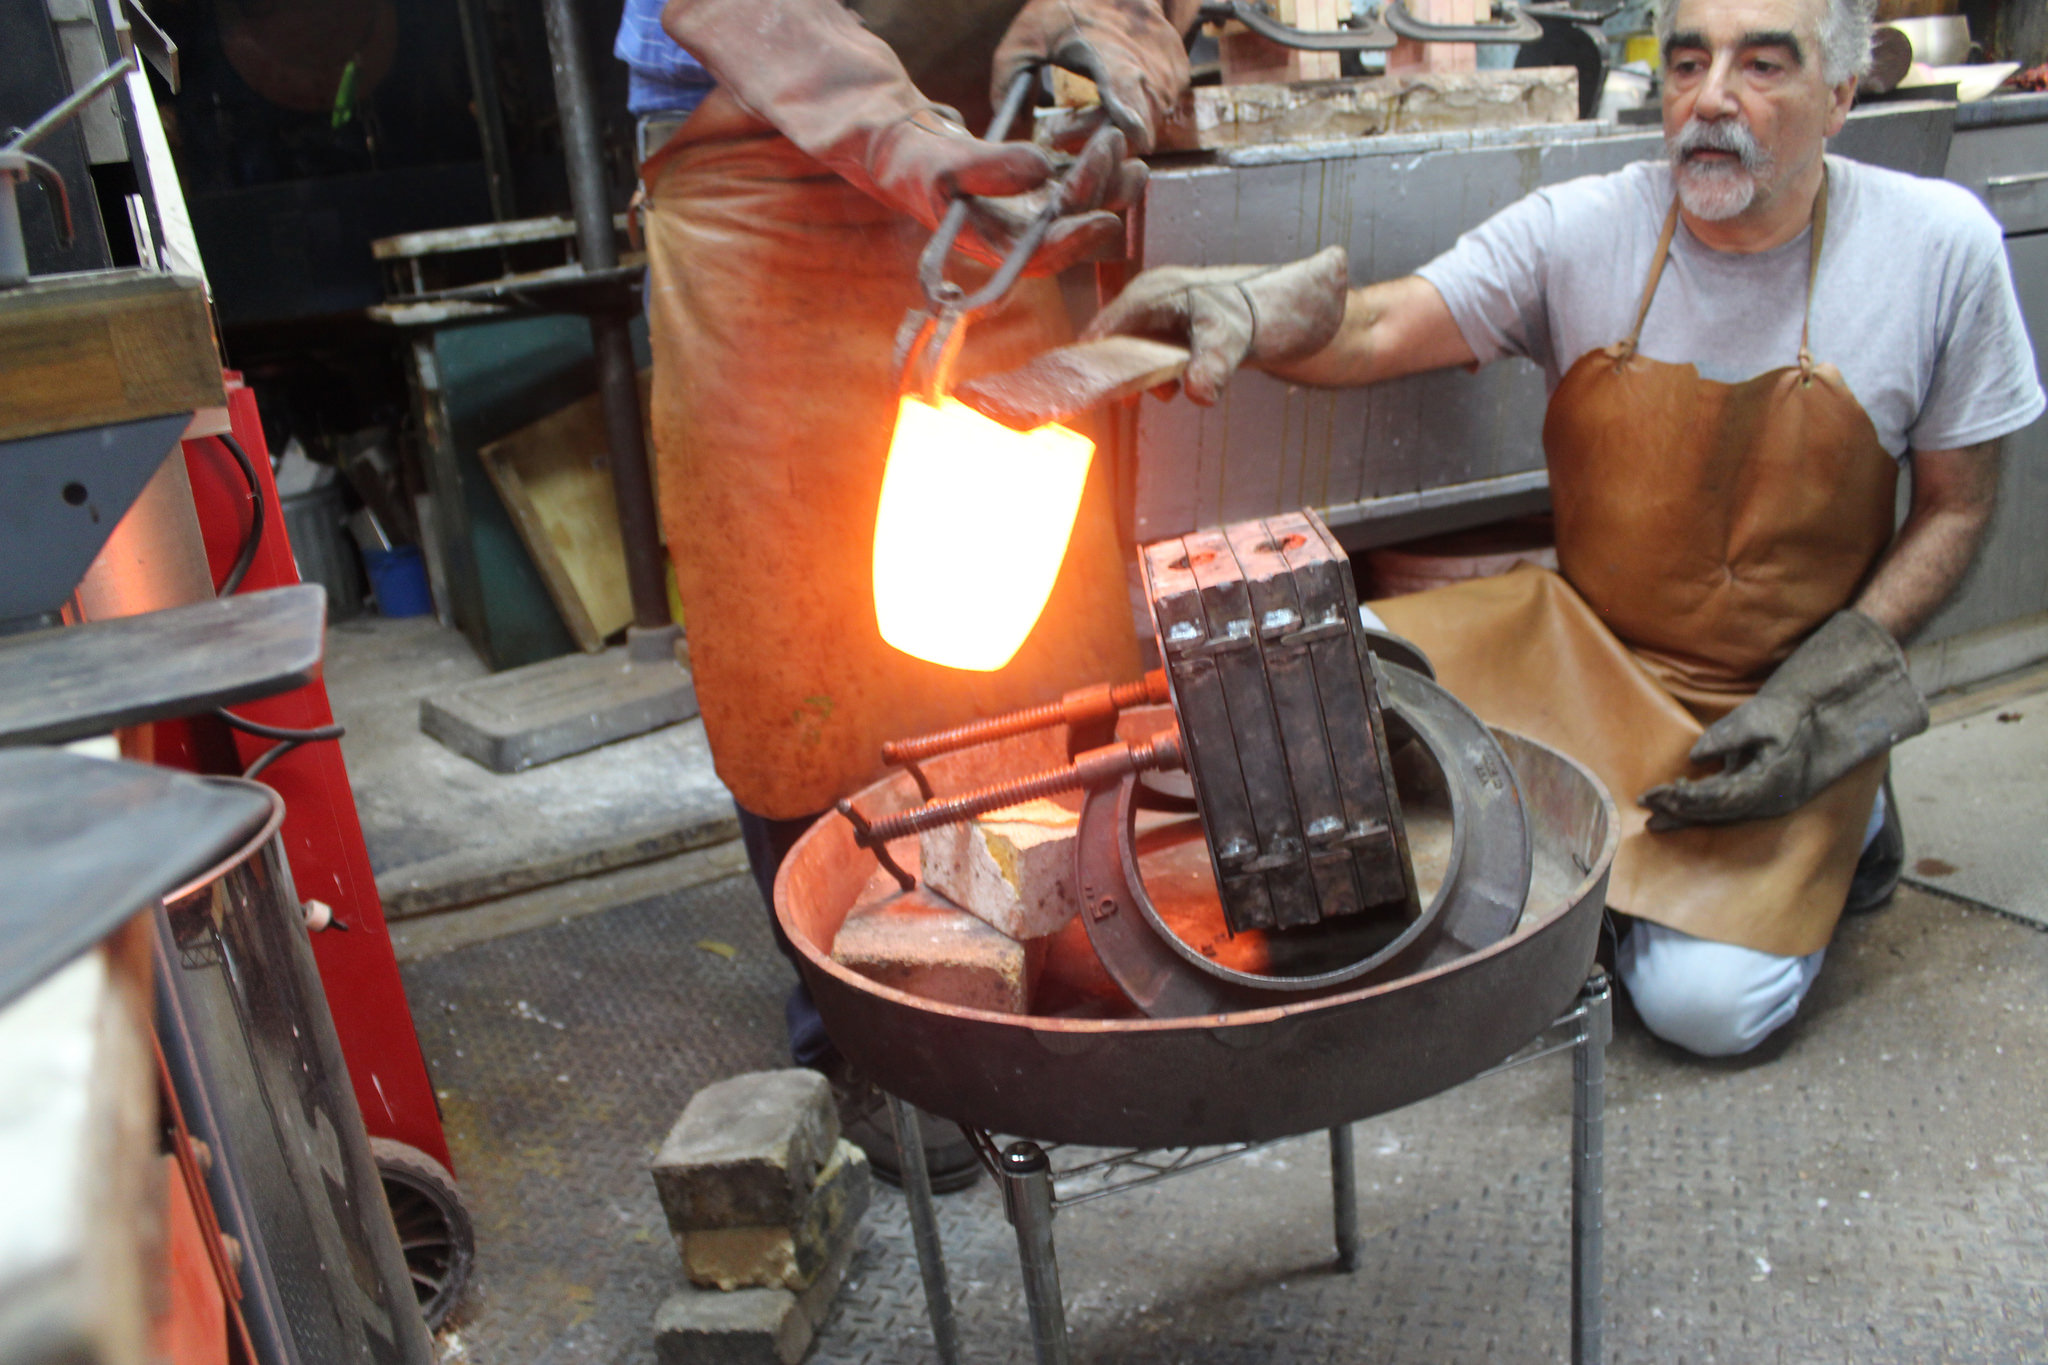
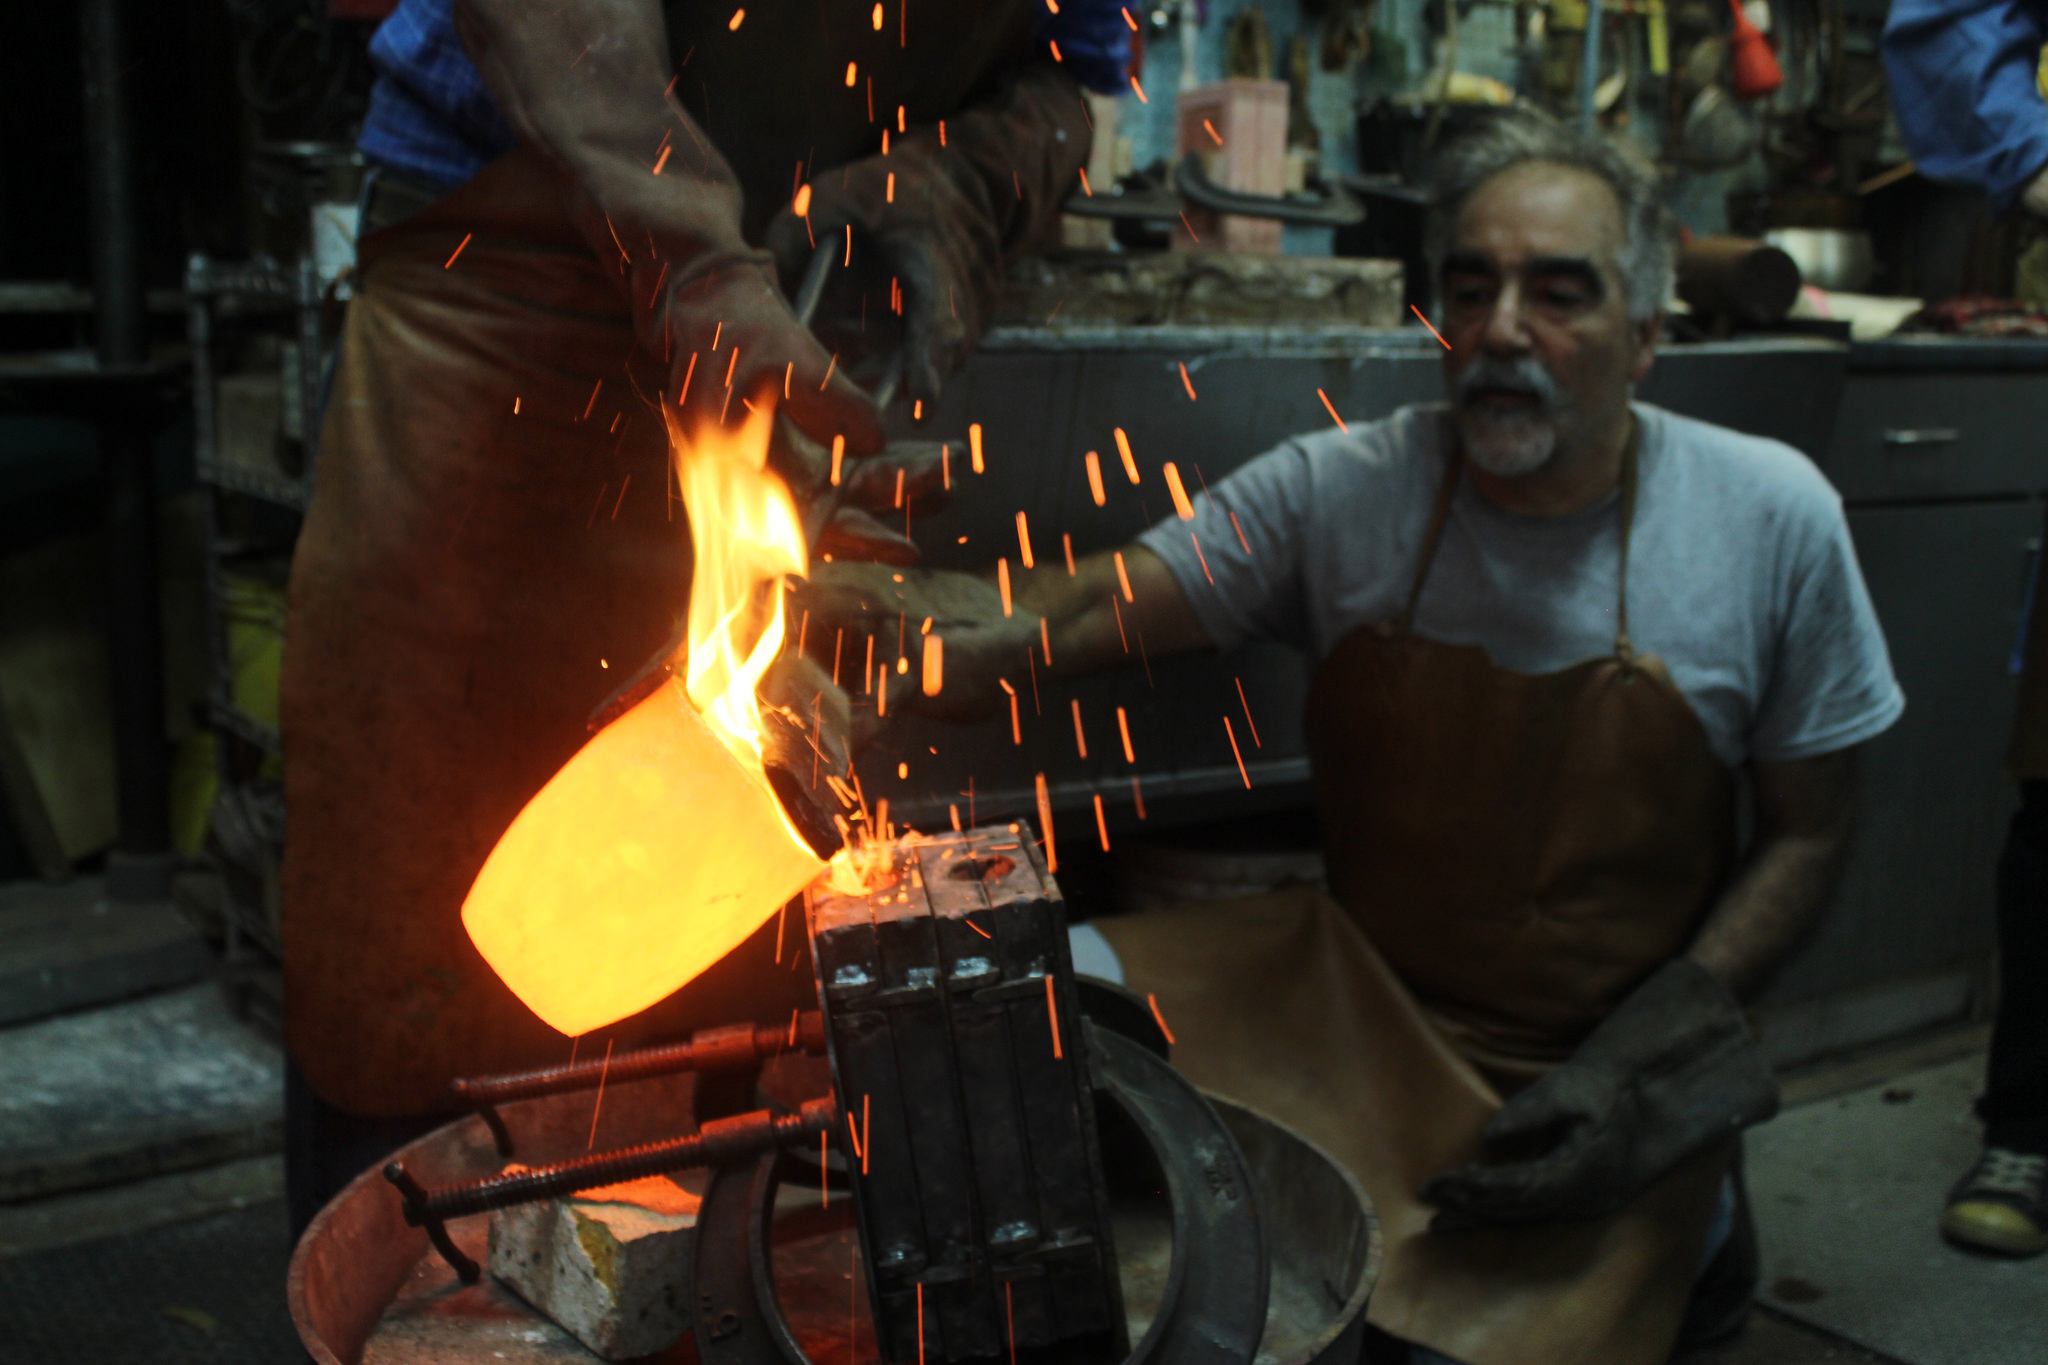
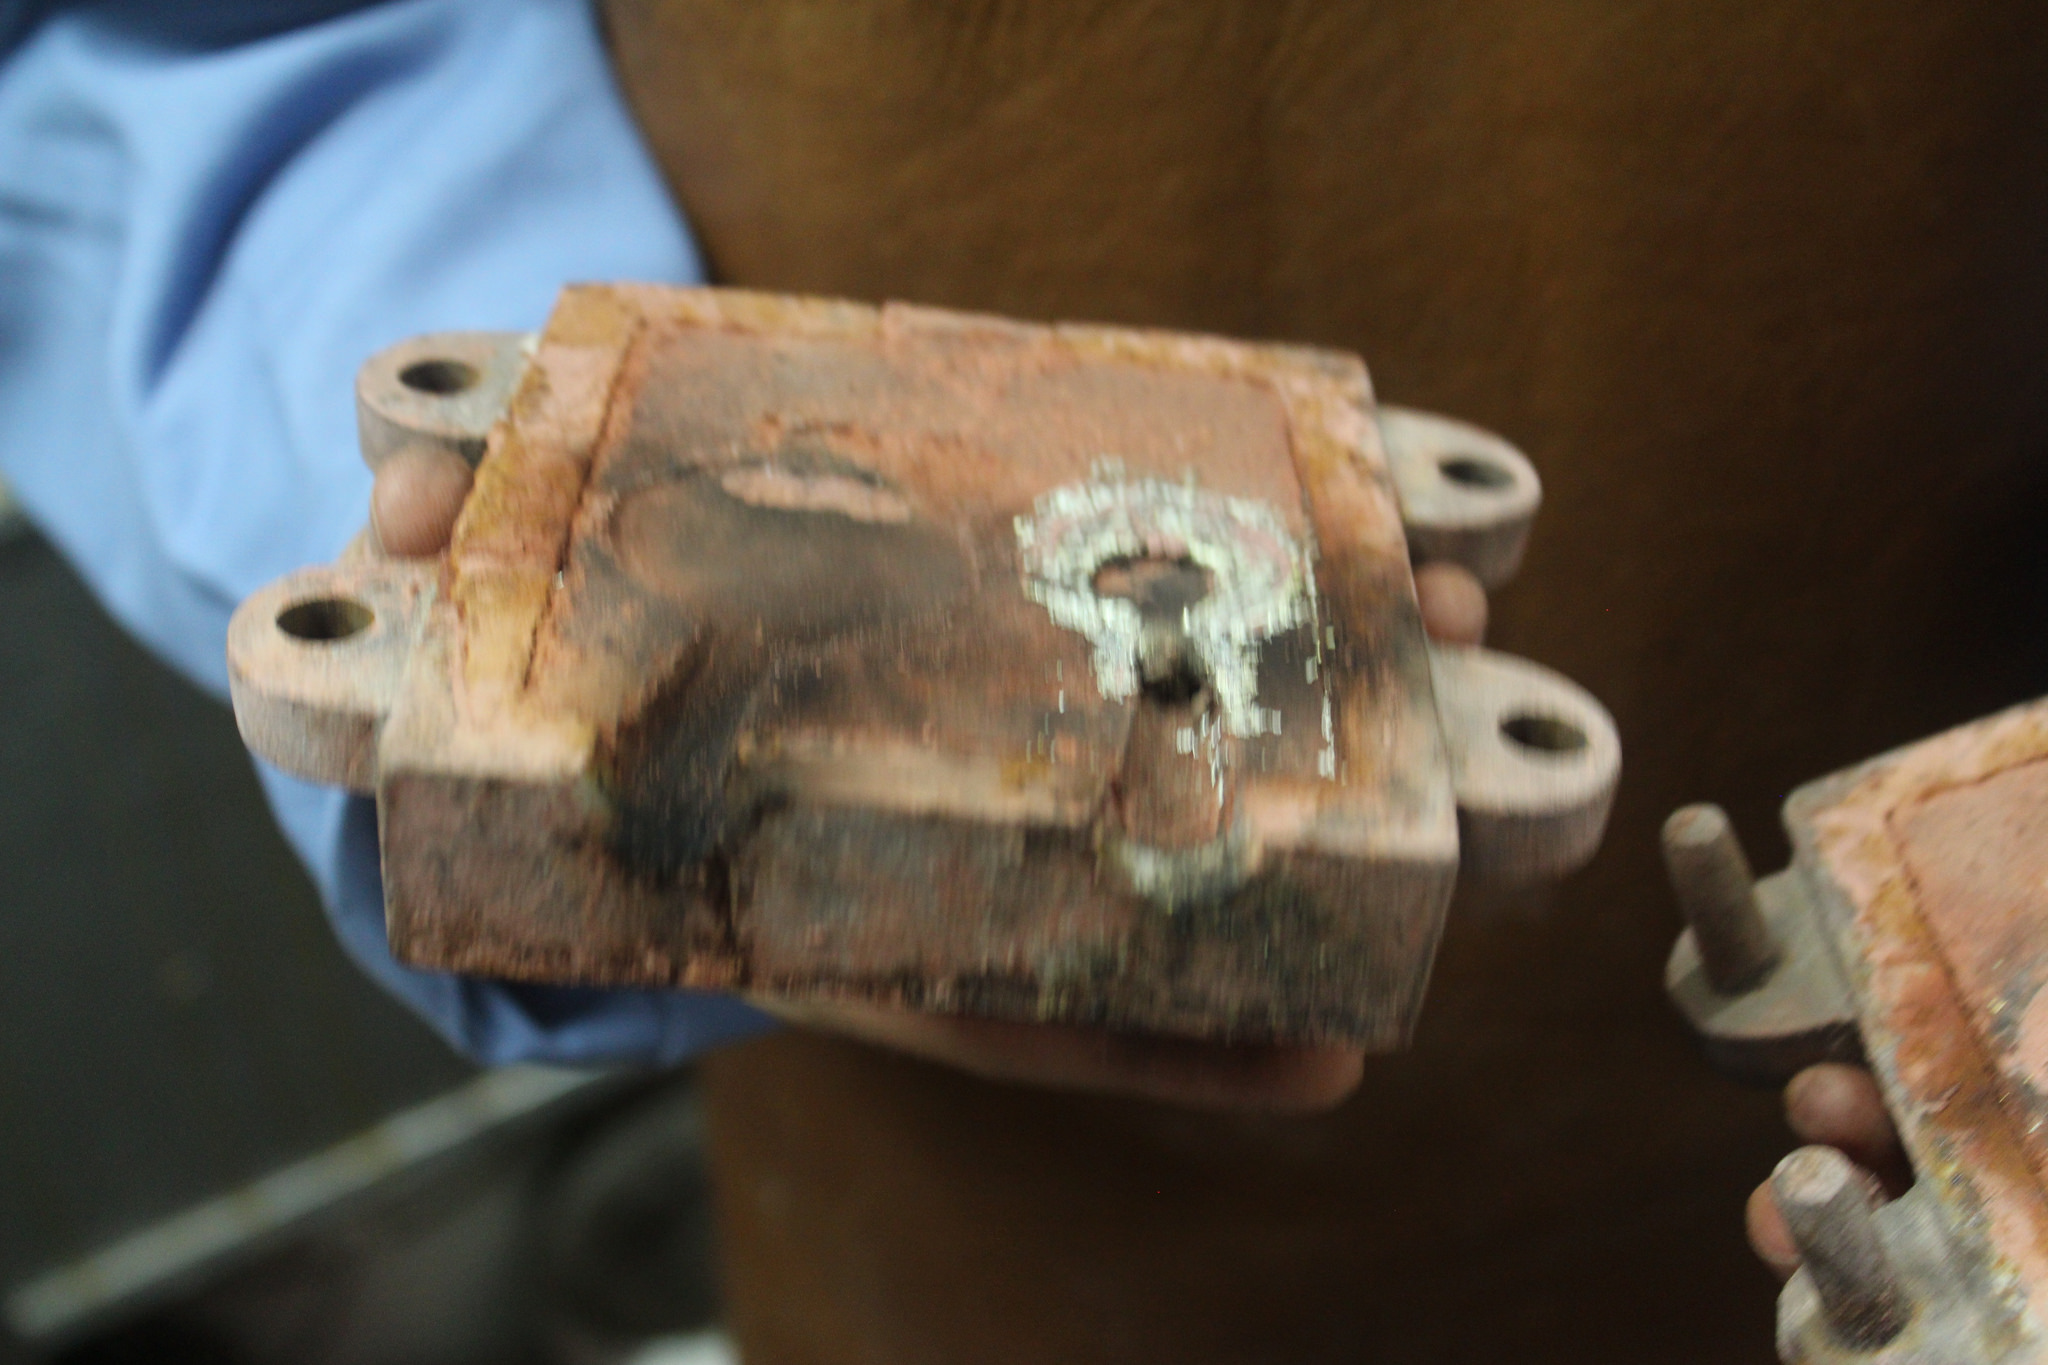
- The commercially available sand, that used an oil as its binder, was then poured with the silver. The silver did not react with the sand and the final medal captured the detail of Emily's original wax model. The results served as a nice example of what is possible with the medium.
- General Observations:
- Mr. Vitali's shop was an amazing place. He truly is a living legacy of eight generations of gold smithing. I was intrigued by the copious amounts of tools that were present in his shop. Mr. Vitali had hundreds of different types of variations of clamps, hammers, pliers, and files. There must be more to the history of tools than is being inquired upon at this time.
NAME: Jef Palframan
DATE AND TIME: 10-15 Oct 14
LOCATION: Columbia University, Chandler Hall Rm. 260 - Manhattan, NY
SUBJECT: Making the Mold Casting
- Conditions:
- Lab conditions, approx. 72°, no air movement, average humidity.
- Materials:
- Sand from Old Molds: The sand that was used was made from old molds supplied by Dr. Beentjes and Dr. Smith. The original molds varied in density from very corse and hard to fine and soft. After the molds were ground in a mortar with a pestle, they were sifted with a stainless steel sifter, that, as will be illustrated above, proved to be not sifted finely enough.
- Sal ammoniac water: A mixture of sal ammoniac and water as specified in the recipe.
- Brandy: Cheap brandy from the liquor store. [Get the brand name].
- Wooden flask: Pre-made wooden flask to hold sand and mold.
- Molding Clay: Commercially available. [Get the brand name].
- Plaster of Paris: Commercially available. [Get the brand name].
- Equipment:
- Mallet and Expresso Pounder: Weighted metal expresso pounder and rubber mallet. No anticipated negative effect on authenticity.
- Mixing Bowl: Plastic. No anticipated negative effect on authenticity.
- Counter-Top: No anticipated negative effect on authenticity.
- Large Cutting-Knife: No anticipated negative effect on authenticity.
- Wax Carving Tools: Store bought tools of various shapes and sizes. No anticipated negative effect on authenticity.
- Primary Recipe:
- 118v - Casting in a box mold
- Discussion on Procedure (10 Oct 14):
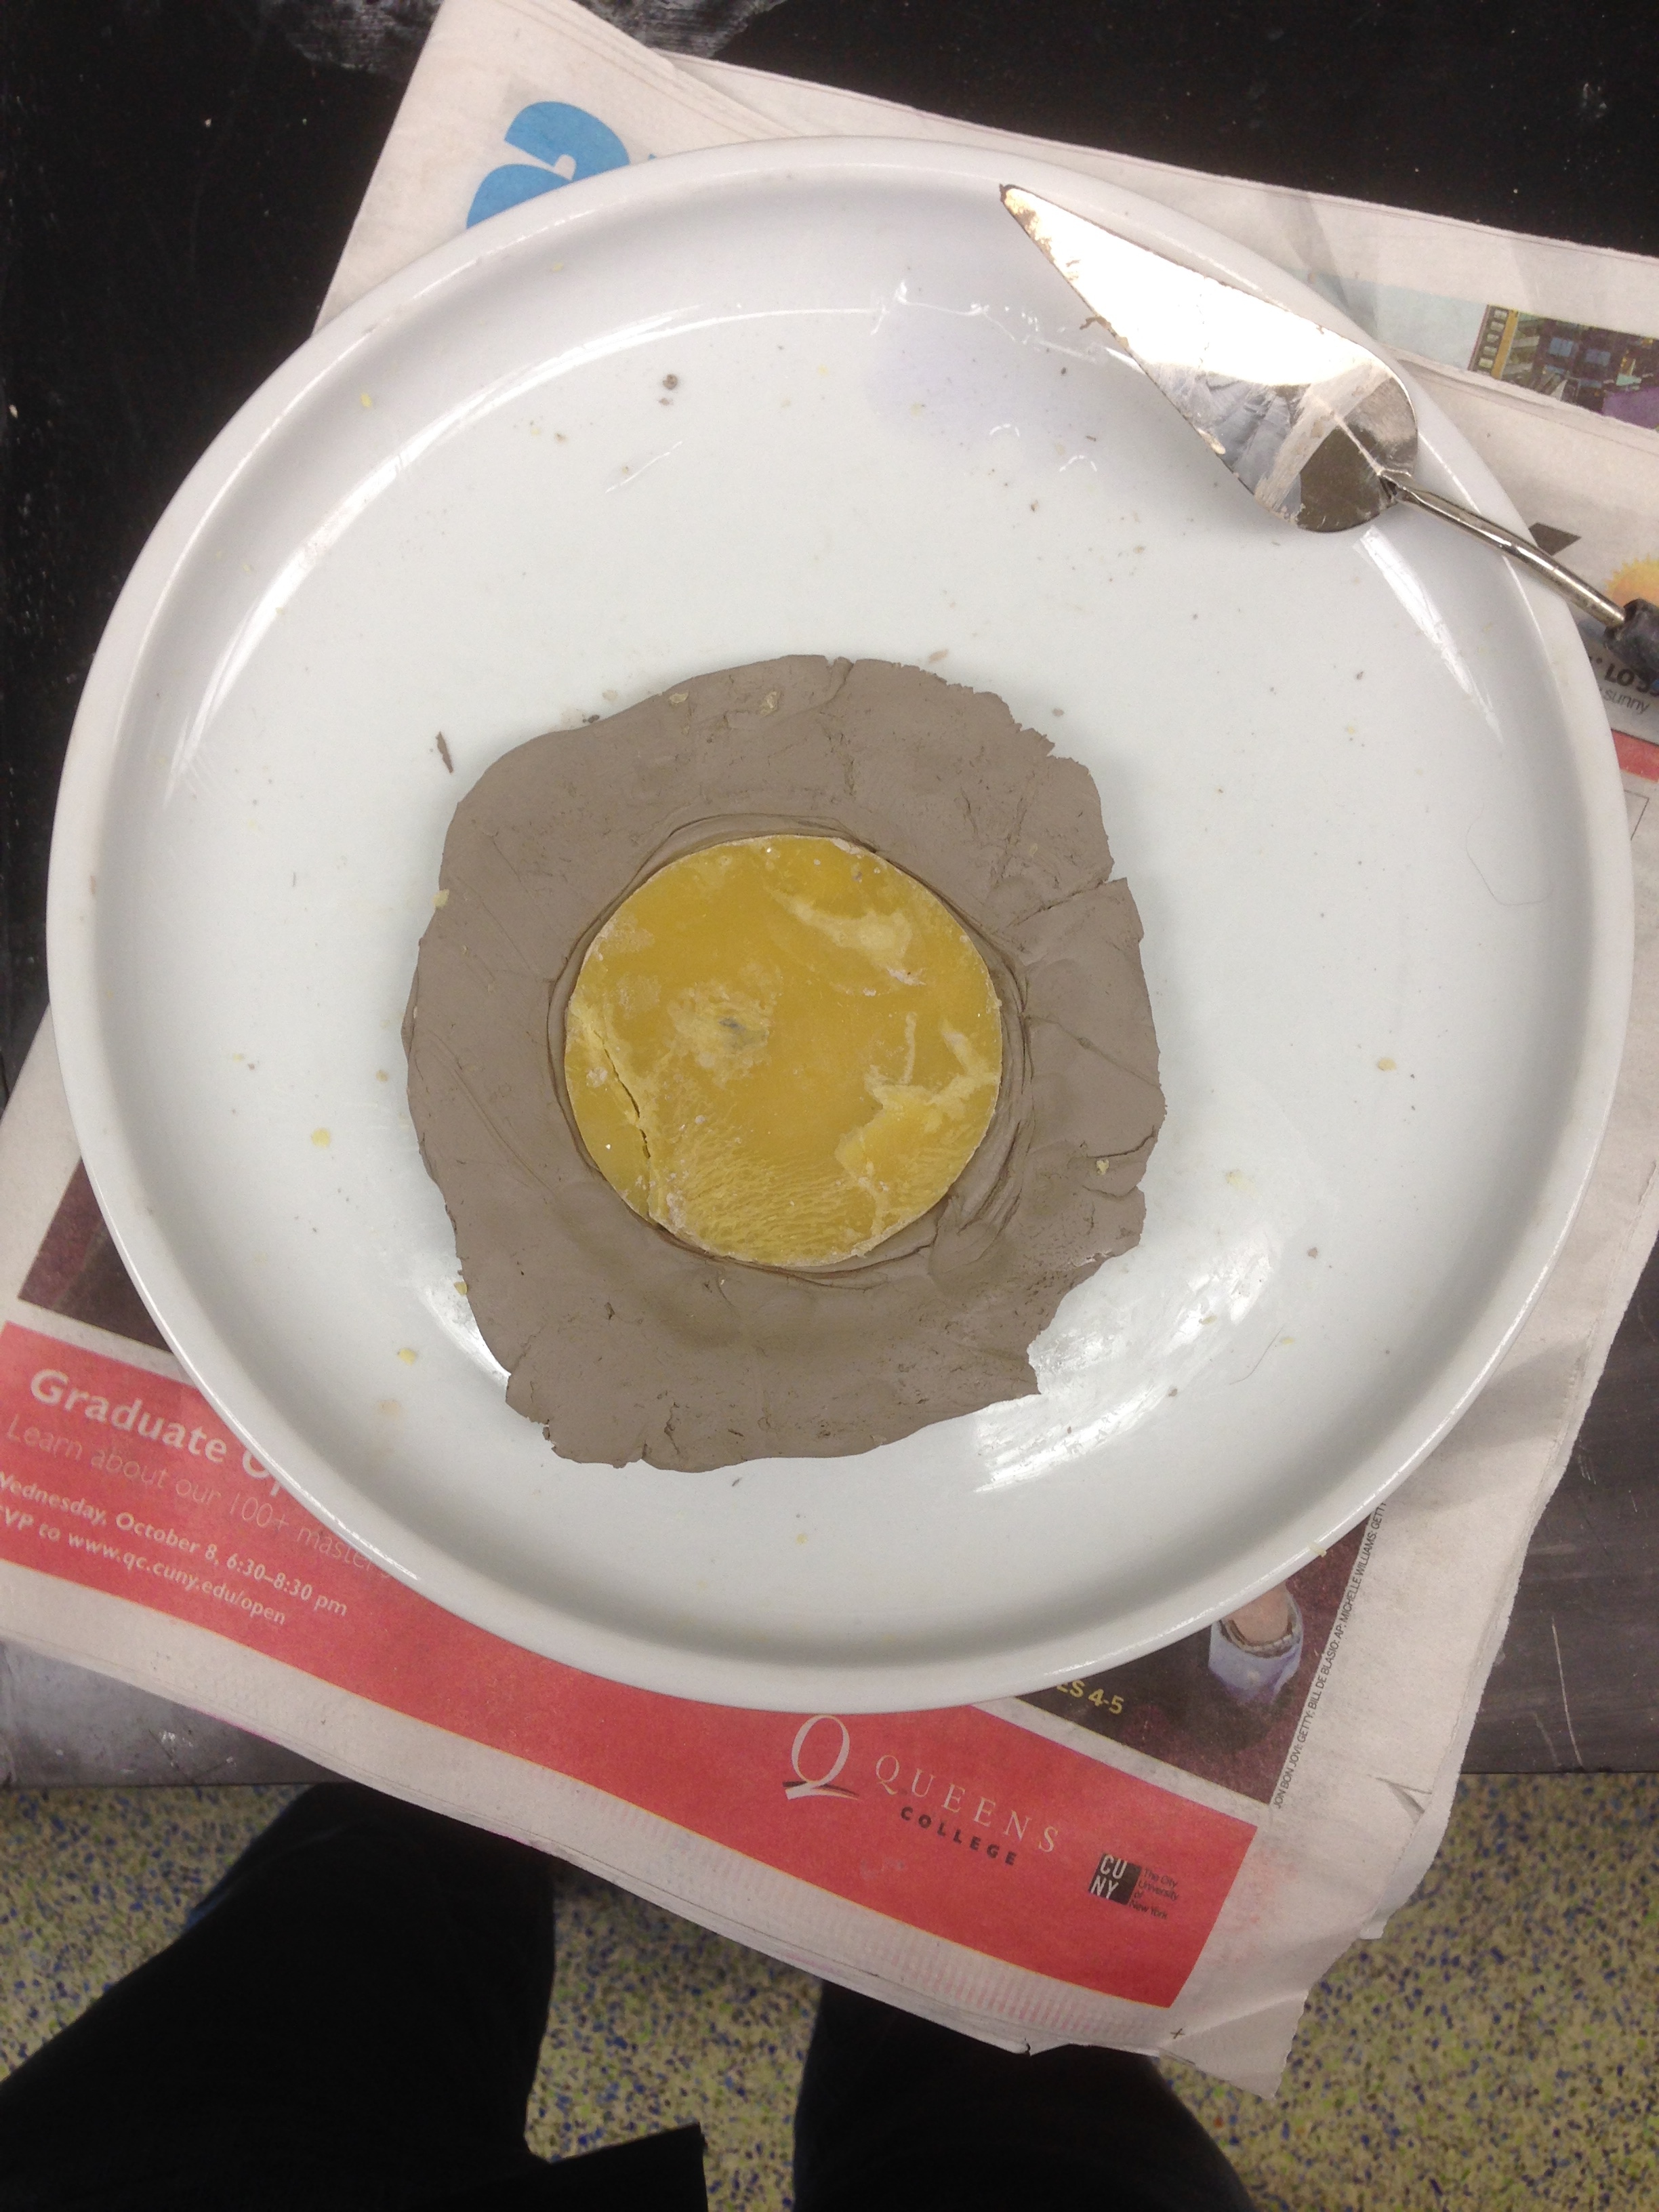
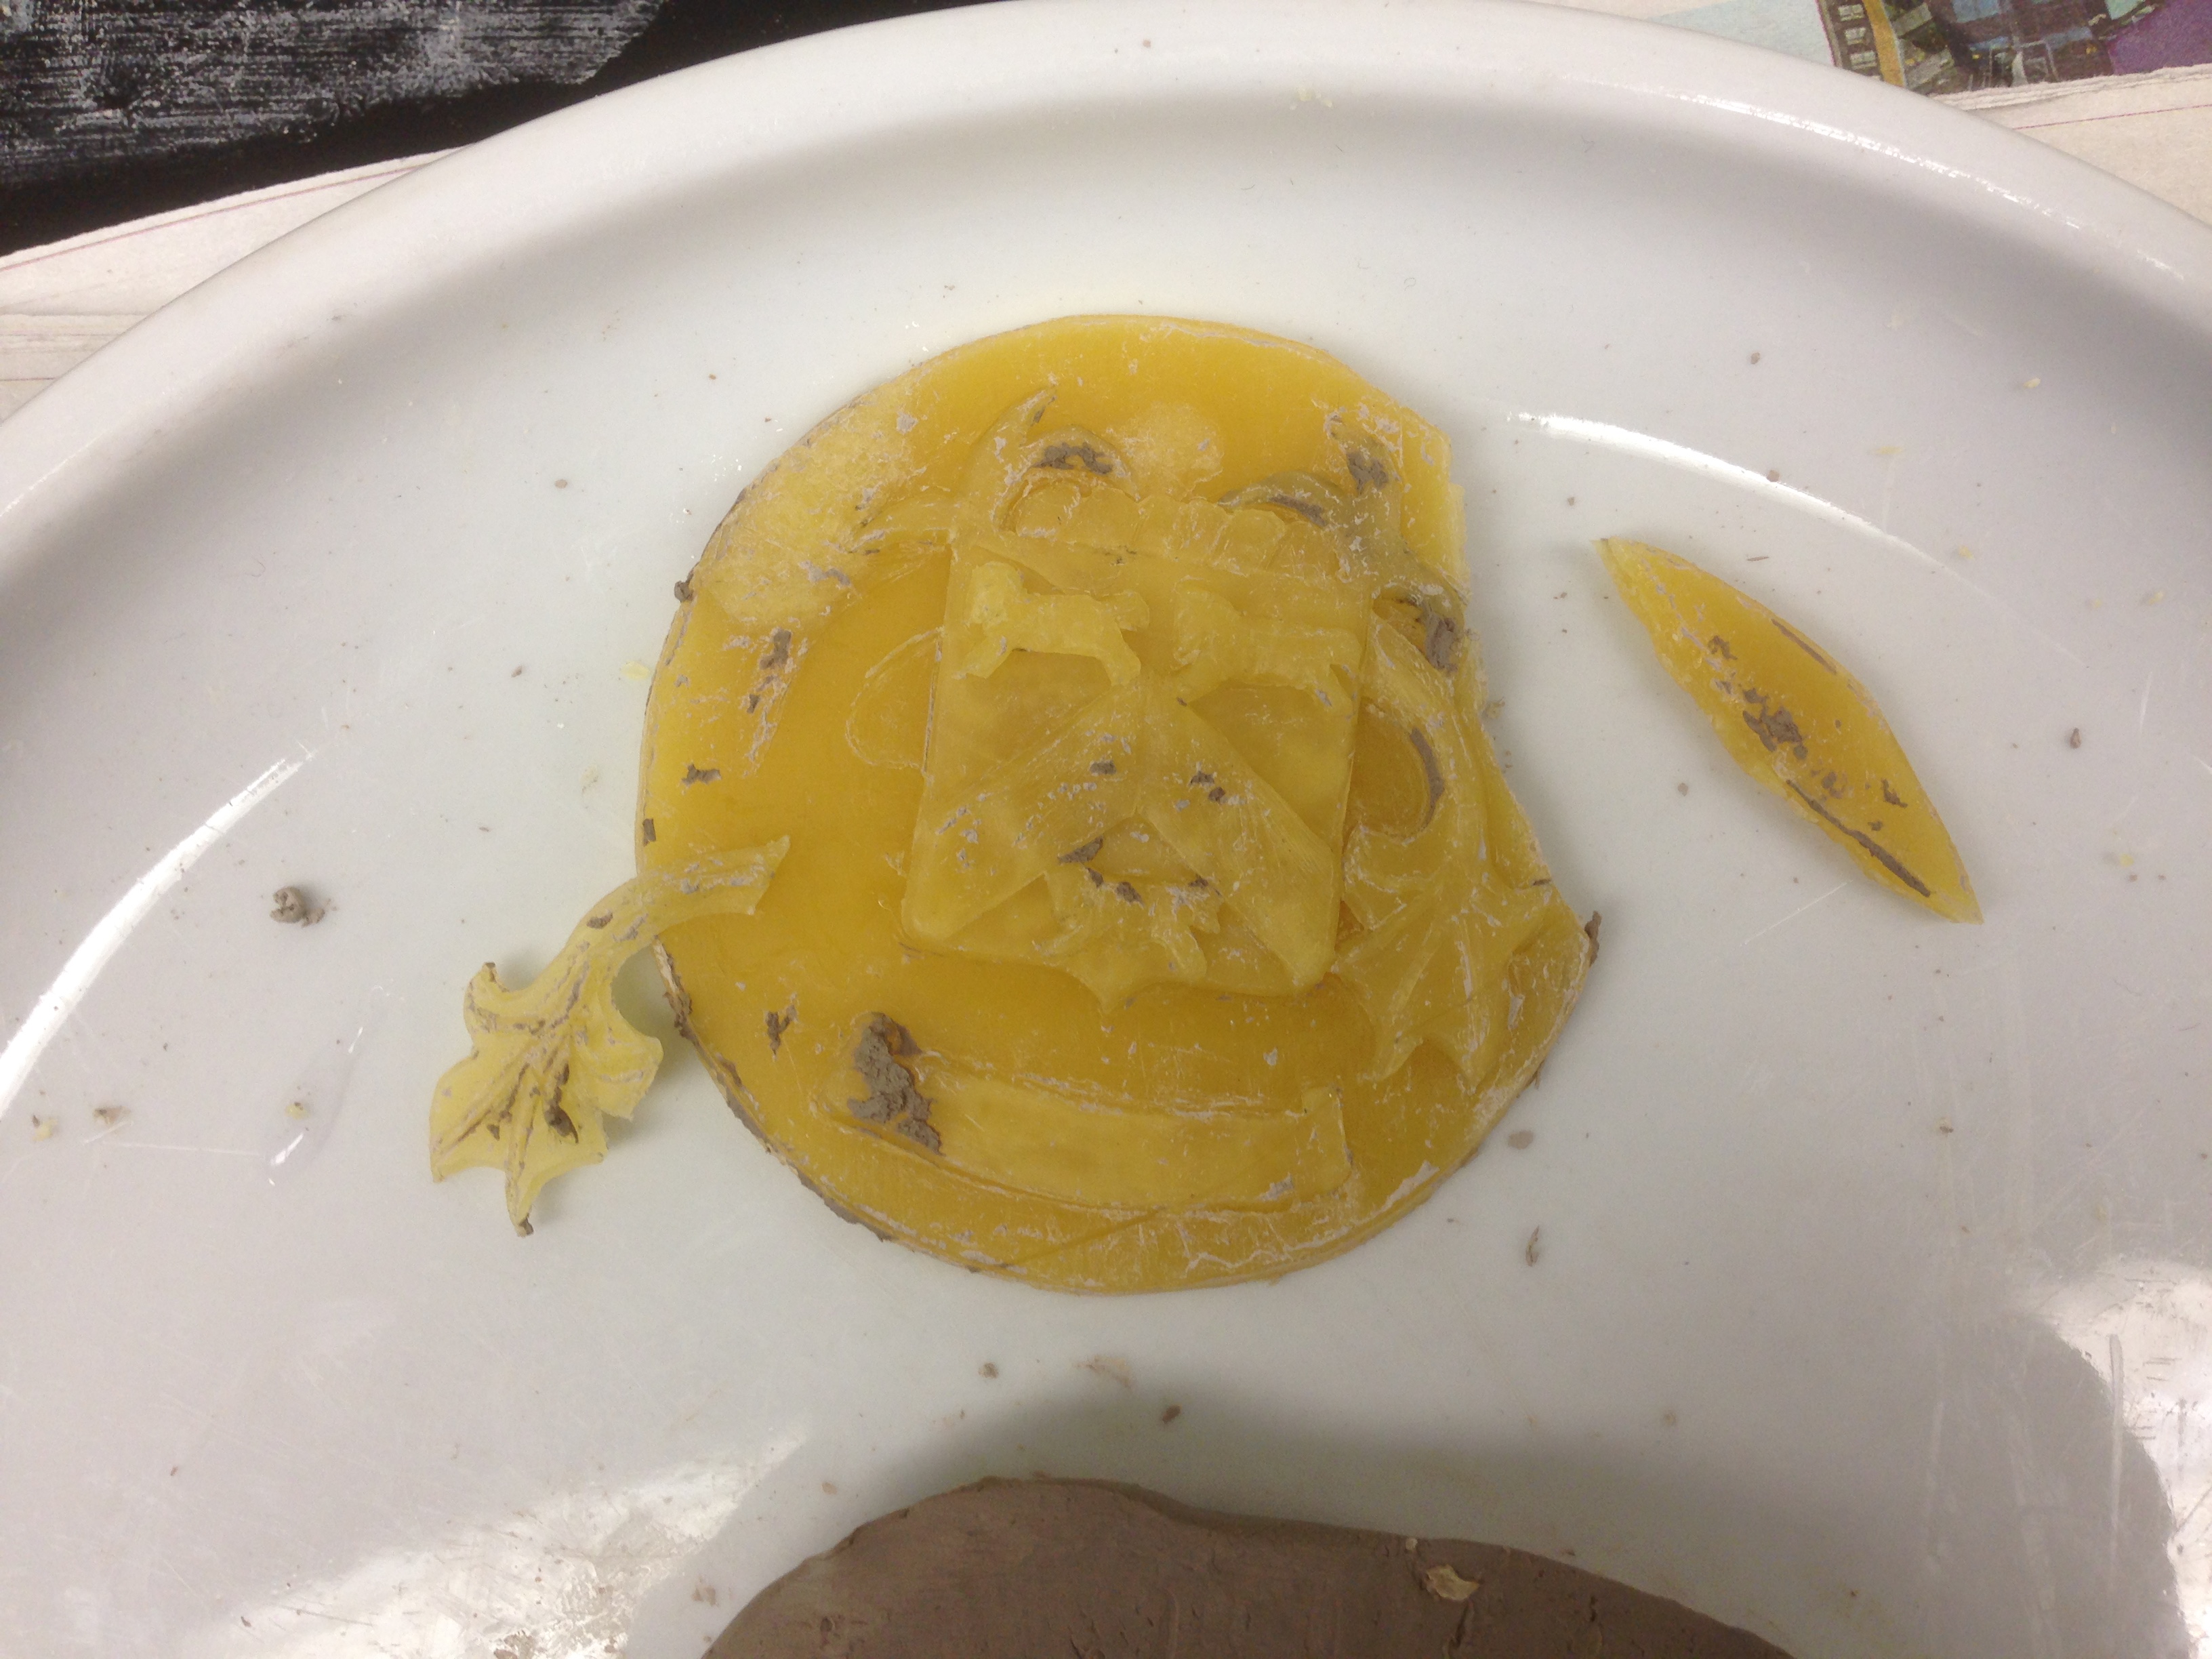
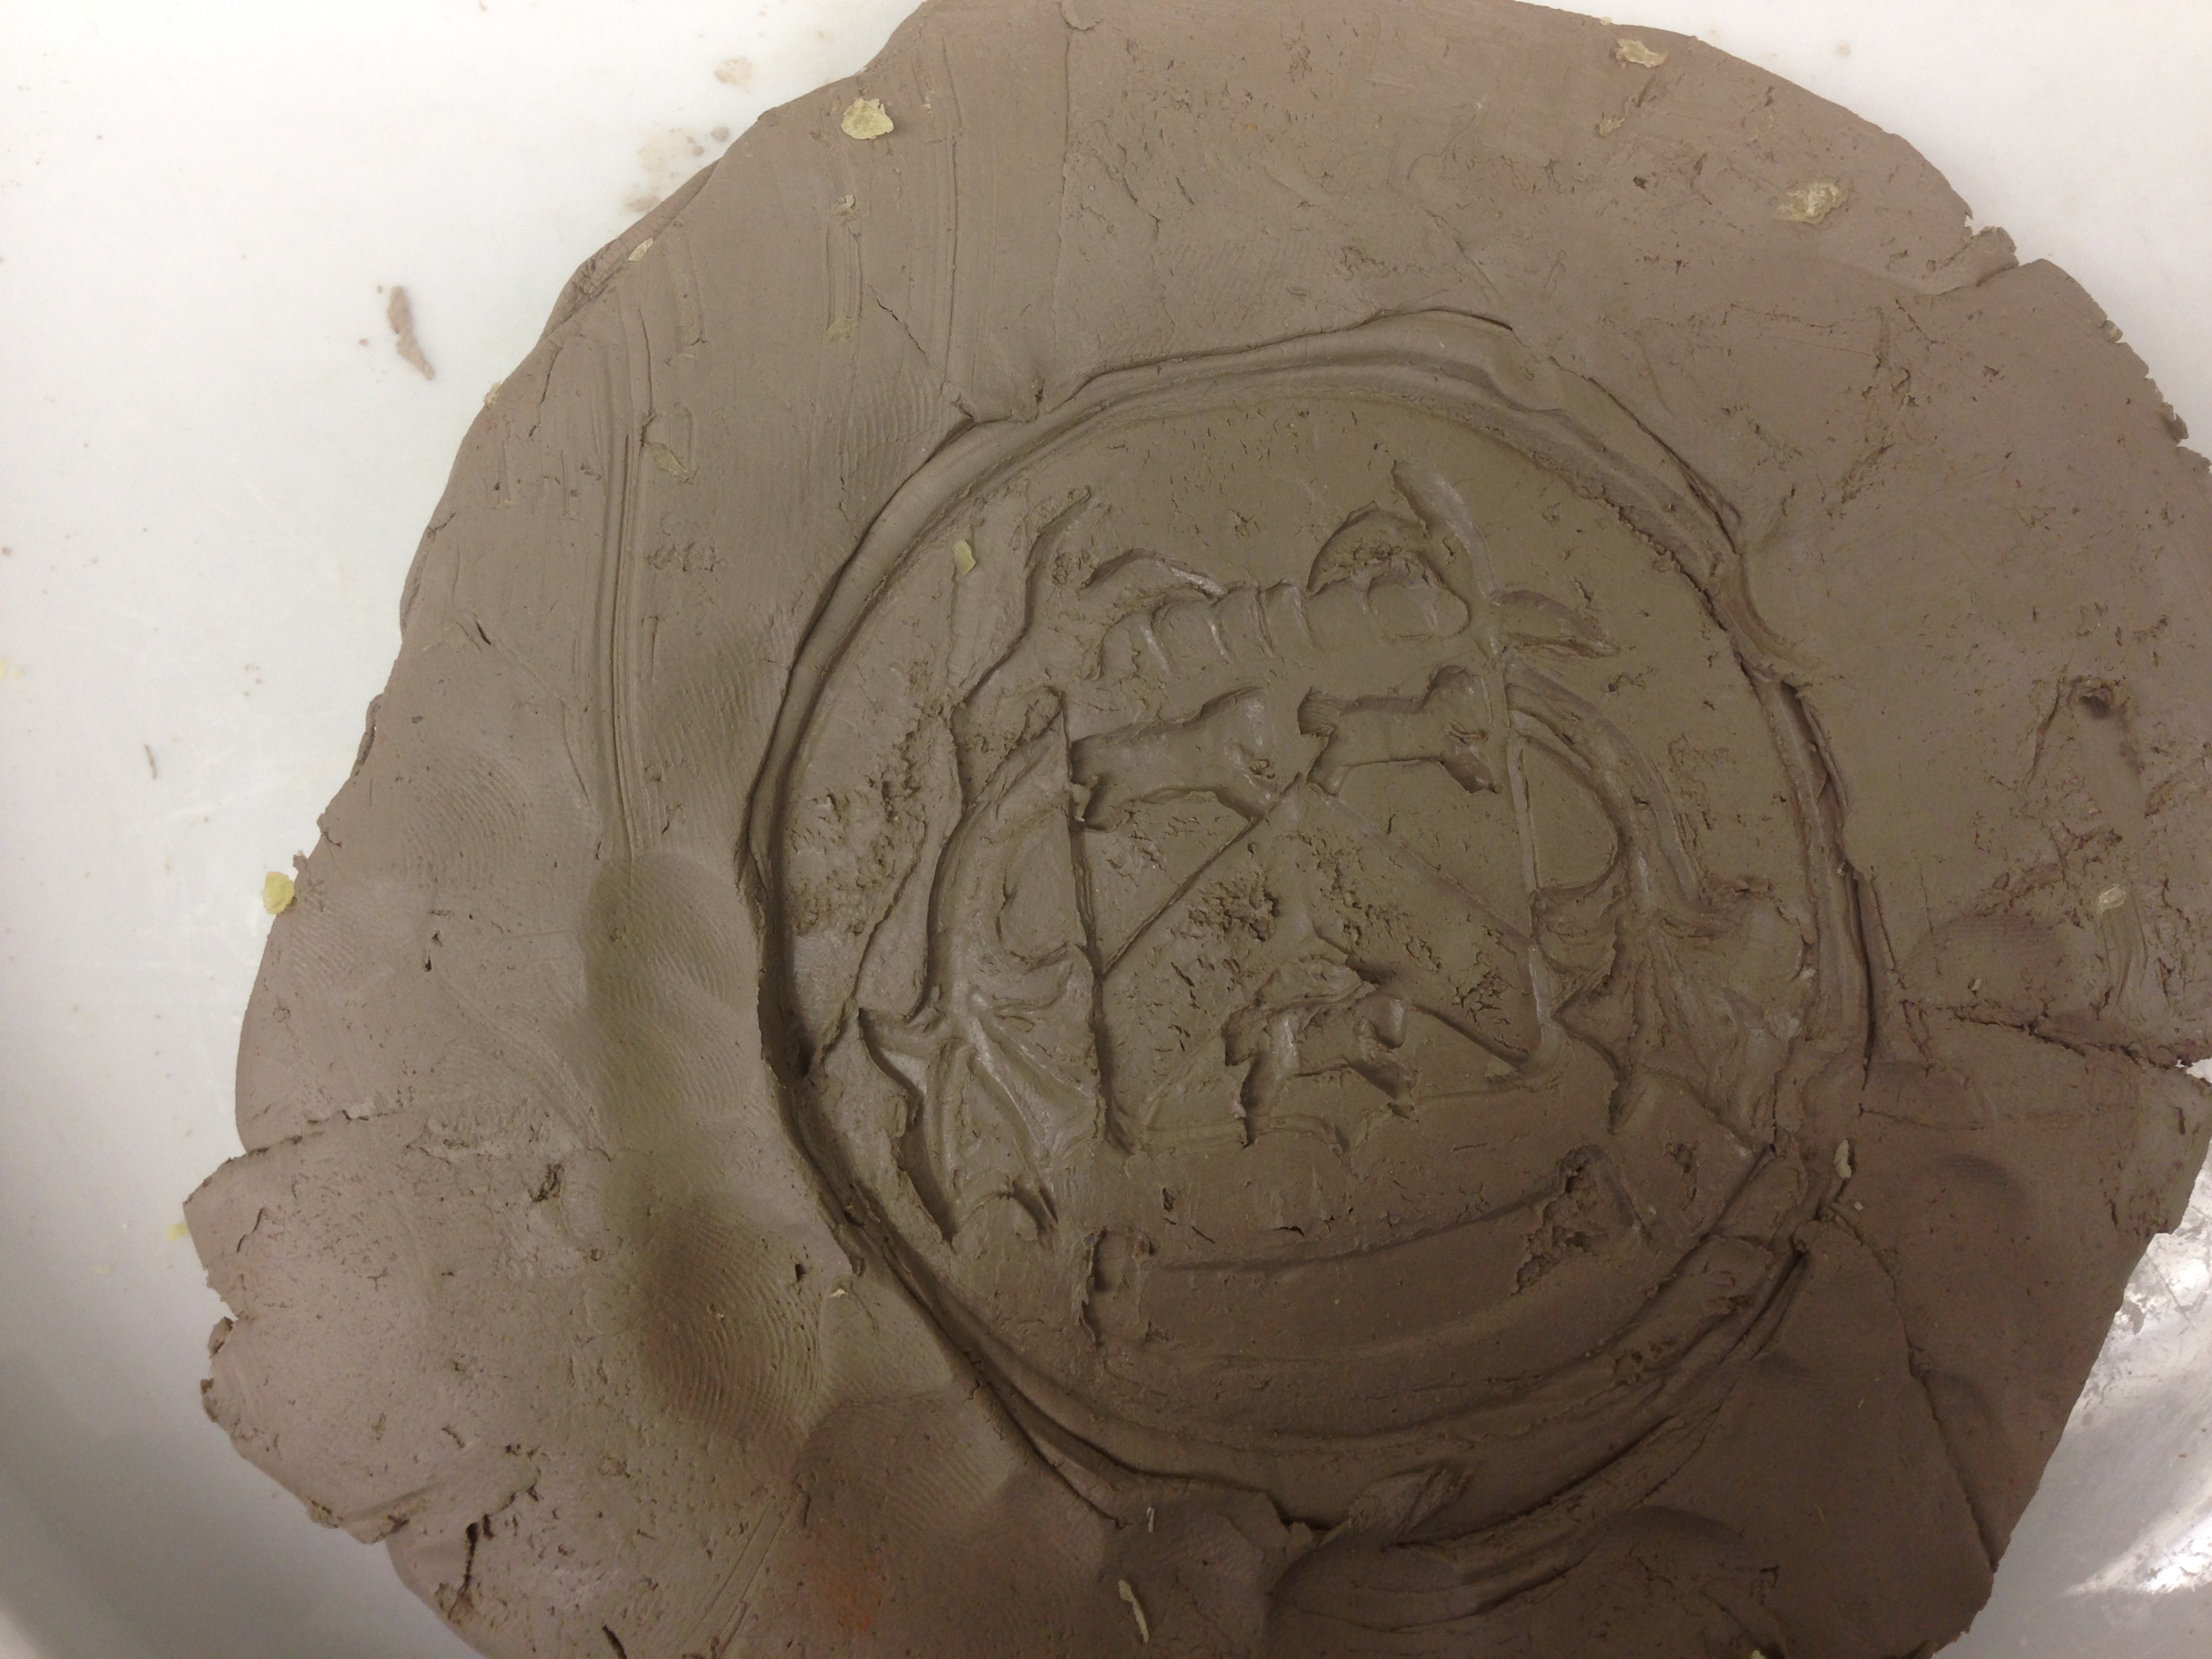
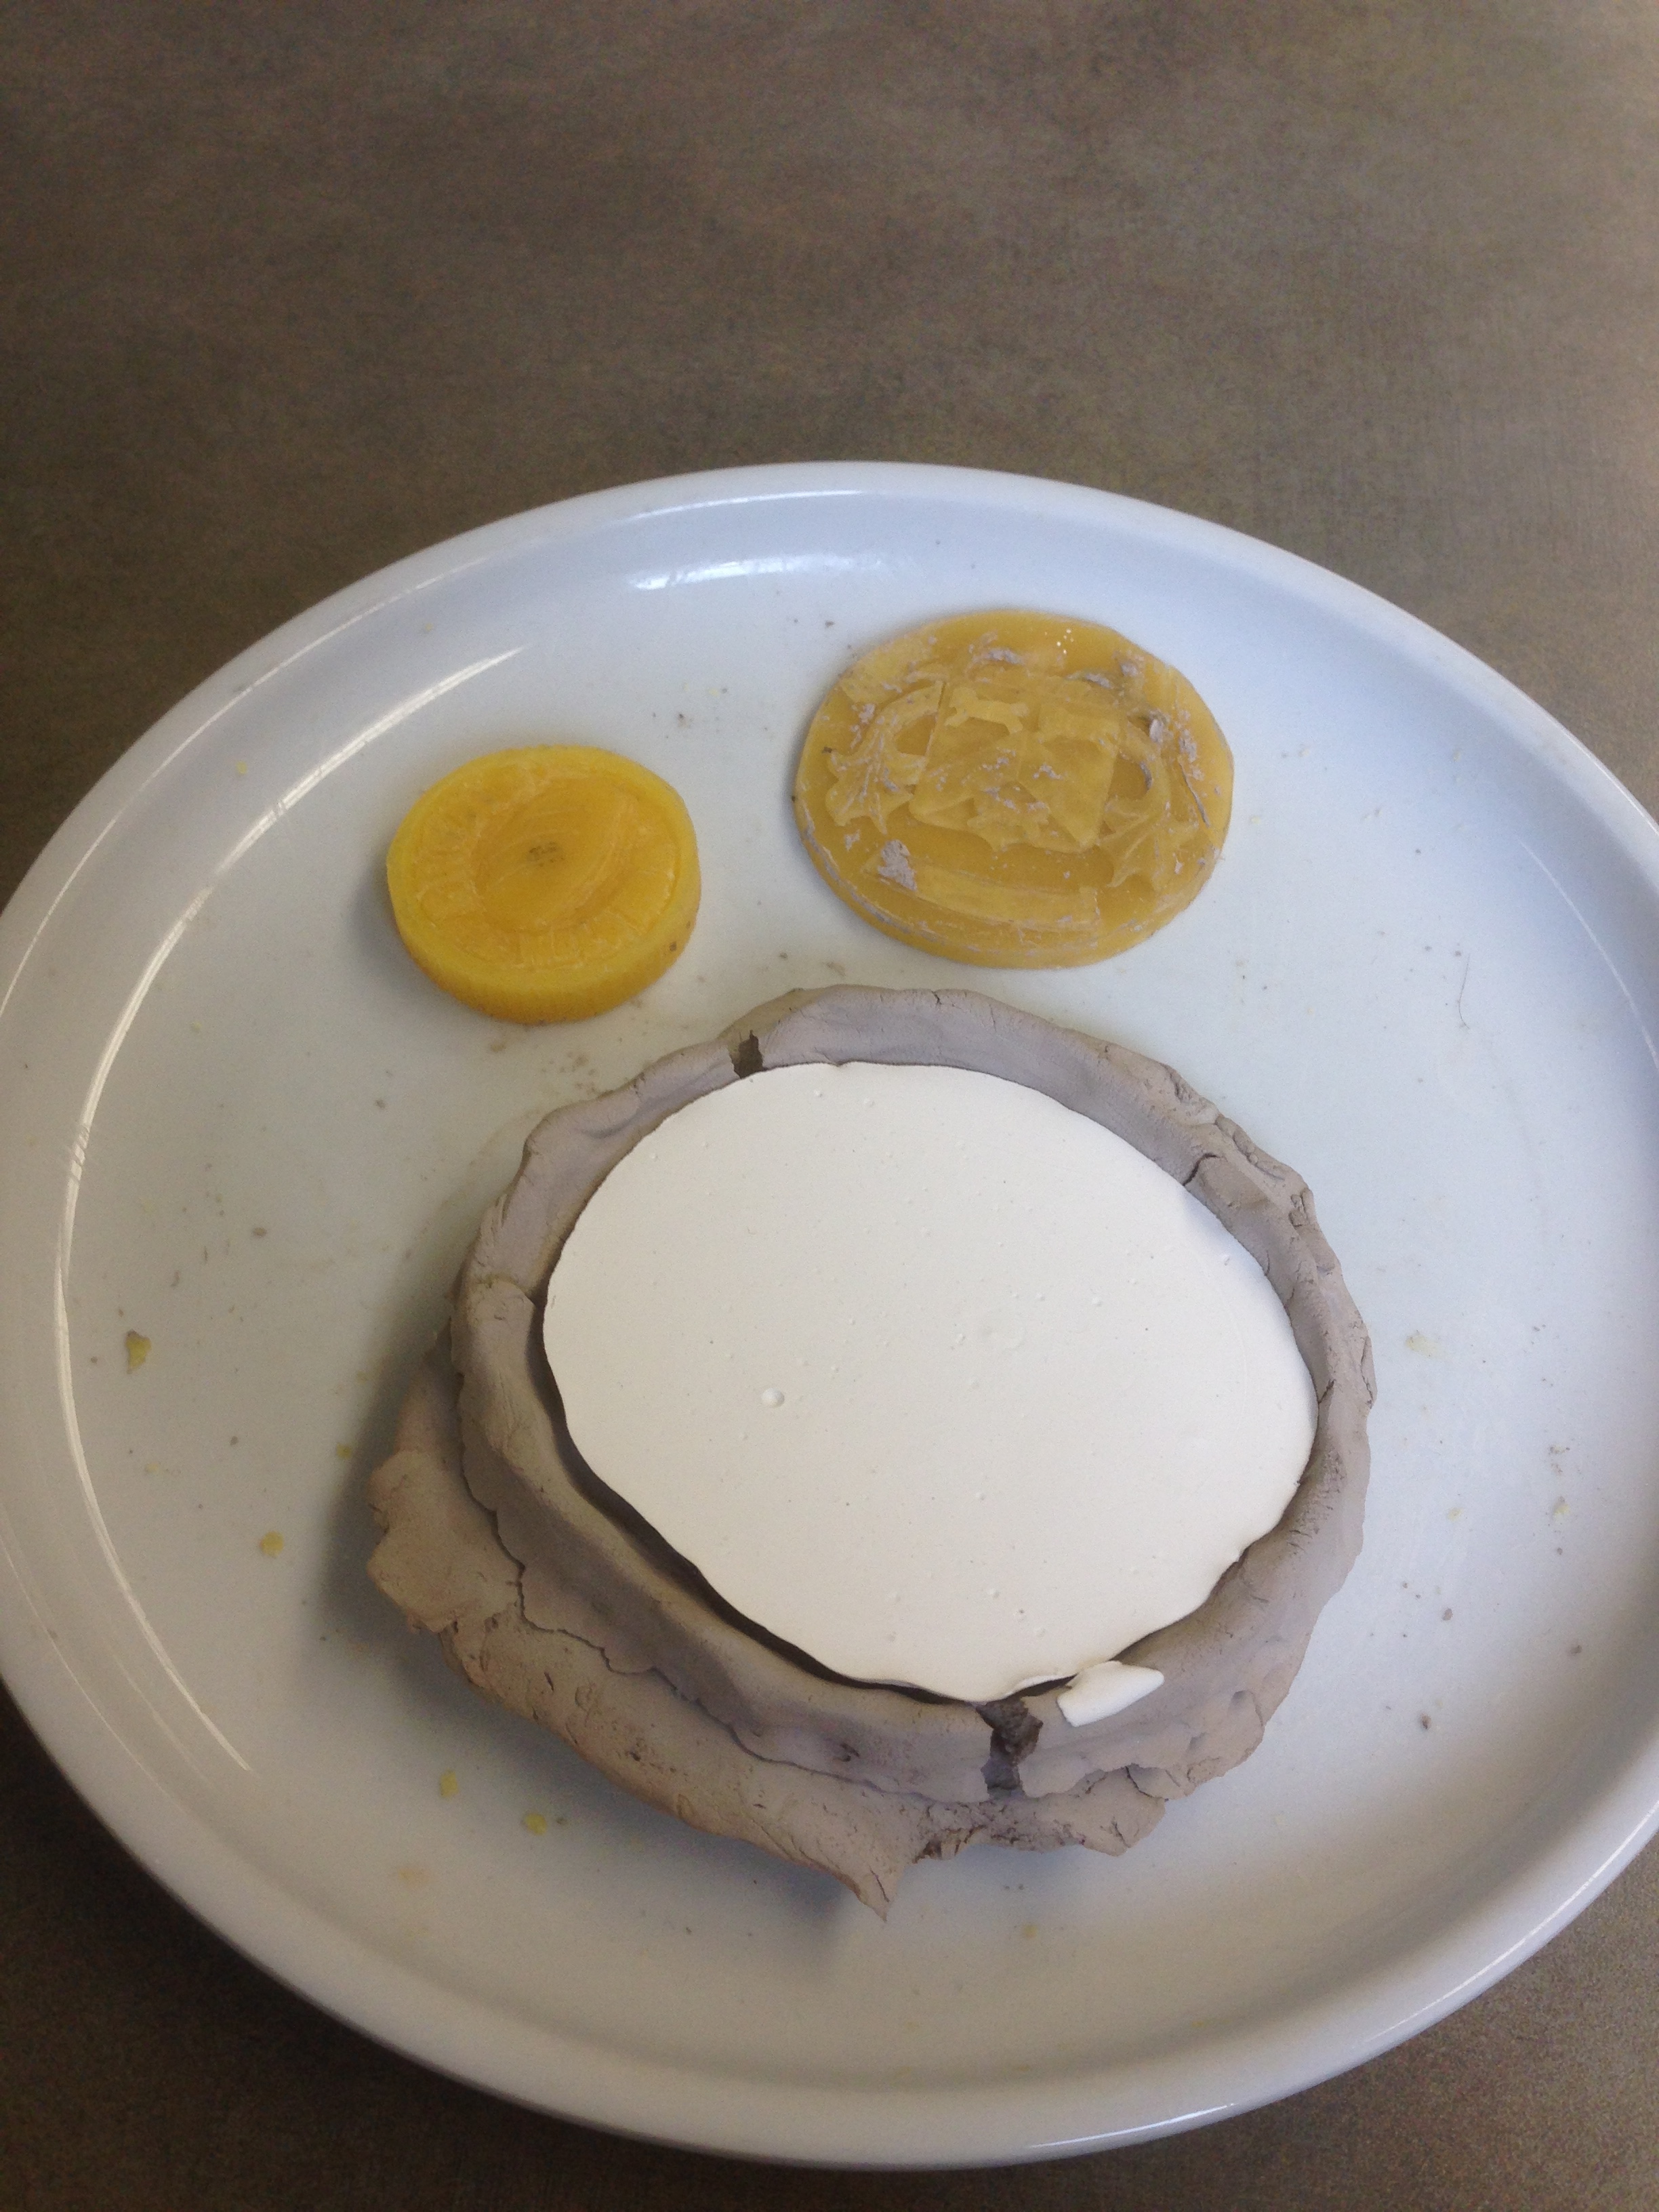
- After some last minute detailing, the wax was pressed, face down, into the molding clay and removed shortly there after. During removal of the wax from the clay, in perpetration for plaster pouring, pieces of the wax mold broke off, partially due to improper molding of the wax portions to the medallions base and due to the thinness of the medallion itself.
- The molded clay was then filled with plaster of paris and left overnight to dry over the weekend.
- Discussion on Procedure (14 Oct 14):
- At approximately 0900 the plaster mold was removed from the clay. The mold itself required additional work to bring out the detail as some of the features were distorted by the pressing of the wax into the clay and the warping of the clay itself as the wax was removed.
- The most labor intensive part of the casting then began: the mixing of the sand. 3 and ½ cups of reclaimed sand from old molds were sifted and added to a mixing bowl. The recipe call for a mixture of sal ammoniac ("the size of two walnuts") and water ("the size of a bottle in which one boils ground barley"). Based upon feedback from other groups who were working around us, 1 ½ cups of this sal ammoniac water were added along with two silver spoonfuls of brandy.
- Emily and I commenced blending together the ingredients. Mixing for about 10 mins produced a clumpy and dry mixture. We added another ⅔ of a cup of sal ammoniac water kept on mixing. The mixture became noticeably darker with the addition of more water.
- We then added another ½ cup of sal ammoniac water and Emily noticed that the mixture was getting harder to mix. This may have been due to the binding of the sand or fatigue.
- I (Jef) took over mixing that tried to use the spoon to press larger clumps of the sand against the side of the bowl.
- Tony informed us that the mixture looked too wet so we started to add more sand in order to get the dryness back. We added ½ cup of sand and continued to mix.
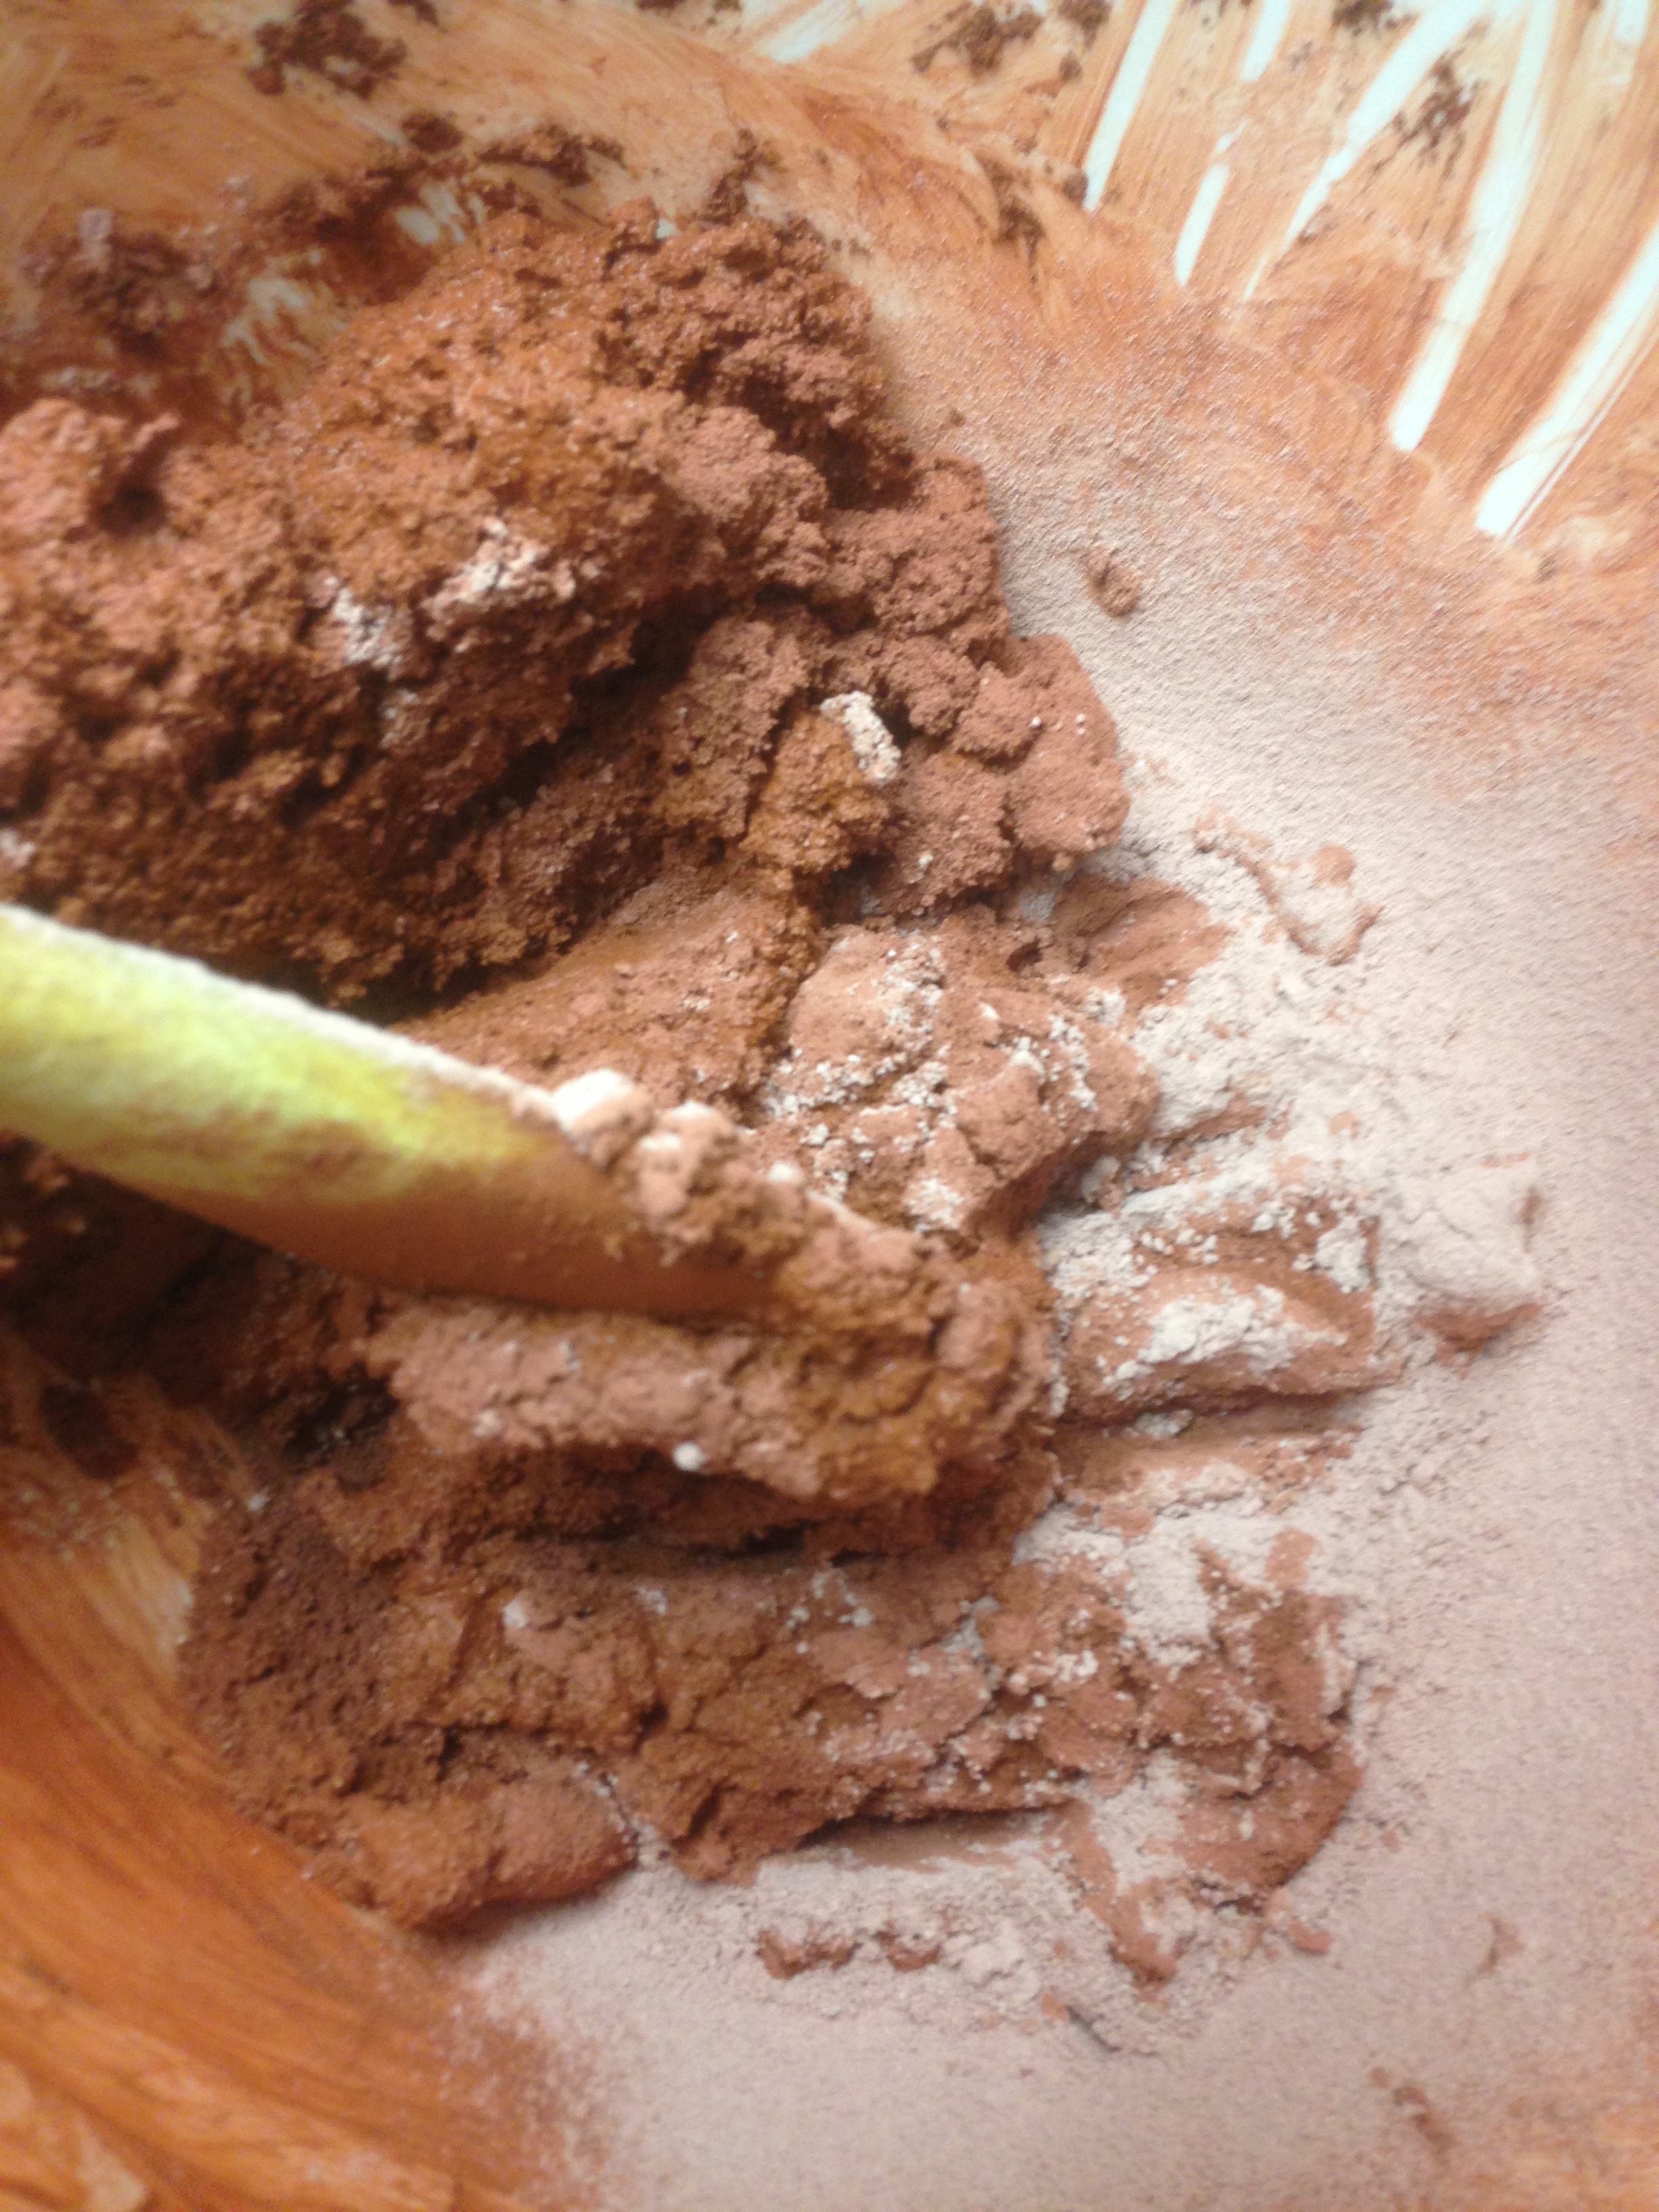
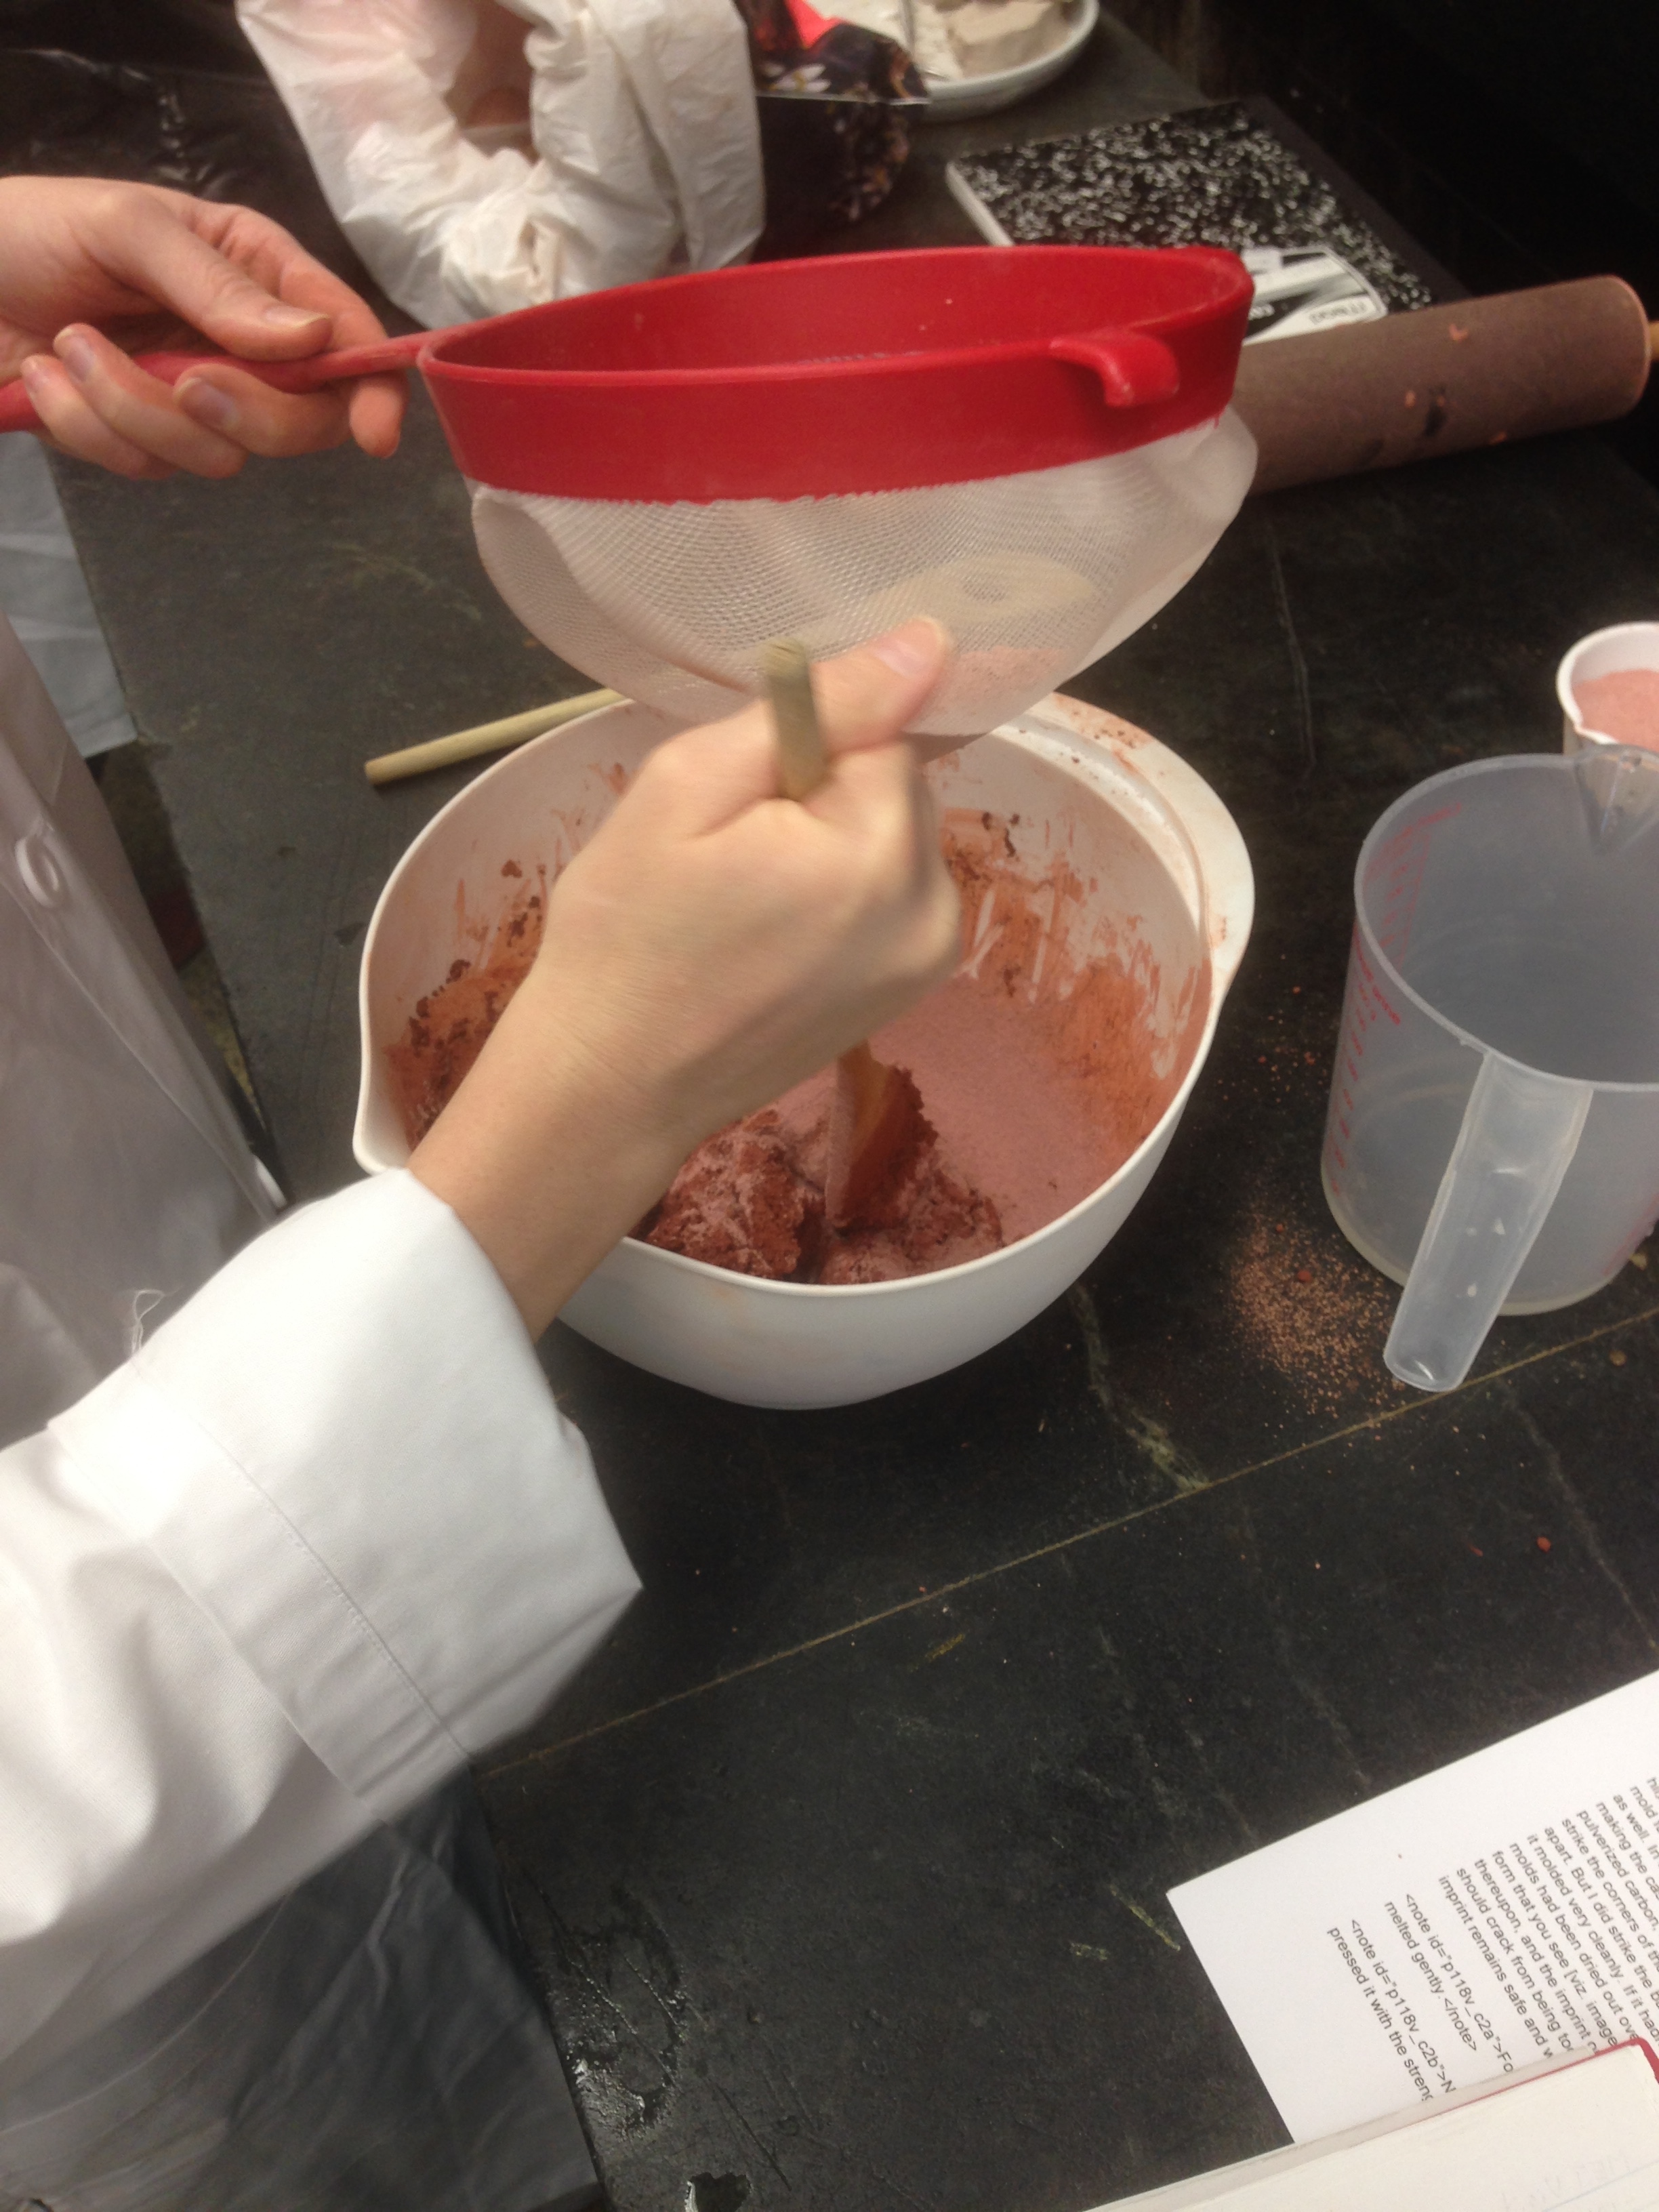
- The spoon quickly became tedious was discarded for mixing with my hands. Fingers are more efficient tools for breaking up the clumps that formed in the dirt. Eventually the mixture was judged to be dry enough to be placed in the box mold.
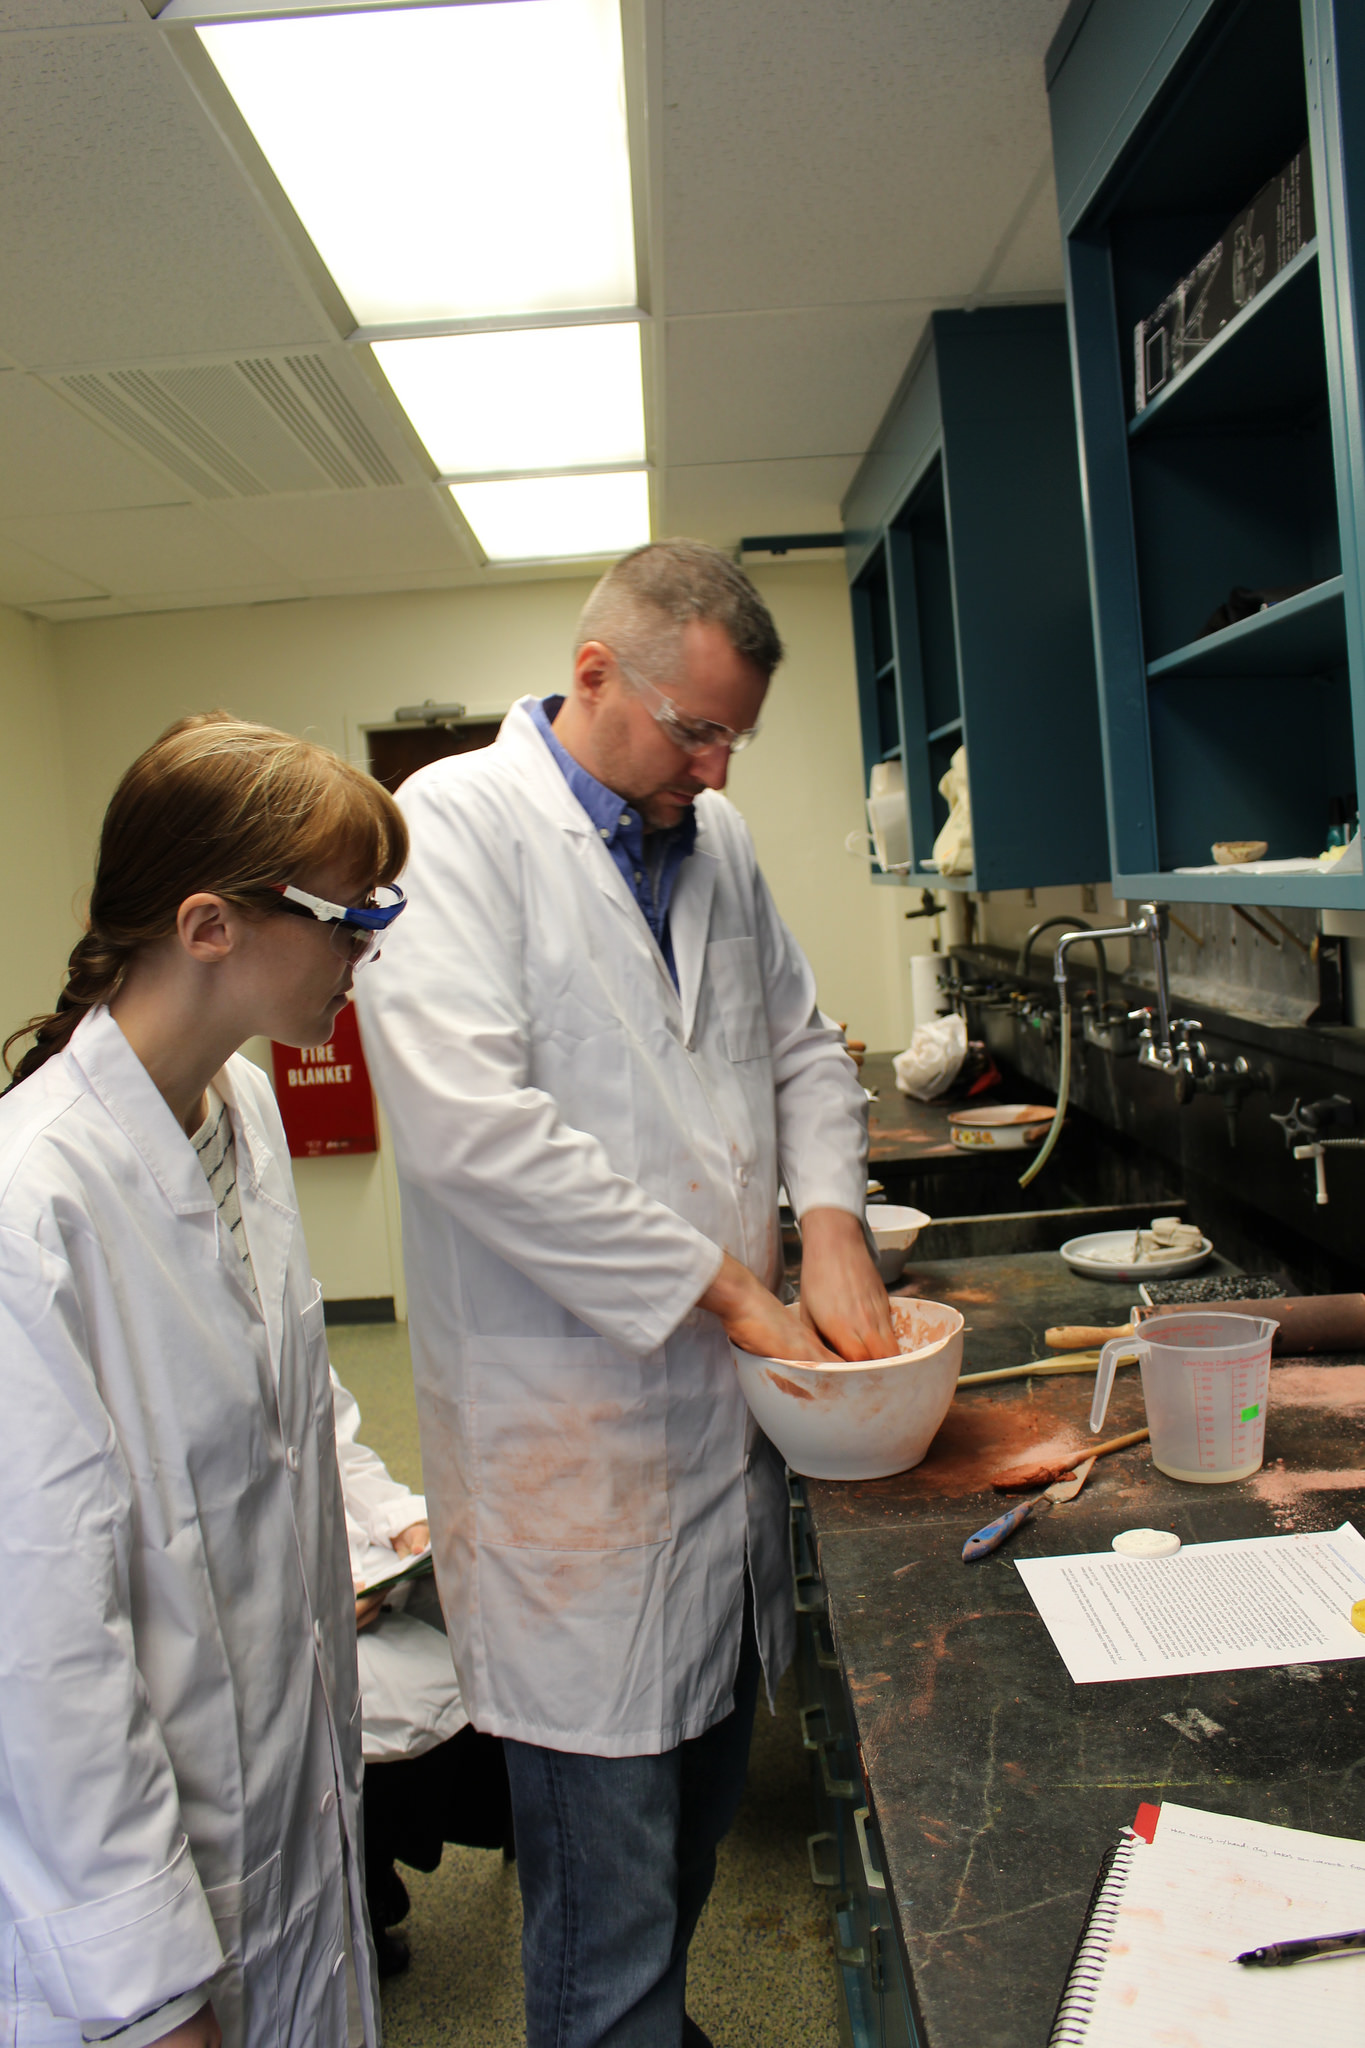


- We dusted the face of the medallion with ground vine charcoal and placed it float on the counter in the center of the female portion of the flask and filled it slowly with sand.
- The back of the plaster medallion was not completely flush with the surface of the counter and this gave me cause for concern. I knew that the mold had broken in the clay earlier and I was worried this would happen again. When we filled the mold with sand the we had to press it firmly on to the medallion, but we tried to take care that this was not enough to break the plaster mold.
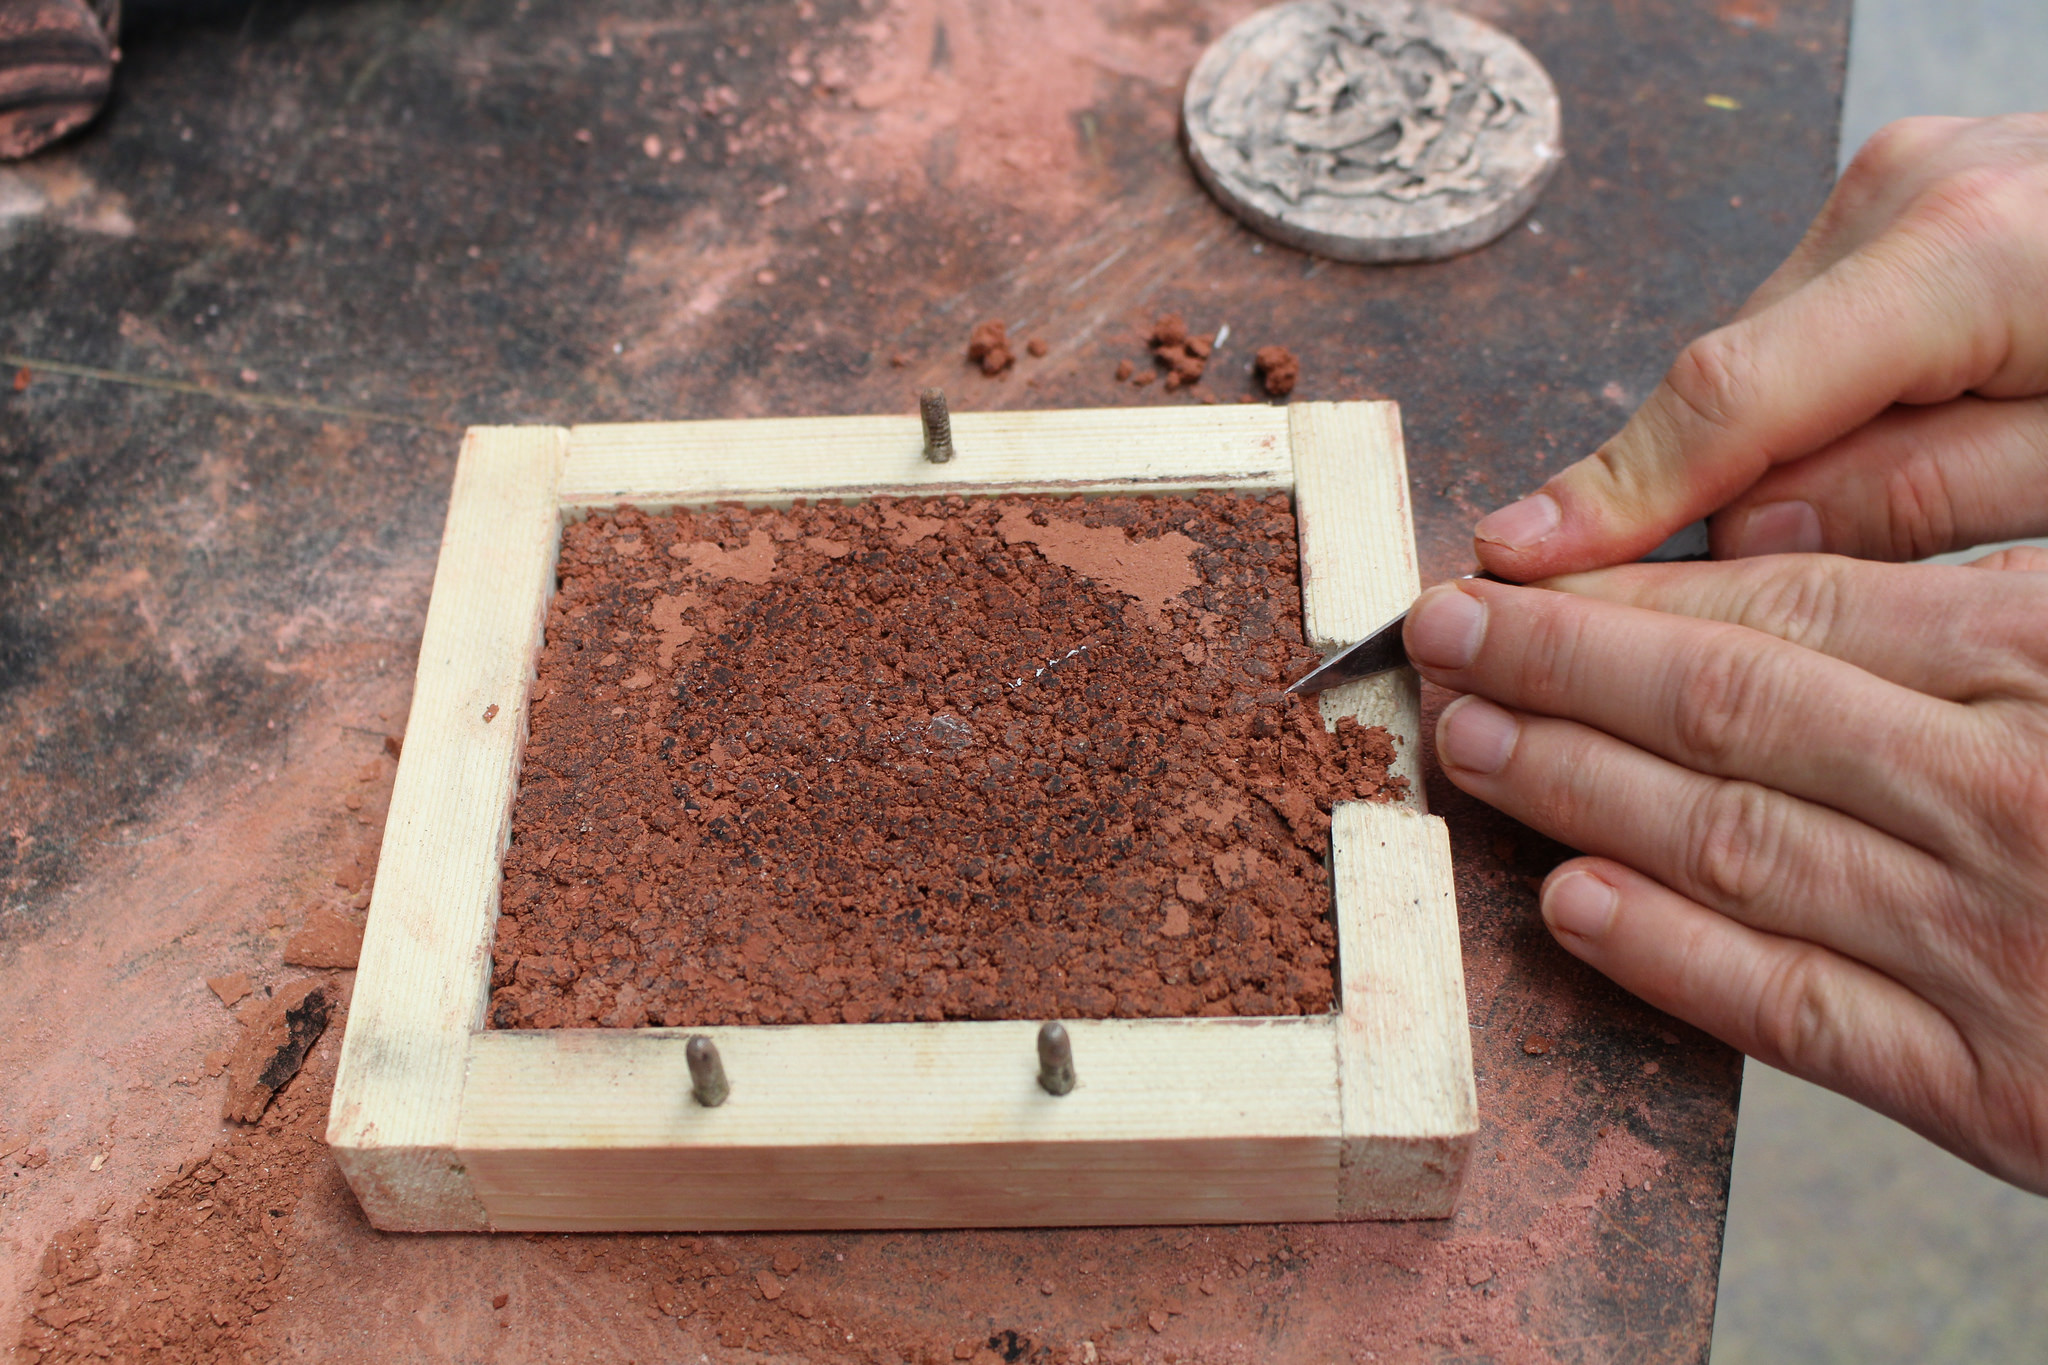
- We packed the mold with sand and used the mallet and the espresso pounder to even it out. The excess was removed with a knife and an improvised leveling tool (pictured below in the bottom third of the photo) and returned to the mixing bowl. During the process of pounding and scraping, a relatively large amount of water was emerging from the sand. We believe that this is due to water that was trapped in the sand succumbing to the pounding.

- We were again advised by Tony that the mixture was too wet and we added more dry sand to the outside of the mold to draw out the moisture.

- Once this was completed the mold was lifted from the counter with a twisting motion in the hopes of cleanly releasing the medallion and the sand. This proved to be successful. At Tony's direction, small amount of the sand around the edge of the medallion was removed to aid in removing the plaster cast of the medallion later. The sand surrounding the medallion was then dusted with another thin layer of ground charcoal.
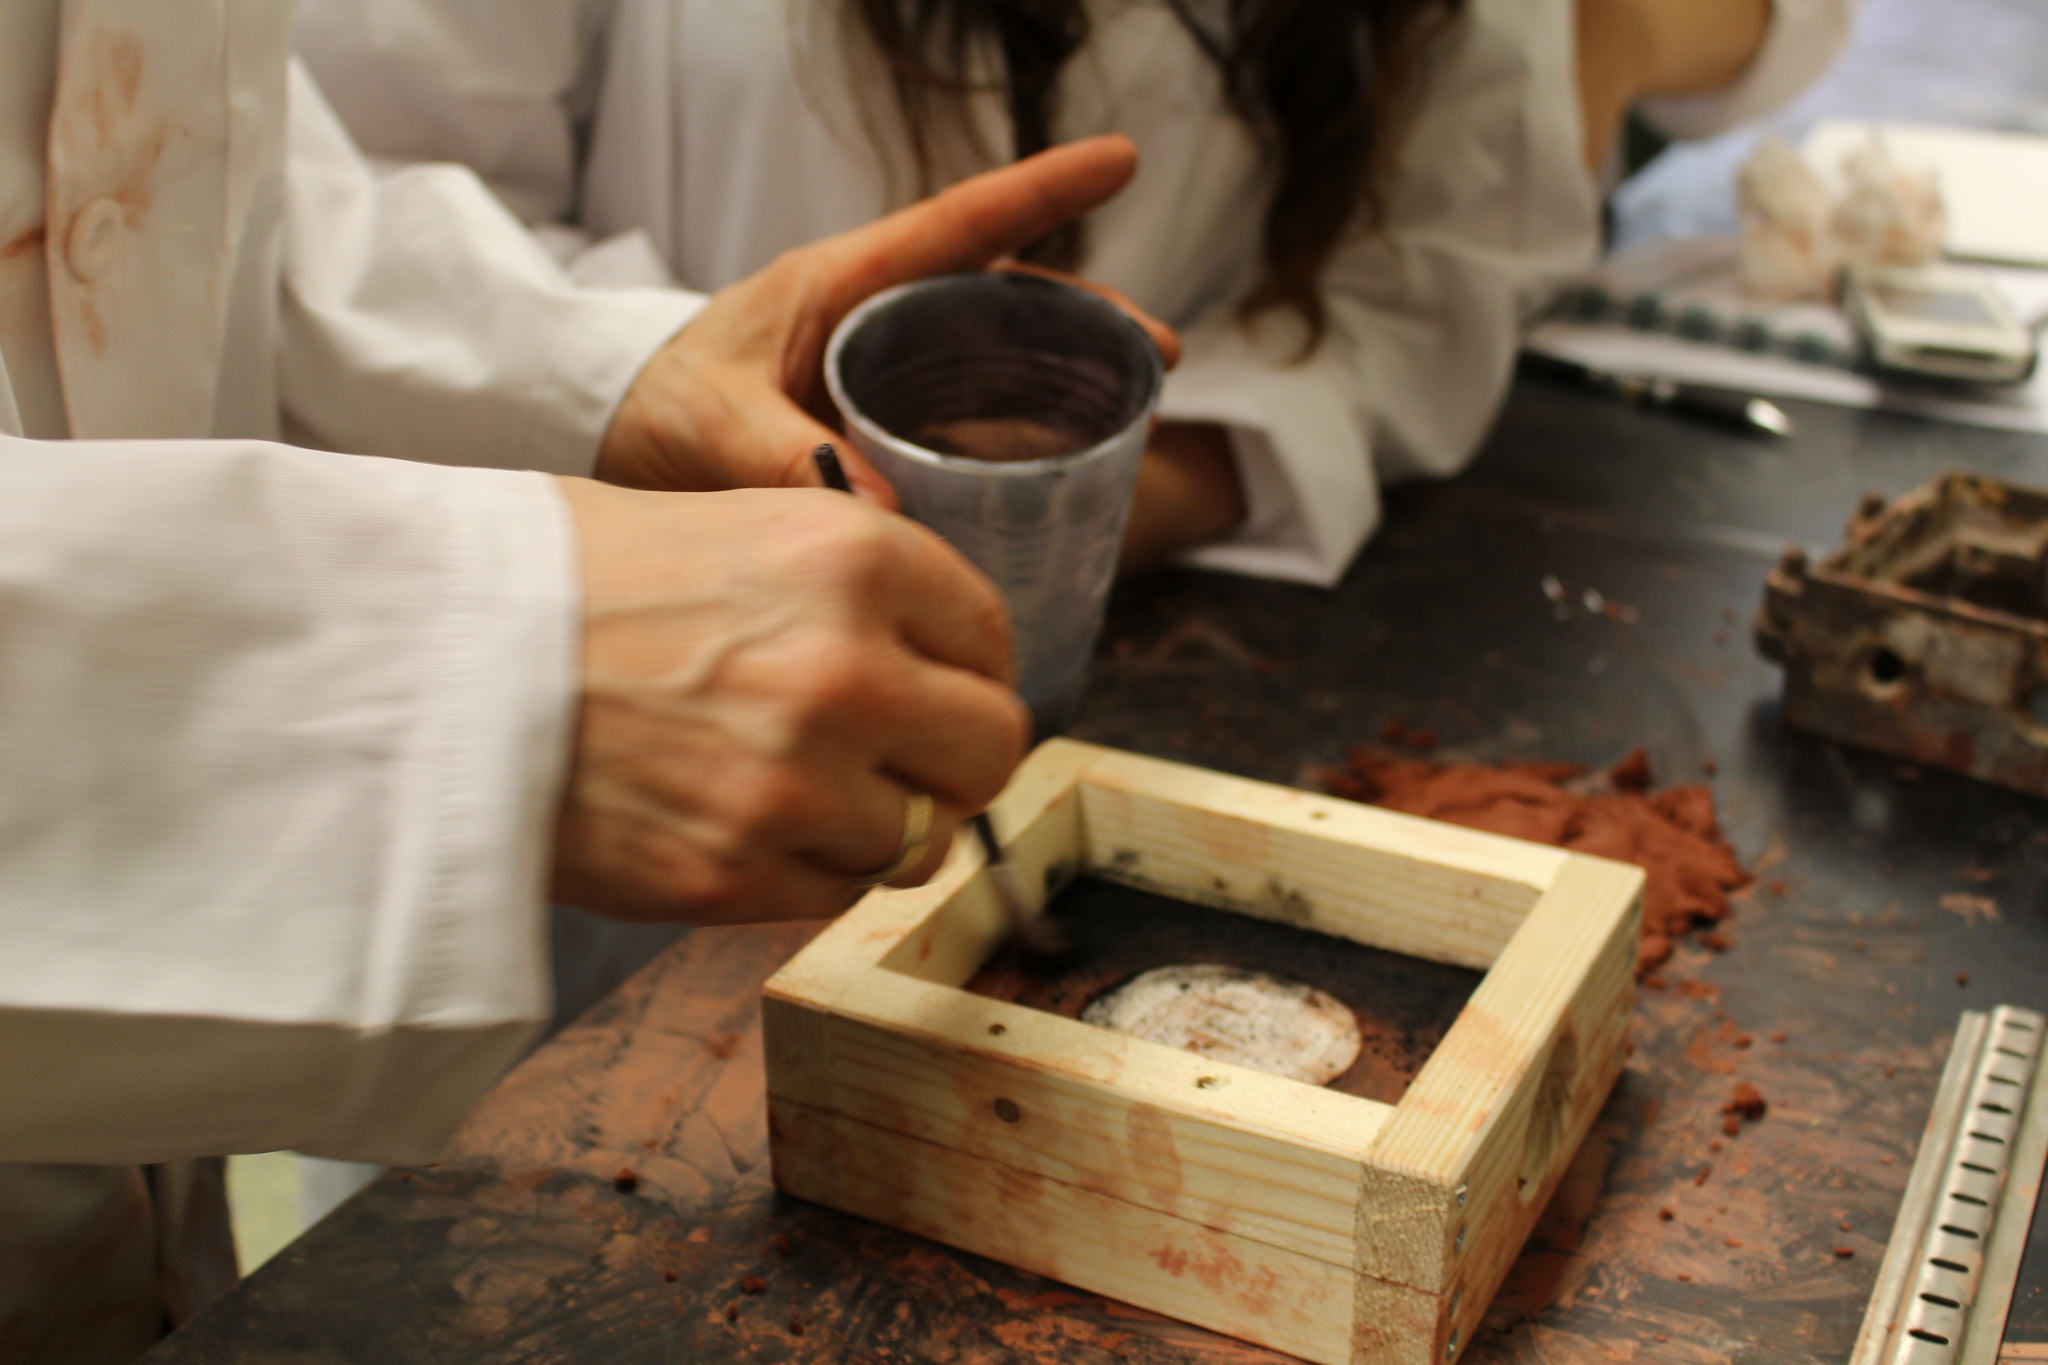
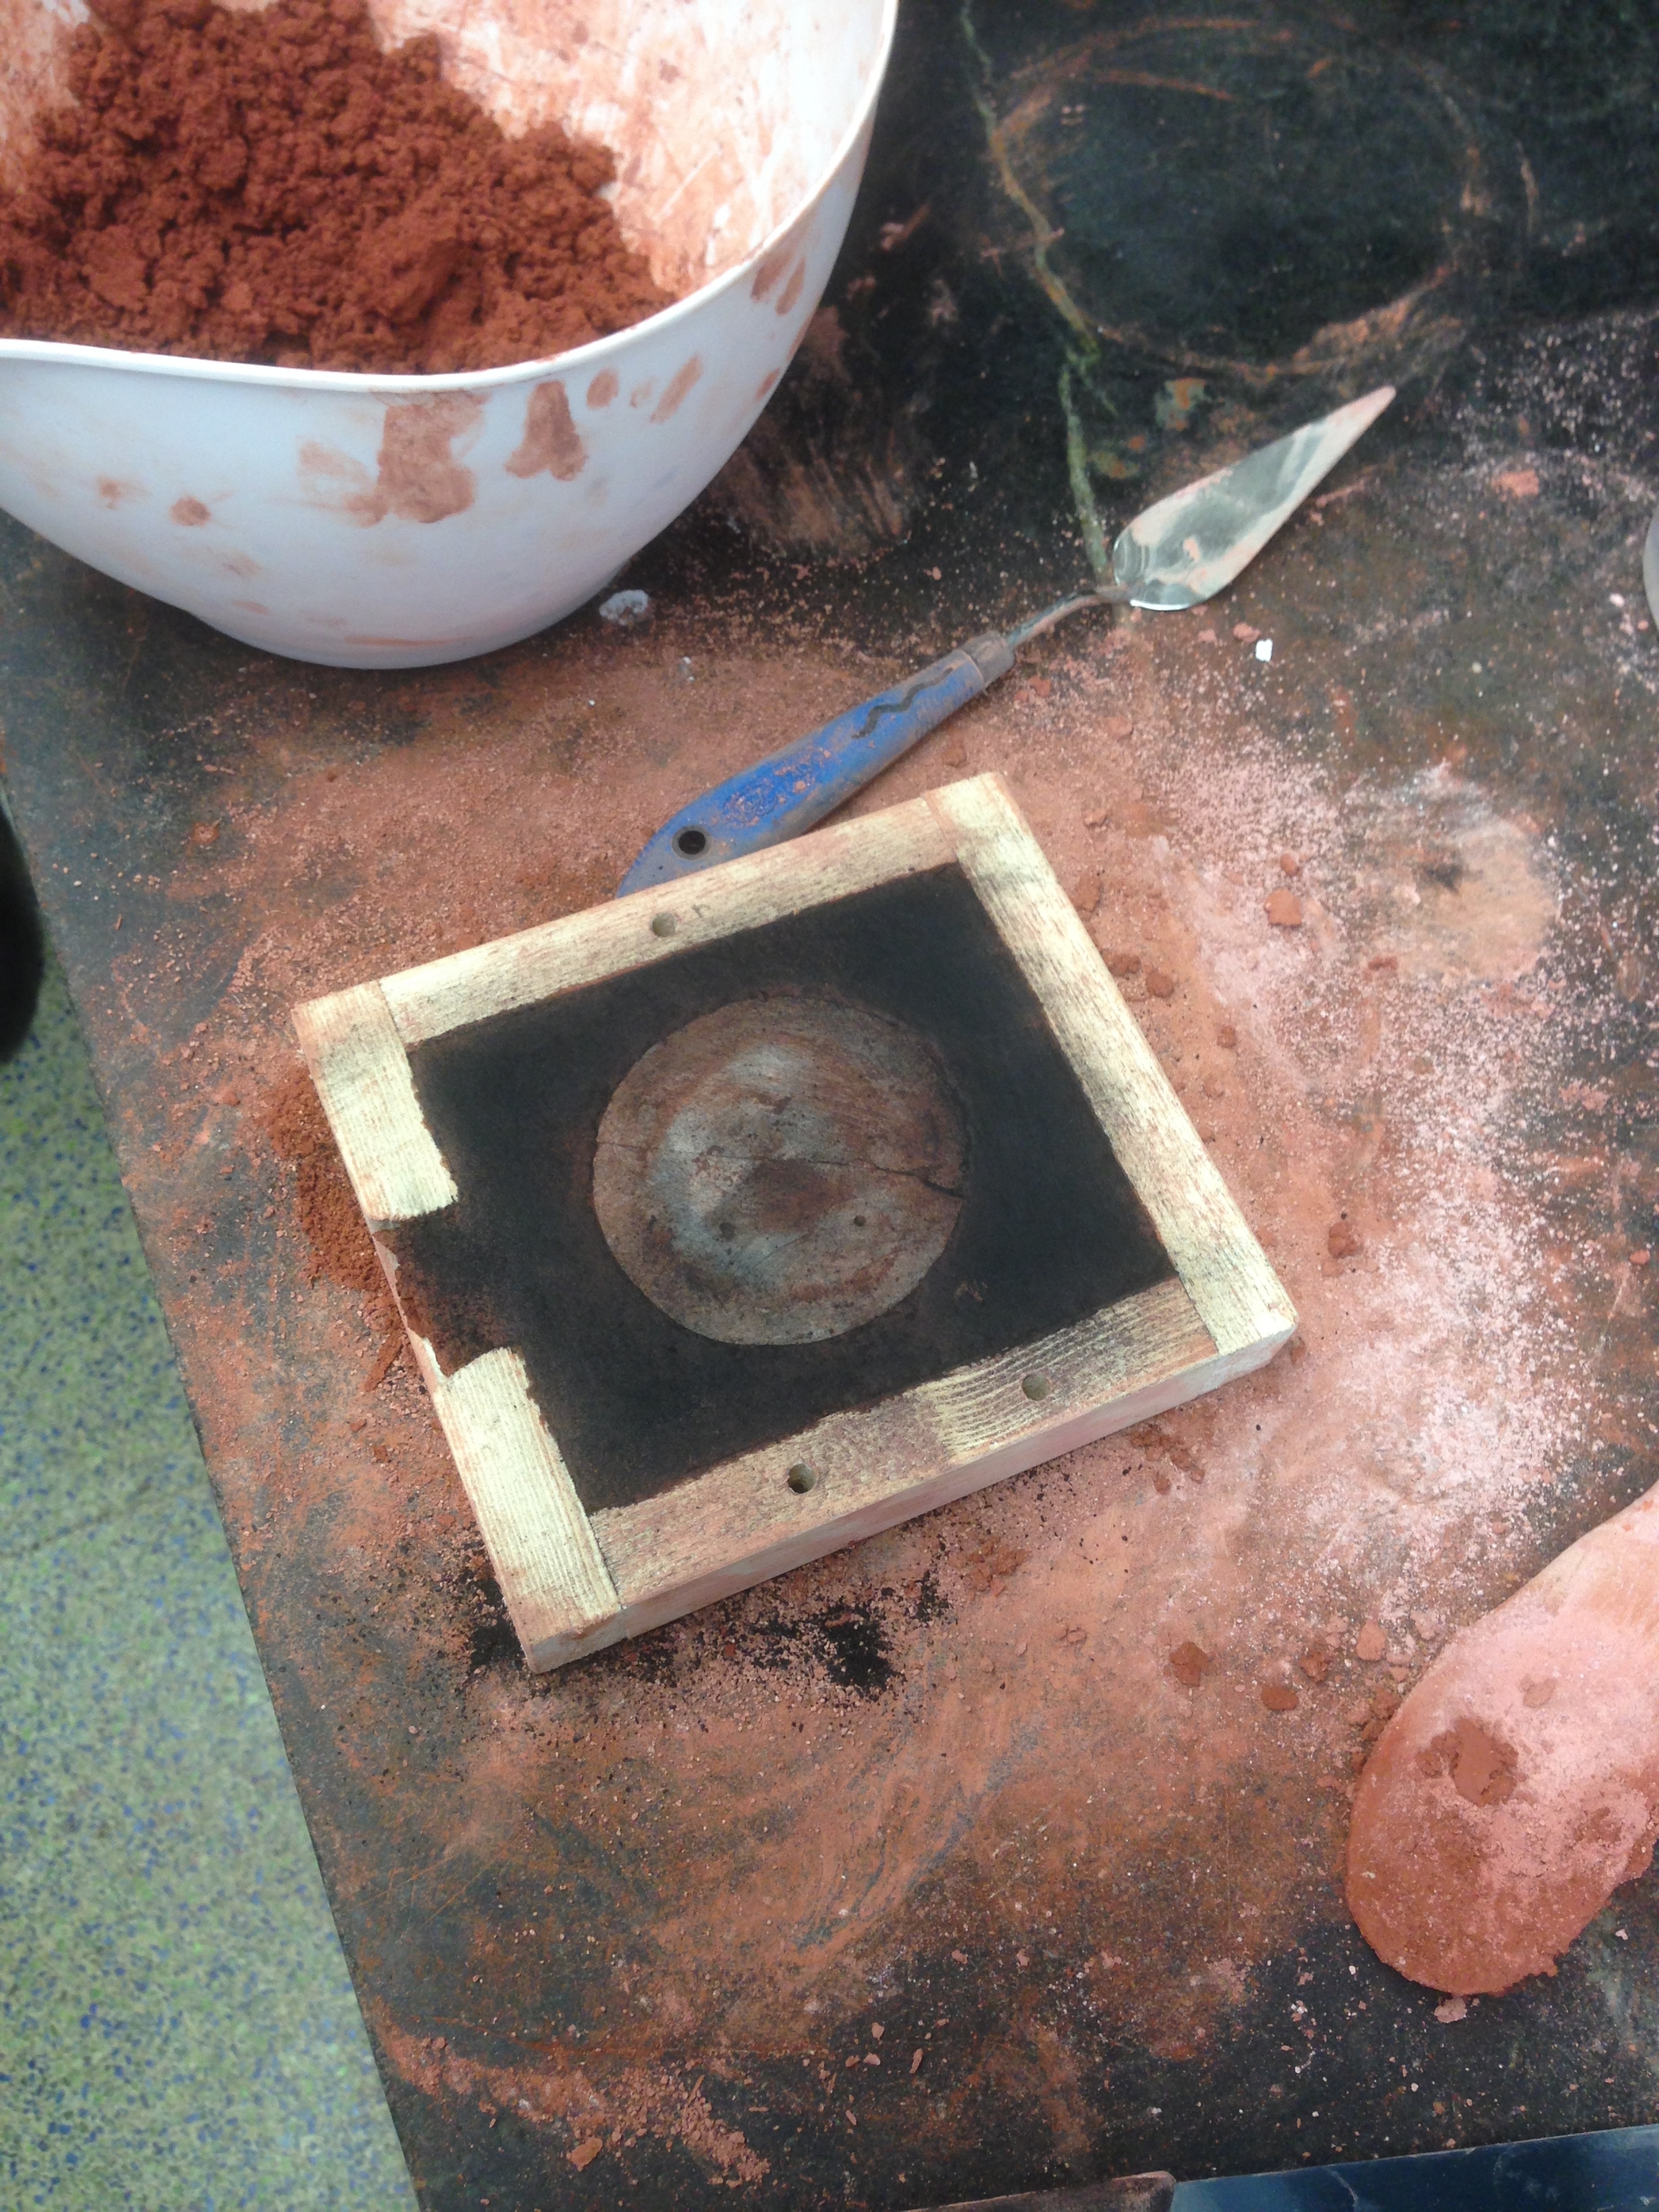
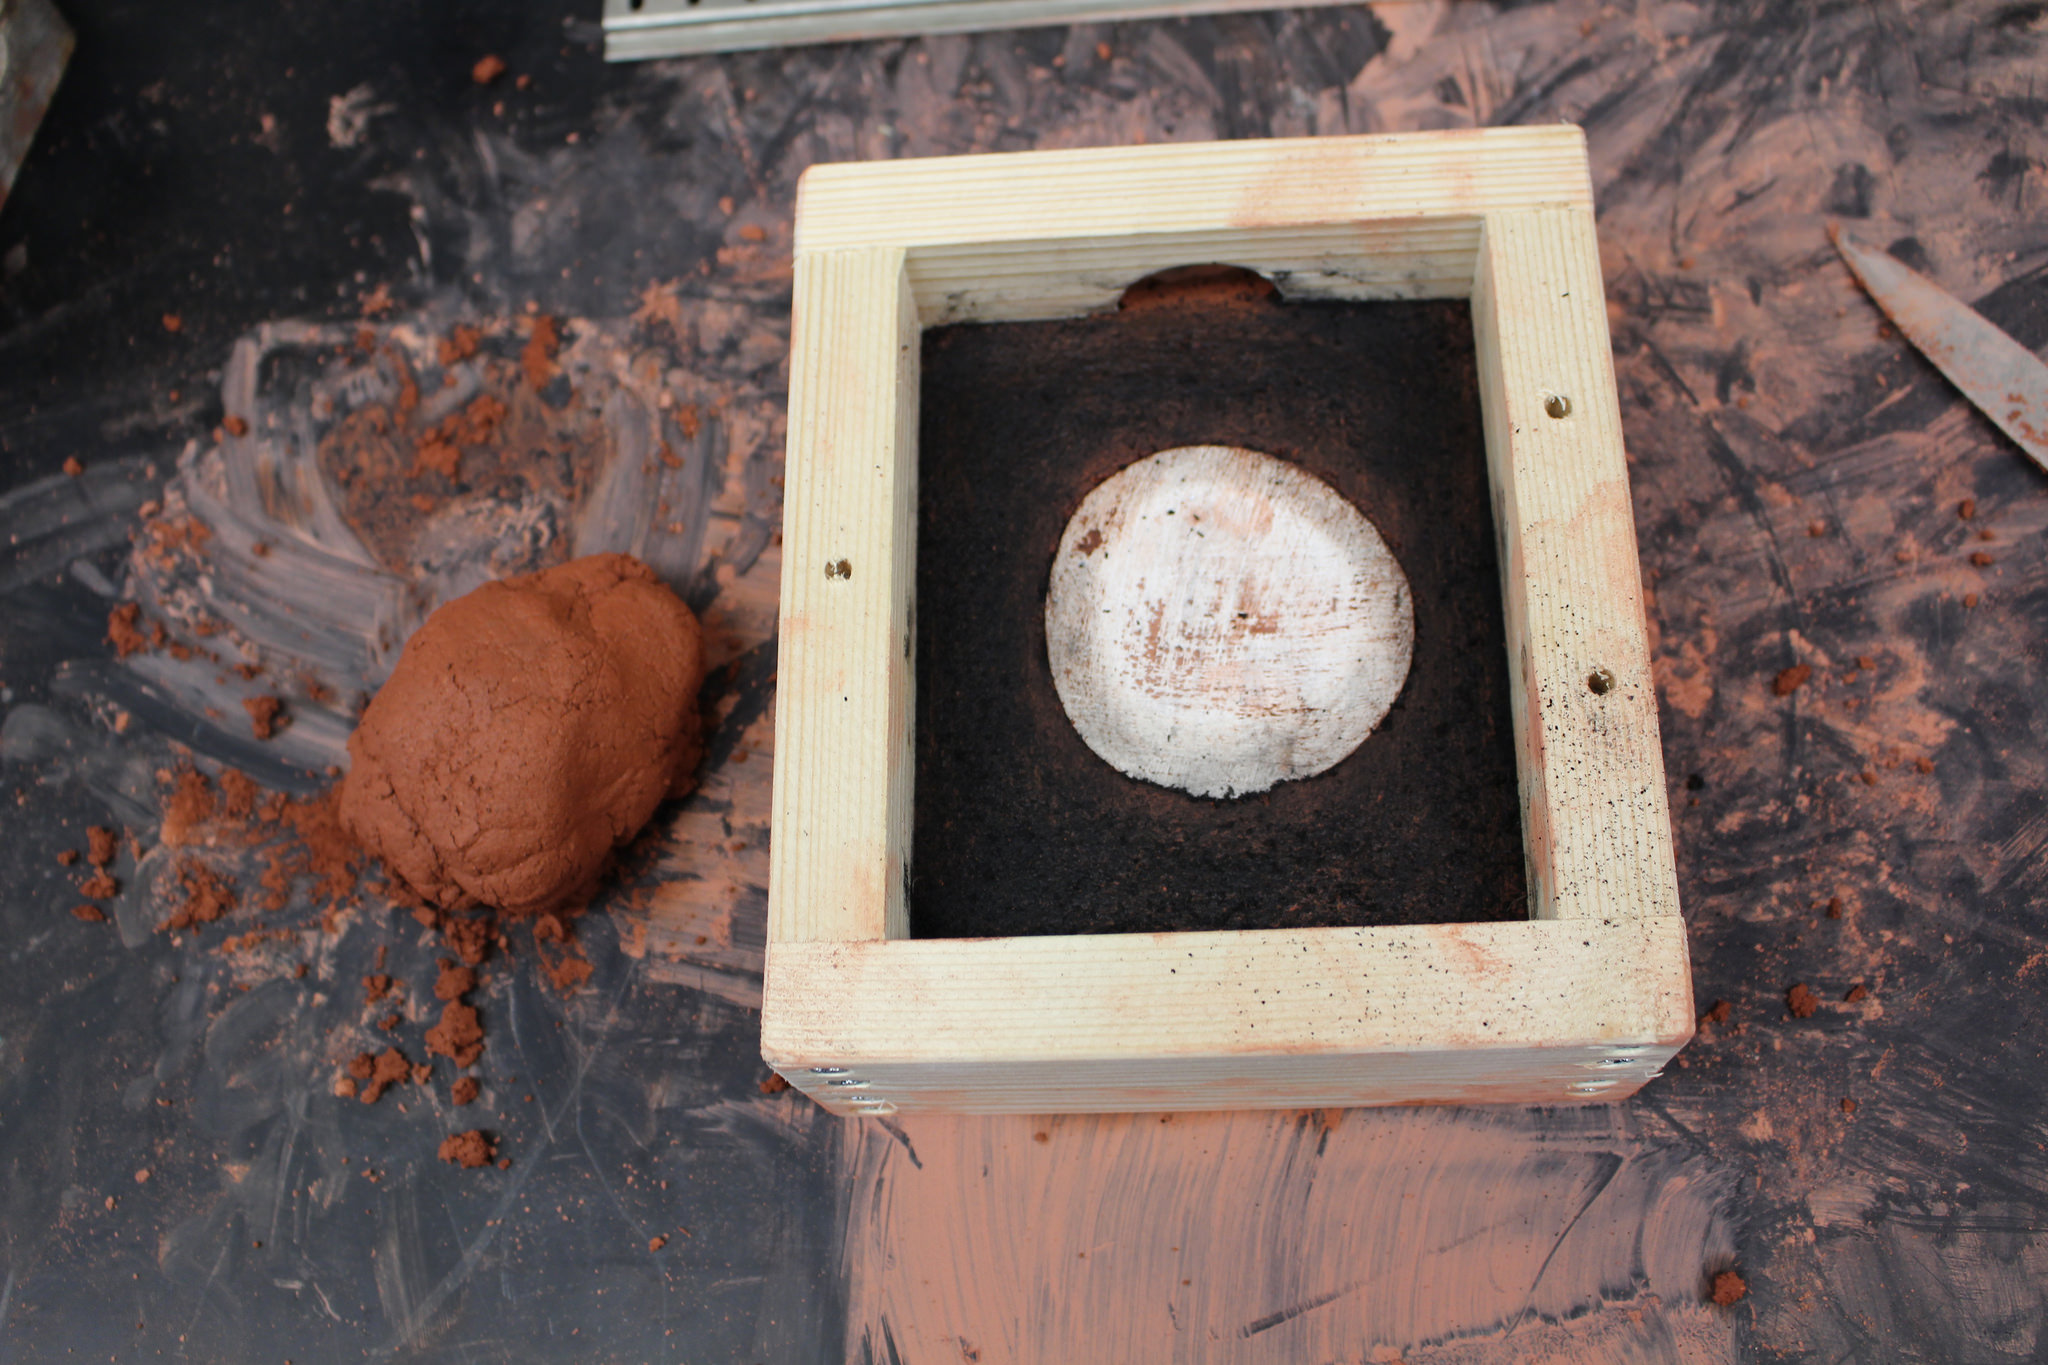
- The male portion of the flask was set in place and the remainder of the mold was filled with sand. When the mold was almost full we found that we did not have enough sand. More sand was mixed, in haste, as the lab had to close in a short amount of time. The takeaway is that estimating the amount of sand required to fill the molds is deceptive. It is better to over estimate how much sand you need. A small mold can hold a lot of sand, even though it looks like it cannot. The mold was pounded and shaved and placed in the vapor hood to allow it to dry.
- Discussion on Procedure (14 Oct 14)
- At approximately 1030, I arrived at the lab and found that my medallion had already been removed from its mold. I unfortunetly was not there to record the procedure, but I was informed that it had broken upon removal.

- I could not tell if the image was distorted. The granular nature of the sand and its texture really obscured the image from the eye. I thought about what Dr. Smith had told us about her past experiences with molding, that being that molds often do not look like they have held the detail but turn out that they have. I hoped that this was true in our case.
- The pouring valves were cut and after inspecting the mold it was packed in boxes to be carried to the workshop the next day.
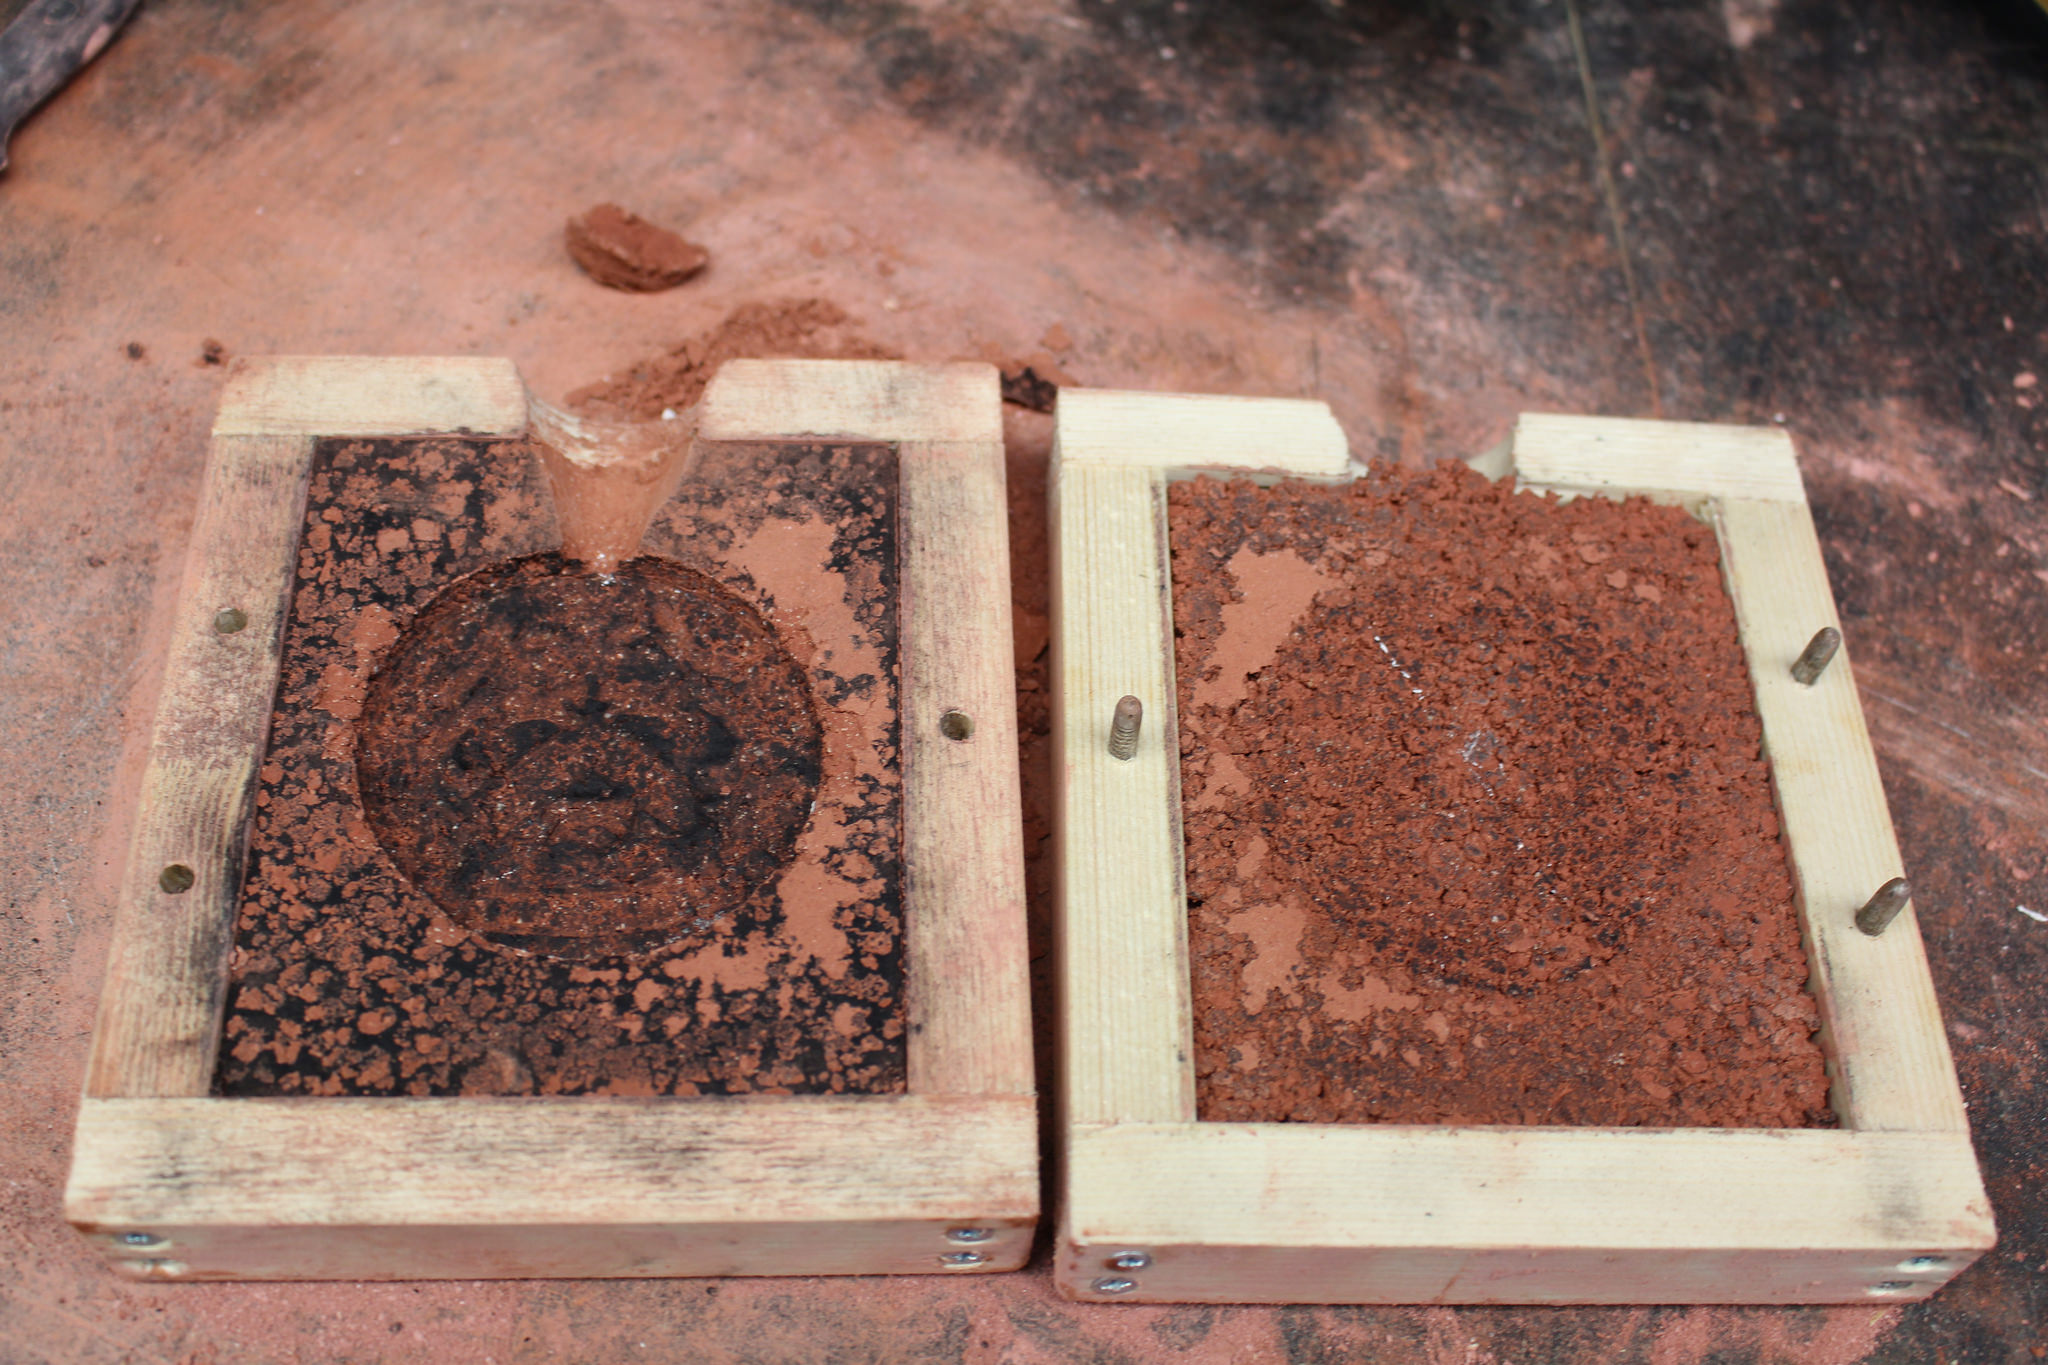
- When I went to make the mold for Emily's medallion, I discovered that we were out of sand. Under Tony's instruction I utilized modern commercial sand. The intention of this was to provide a type of control for the other experiments and provide some contrast as to how sand can and does behave.
- Working with the commercial sand was simple and direct. It was firm when packed and malleable when lose. The oil in the sand left very little residue on hands and tools, yet held the sand together enough that it could be packed. It took the impression of the medallion almost flawlessly, and released the plaster casting very easily. The sand was finely ground, way more finely ground than our EM sand.
- The time it took to make the mold was significantly less as well. The mold was packed in the same manner are the medallion above and ground vine charcoal was used as a separation agent.
NAME: Jef Palframan
DATE AND TIME: 051100 Oct 14
LOCATION: Brooklyn, NY - Apartment on 20th floor
SUBJECT: Sculpting Wax for Sand Casting
- Conditions:
- When I started molding the wax at 1100 the temperature in the room was approx. 70°. Our apartment is on the 20th floor of our building and faces the southwest. It has floor to ceiling windows and gets a lot of sun in the afternoon, so I fully expected the temperature to rise. When I started, I did not know what effect the temperature of the room would have on the experiment. Generally, as the experiment proceeded it became clear that the hotter the room was the better. In a hotter environment, around 85°, the wax was more open to manipulation yet still able to maintain some rigidity, and when I applied a bit more heat, with just the body heat of my hands, I could make bonds between the wax that did not require using the candle. The temperature of the work environment is dictated by the materials and not the personal comfort of the artisan. This notion of personal suffering or placing the needs of the materials first is echoed in Biringuccio's Pirotechnia as well, "He must suffer the great natural heats of summer as well as those excessive and continuous ones from the enormous fires that are used in this art, and likewise in winter suffer the moisture and great coldness of disagreeable water and unendurable cold" (213-214).
- Materials:
- Beeswax: [need details on this from bag and Ass. Profs. how chosen and why]
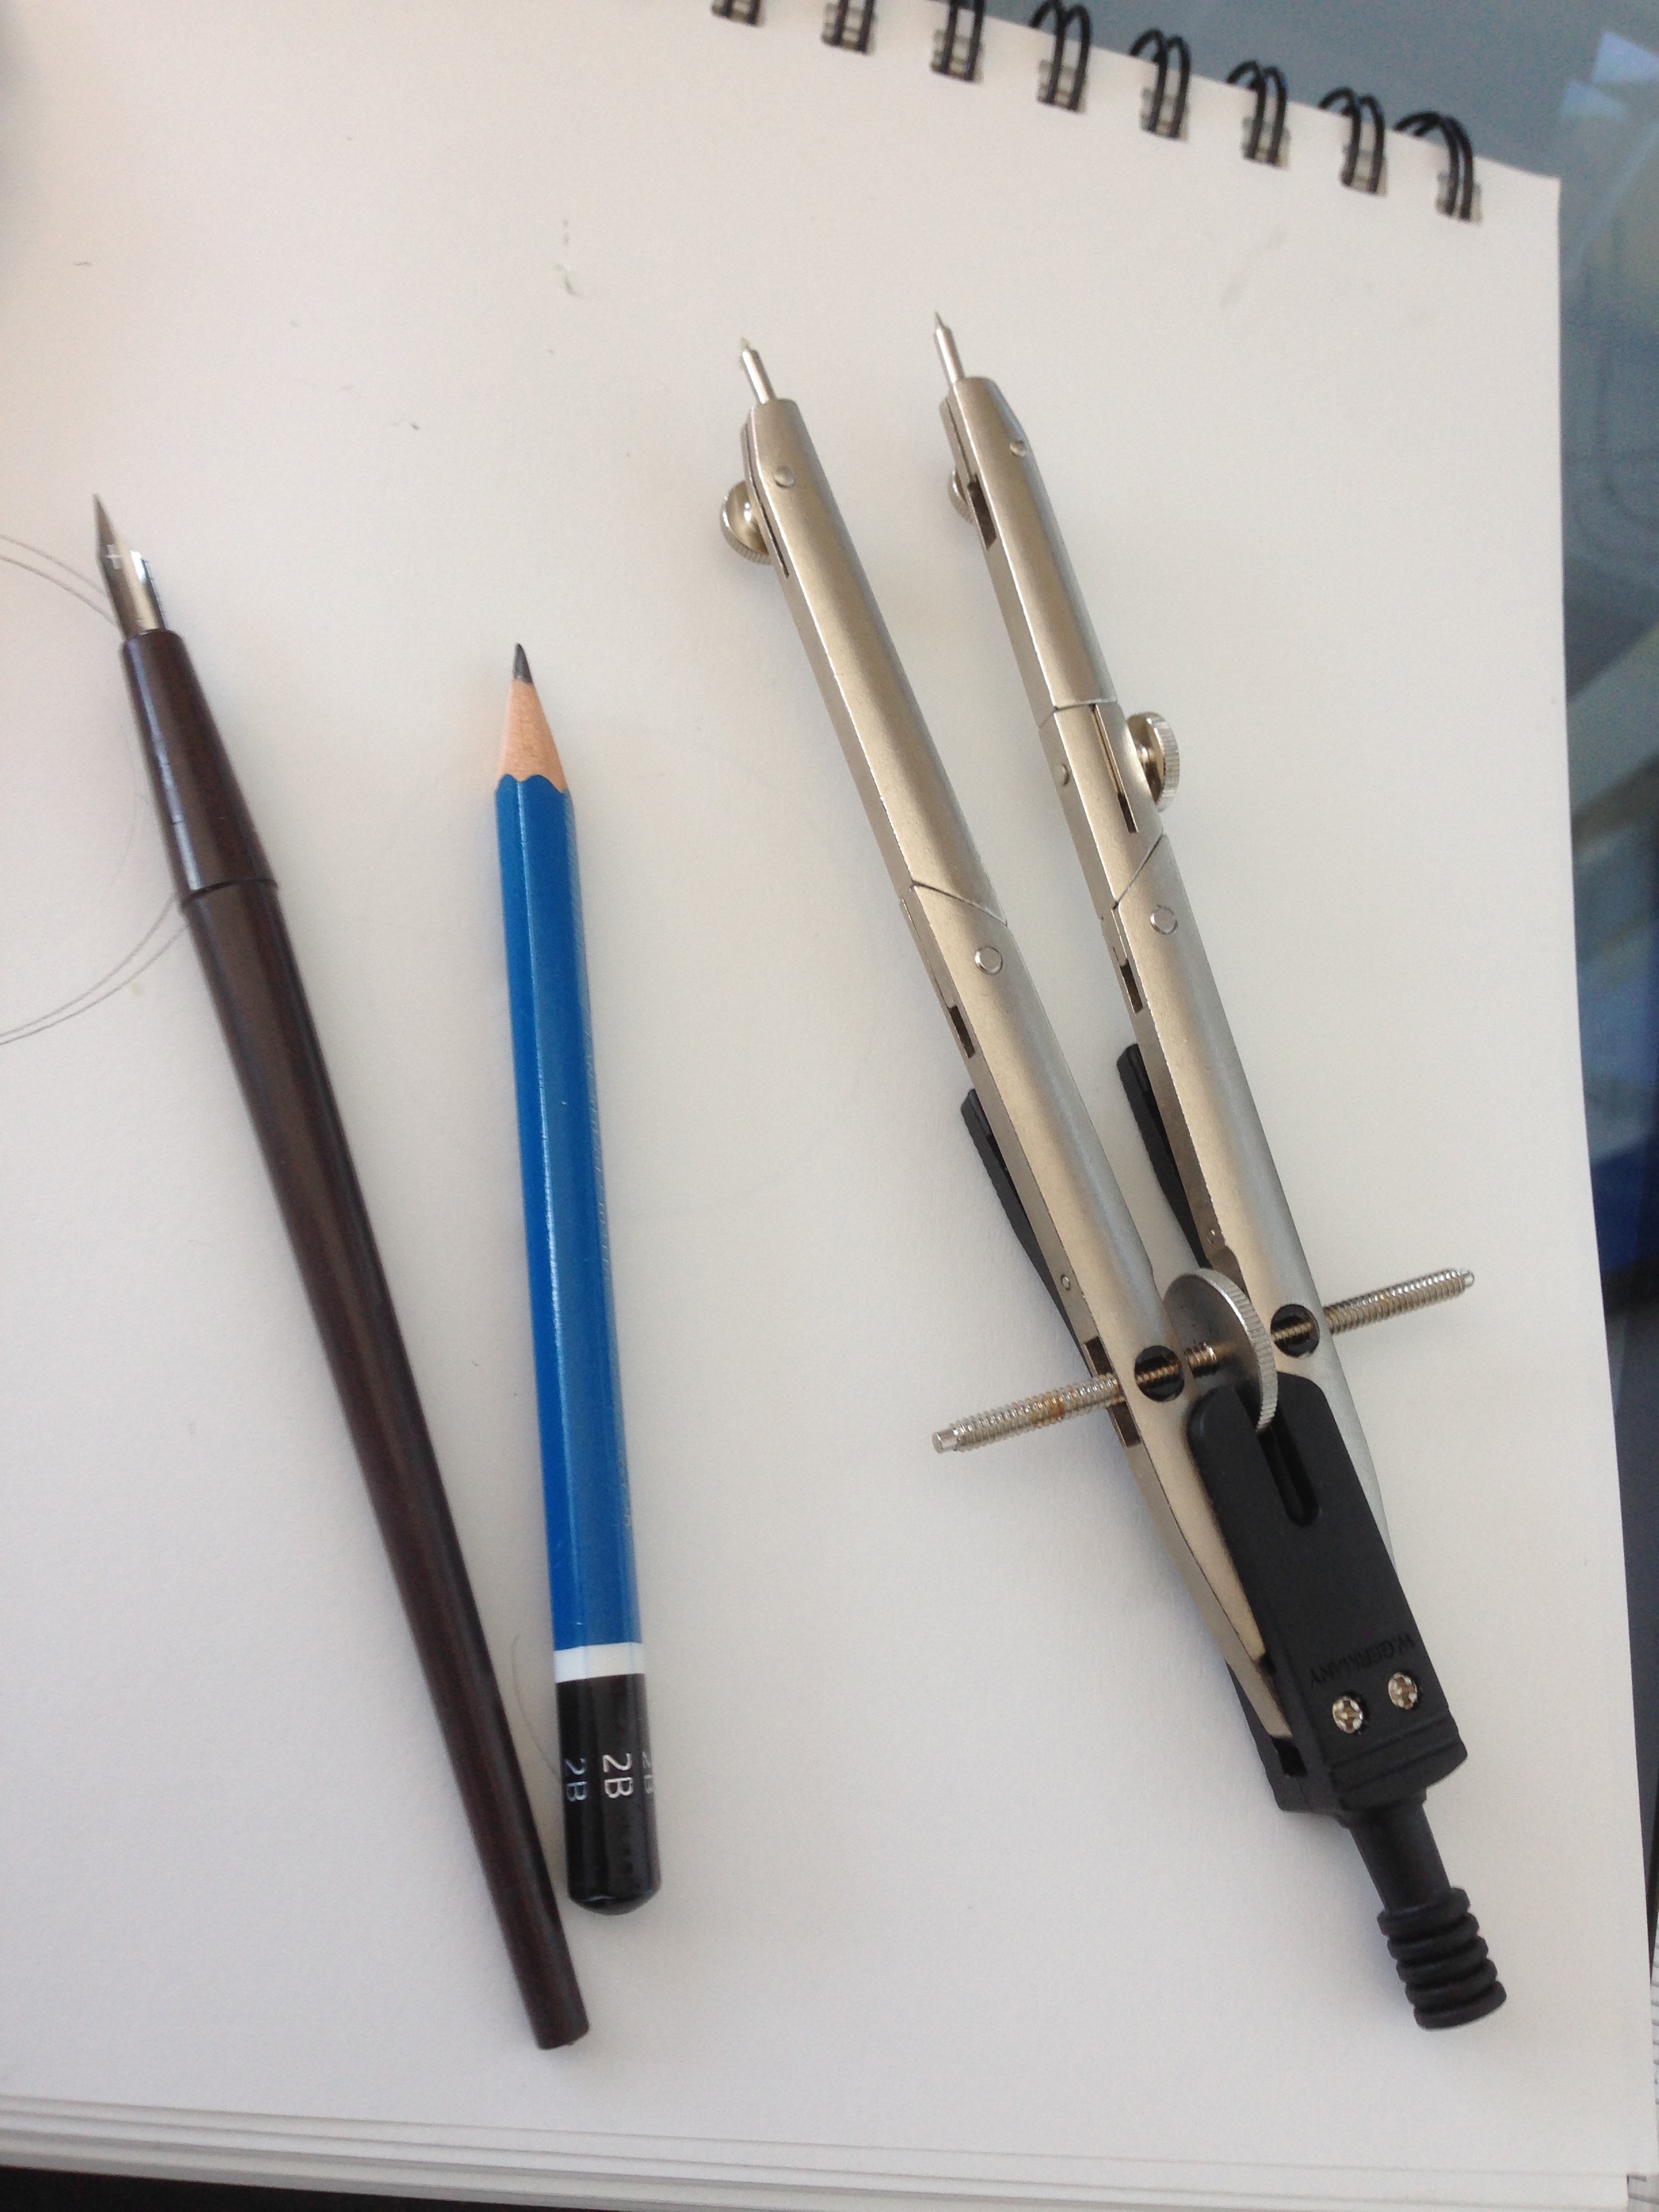
- Equipment: (it is generally difficult to locate tools for carving that are not modern stainless steel or aluminum. More research is required to assess whether or not tools made of EM (Early Modern) metals behaved differently enough to have an effect on authenticity.)
- Exacto knife: a stainless steel tipped carving knife; no anticipated negative effect on authenticity.
- Multi-tip stylus: aluminum handled, stainless steel tipped stylus with multiple interchangeable heads; no anticipated negative effect on authenticity.
- Painting knife: crome plated painting knife with plastic handle; no anticipated negative effect on authenticity.
- Compass: aluminum multi-tip compass; I had some initial hesitation about using this tool. I used it for maintaining dimensions and making circles in the wax. It was incredibly useful when implementing ideas and designs. The fundamental technology of the compass was certainly available in the 16th and 17th century, so even though this was a modern compass, its accuracy could most certainly be replicated in the EME.
- Candle: white wax 8-hour emergency candle; probably one of the most important tools that I had. In apply heat, the properties of the candle were various and nuanced. Parts of the candle gave off more heat than others. The tip had the greatest heat but left black carbon on the tools. The base would allow for slow heating, allowing you to regulate how much heat you applied, and keep your tool free from carbon. During the positive method, how the wax was held to the candle mattered a great deal, as will be explored below.
- Small frying pan: Used to melt used wax. The pan had a teflon coating, however when I used it to reconstitute the wax and make thin strips to be used in the positive method, the method I used to extract the wax from the pan after it had cooled would have negated the benefit of the non-stick coating, thus the effect on authenticity would have been mitigated.
- Natural Gas Stove: no anticipated negative effect on authenticity.
- Discussion on Procedure:
- My primary intention with this experiment was to explore the differences between the negative and positive methods of wax mold construction. By negative, I mean starting with a large block of wax and forming the end product by removing the excess material around it (AKA in relief). By positive, I mean starting with a base of wax and building the object by adding pieces of wax to build the form.
- Serial #1: Coin - constructed using the negative method
- I started with a solid block of wax approx. ¾ of an inch thick, which was formed in a muffin tray. I wanted to make some sort of coin by cutting into the face. I started by finding the centre of the block and using the compass to mark out the edges. I then used the compass to mark out the edge of the coin and the boundaries of the lettering.
- I then used the exact knife to remove the excess around the lettering and image on the front (Yes, I put Bread Molders, a piece of bread, and Craft and Science For Life on the coin. I couldn't think of anything else. Hopefully, we are marked on method not content).

- Carving away the excess in the coin proved to be a difficult task. Heating the tools with the candle helped in smoothing out the background. Keeping the tools and wax warm help a lot with manipulation. Heating the tools should be done with the bottom of the flame as the top will leave blacking and make it very hard to see what is happening.
- It was hard to judge the depth of the relief, especially with the beeswax. Parts of the beeswax can be slightly translucent and better vision than mine is required to distinguish the depth. Better lighting and magnification would aid in this. Another colour of wax may also help as well, this may be part of the reason that red was often used.
- Serial #2: Commemorative Medal - constructed using the positive method
- For the second iteration I wanted to do a one sided commemoration medal. I decided to do my family crest (or at least what the internet tells me is my family crest).
- I found that the thickness of the coin presented a problem when judging depth and it will also take a lot of metal to cast, so I decided to flatten out the other disc by heating it and remoulding it into a thiner disc. To get the discs themselves, I simply melted the wax in the frying pan and let it cool. Once cool the wax would not come out of the pan. To get the wax out of the pan, I turned the stove on high and moved the pan in and out of the heat until the wax, while pressing on with my hand, started to spin. Once it was spinning, I removed it very quickly with the painting knife. The result was a thin piece of wax that I could make the backing and cut outs.
- I used the compass to mark a much larger circle than the coin.
- I took all of my other used wax and melted it into an even larger and thinner disc, removing it from the pan in the same manner. I then constructed the crest piece by piece by cutting parts from the thinner disc.

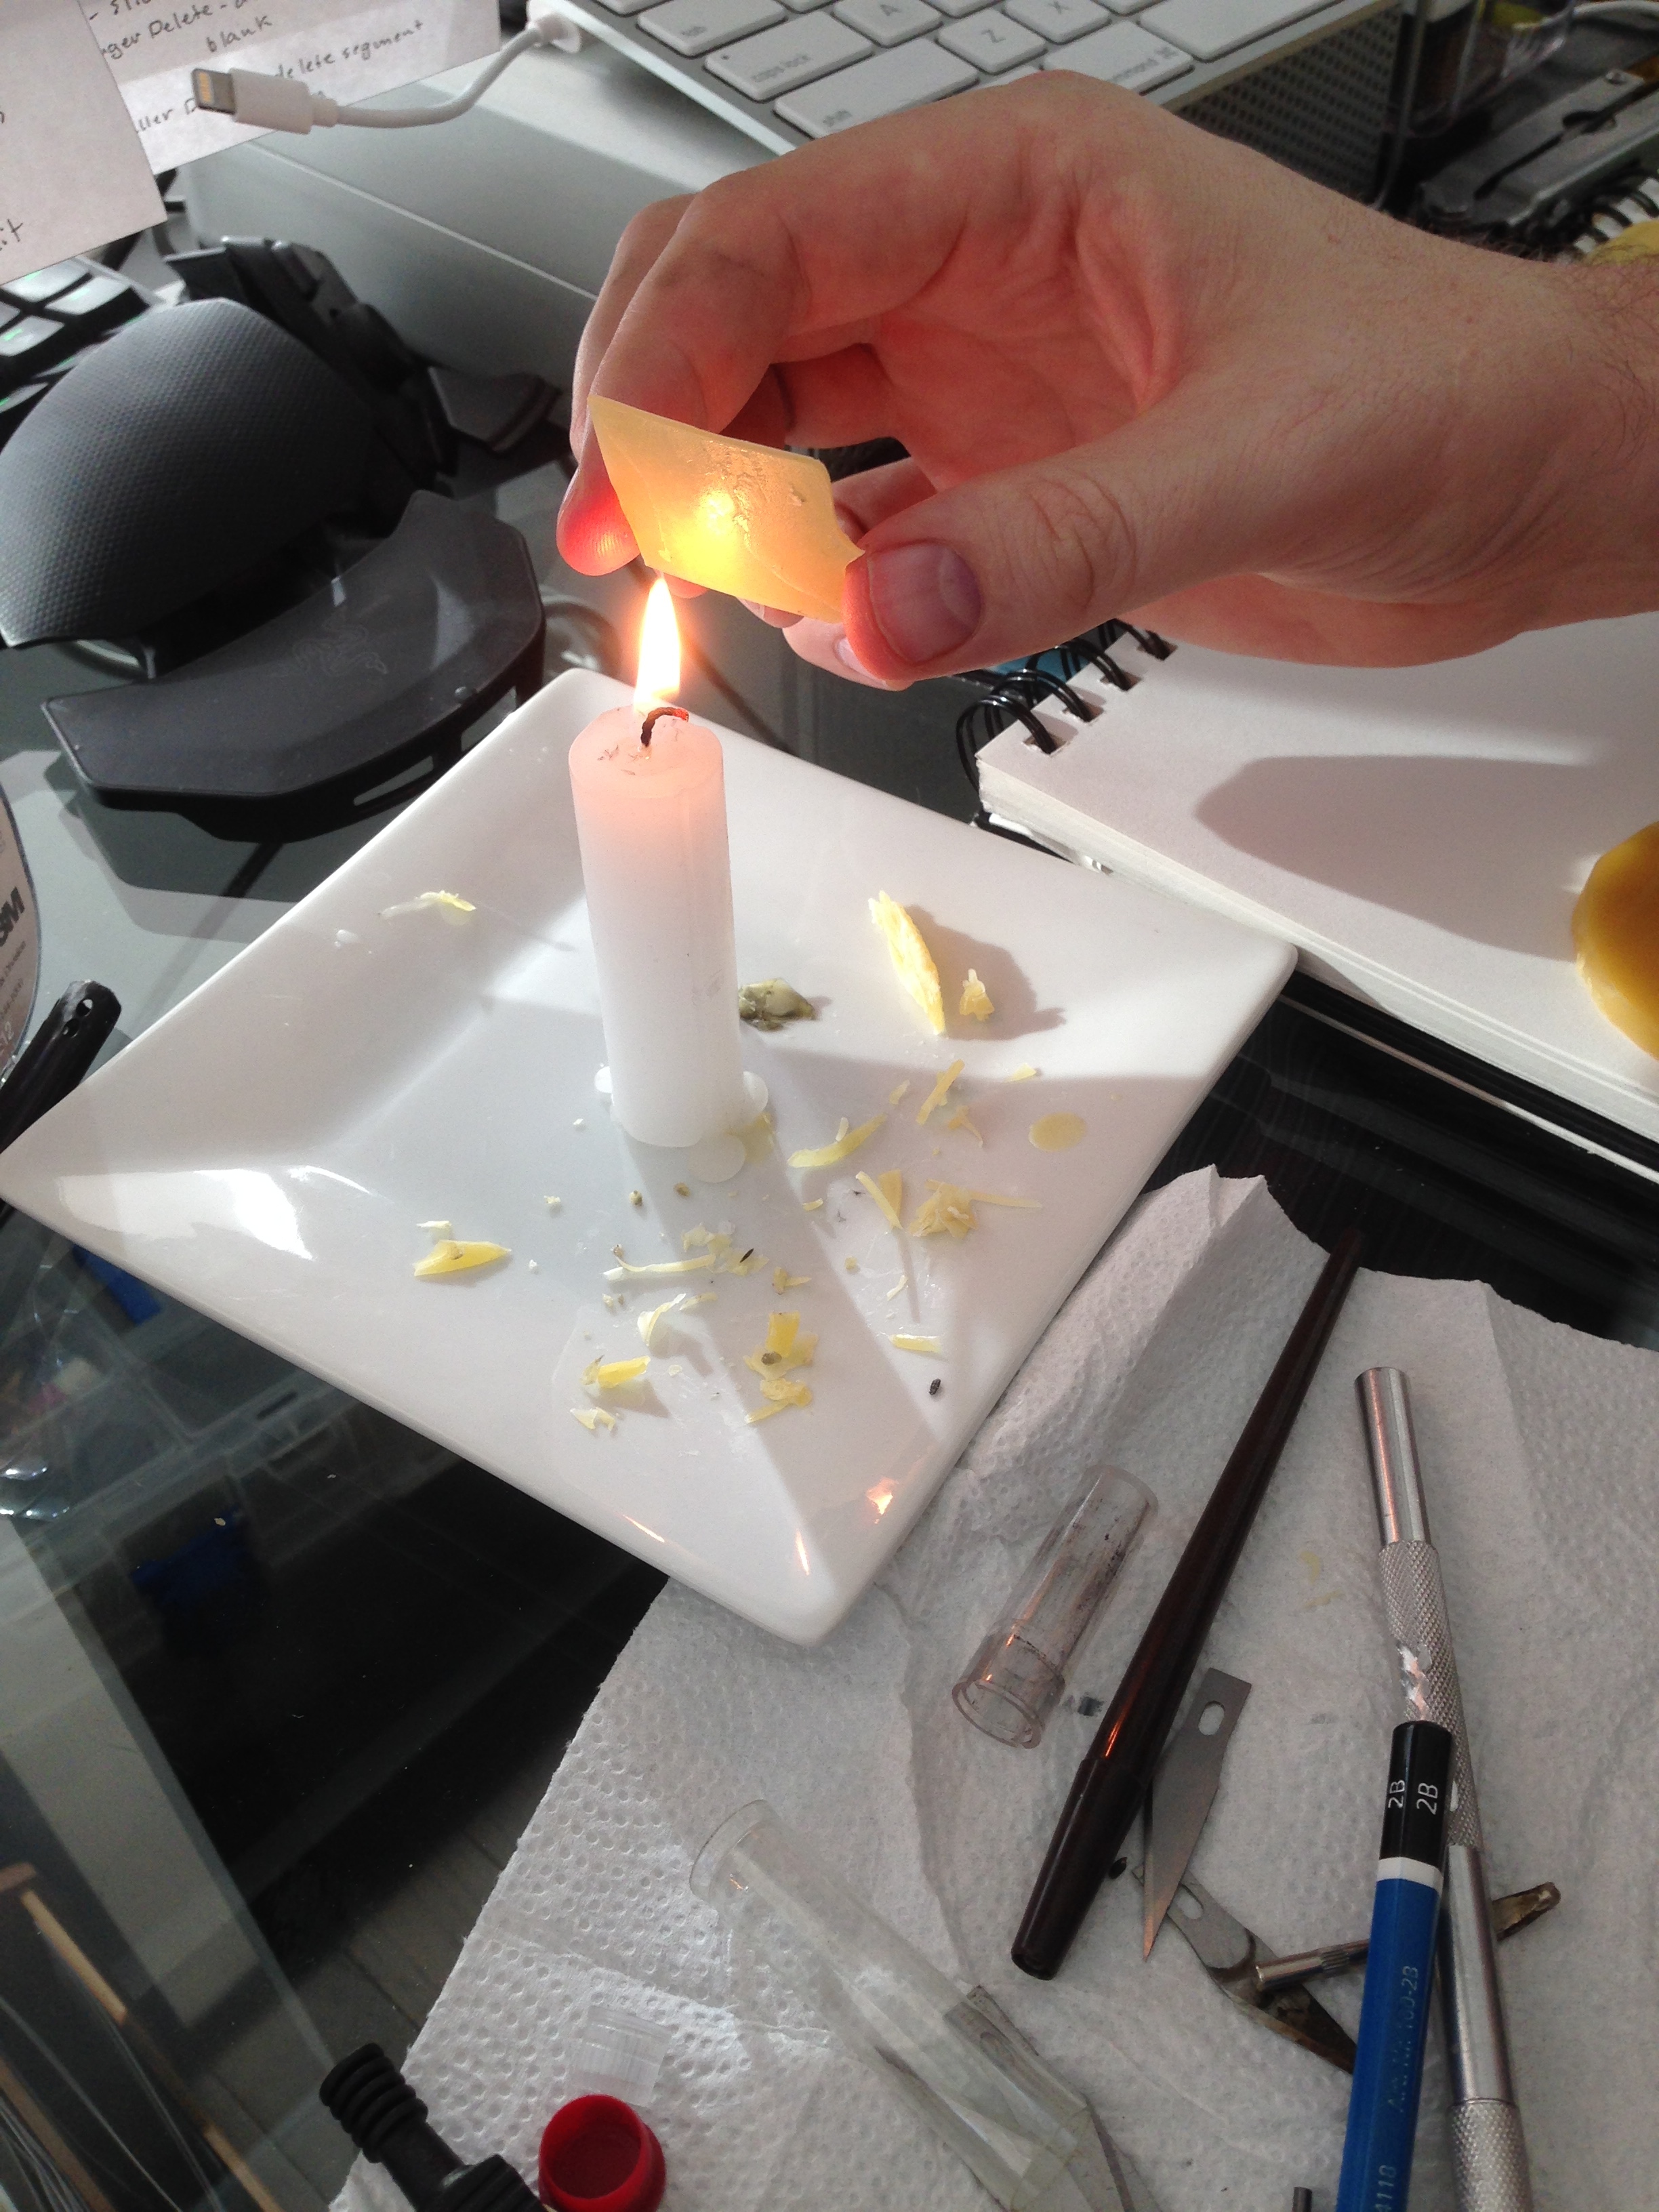
- Affixing the parts to the backing was tricky at first. I didn't know how to apply them at first. I attempted to use the candle to heat the back of some of the pieces and then placing them on the backing. It became evident very fast that this was going to require some technique. The following is a description of my successes and failures with heating wax with the flame.
- I attempted to slowly heat a piece by holding it as a distance from the flame. This was not successful because the piece of wax became to malleable and folded in on itself;
- I decided to hold the wax above the flame to see if I could melt the outside faster and still maintain the structure of the piece. This worked better, however it made the piece black (note: this could actually be an advantage it one wanted to distinguish the piece from others, in the end blacking doesn't really matter as the end product will be metal not wax); and
- The best method turned out to be holding the piece to the bottom of the flame very close and removing it quickly. By 'flashing' the piece tot he flame this way, you could get a piece that was free of blacking, melted but still strong enough to maintain its shape.

- Thankfully, the temperature in the room had increased making easier to affix the pieces. I was even able to affix a few pieces by just applying pressure and heat with my hands.
- Adding material to the form was far easier and more enjoyable than working in relief. The negative method was frustrating and it was not always clear how deep the knife was or when the desired depth have been reached. More practice would almost certainly make my performance with the negative process better, however I am struggling to see just what advantages working in relief would provide over the positive. In contrast, the additive process was clean, easily organized and provided a better looking result.
- After the class had visited the MET and we had seen the example medals from the 16th and 17th centuries, I decided to make several improvements to the model that I have already constructed. Firstly, they need to be more conical. There is too much depth on the coin and the medallion has some overhang that could actually make the model fail. Secondly, the MET examples were incredibly detailed. I really want to see if I can achieve this level of detail. Some new carving tools that I have obtained should help.
- The economics and social structure of work in the workshop and where we could be going wrong in the lab: During the last few experiments, especially in the lab, I have been thinking a lot about economics and the structure of the work in the workshop. Many economic principles are evident in the experiments we are conducting: division of labor is the most evident. Breaking down a large project into smaller tasks is such a natural tendency in the experiments were are conducting. Even in the small scale experiments directing the activities of labor is ever-present. Splitting up labor seems to lead to a natural split between those who preform the work and those who are directing it. The nature of the materials we are working also seem to have an effect on this structure. Pouring, heating, and design choices are better left to one person's discretion. Without doing so the objects we create can become monstrosities created by a committee. If we are going to approach the nature of the materials and how the artisans interacted with these materials, then we should bear in mind that their social structure and division of labor was a large part of that. In conducting these experiments should not we take care to design our workflows in a similar manner to our subjects. Assigning roles and nominating decision makers within the experiment would aid in mimicking the organization and workflow in the EM workshop.
- I also cannot shake the implications of our artisan being motivated by profit first. Much of the language he uses indicates that he is concerned about minimizing costs while increasing effect. I would like to explore more about how cost and profit are evidenced and relevant in the manuscript. I do not believe that it is unfair to say that he is a salesman first and artist second.
- Every step of the process resulted in some kind of damage to the end product. Over the entire process the damage to the end product became cumulative and exponential. Not paying attention to even the minutest detail in one stage can lead to a large defect in a later stage. The phenomenon of generation loss (i.e. the loss of quality as a result of making a copy of a copy of a copy) is ever-present. This experience illustrates exactly the points made by Biringuccio in Pirotechnia, "Therefore you must plan to spare no labor or expense and to be careful and very patient in every detail in order to bring all the means which you are to use to perfection. Remember that often the whole depends on some small thing; for example, a poorly made binding or ill-fitted joint, the leaking of the mould through a crack, or a little earth of charcoal or something else which falls in the moulds or plugs the entrance of the gate falls across it when it is being filled up, the snapping of a wire of the binding, or in the floating up of a brick" (Biringuccio, 216).
- After visiting Ubaldo's Workshop and seeing how many thousands of tools he had accumulated over his long career, I found myself thinking about the nature of tools, their creation and their evolution. In a physical (and abstract) way his shop is directly connected to the history of man's quest to manipulate the natural world, via tools and machines. Every tool that Ubaldo possesses was constructed at some point by other tools that existed in the past, and those tools were in turn constructed by older tools, and so on. Following this chain of creation backwards, while simultaneously projecting it forward into the technology of our contemporary world, it can be argued that even a piece of modern technological wizardry (i.e. a laser cutting system, 3D printer, even your cell phone) is, in a very real way, physically connected to the most rudimentary stone tools of our ancient history. It stands to reason then that tools, like the humans who generate and utilize them, have a genetic blueprint that can be traced backwards in time.